For more information please visit
www.modelighting.com
User Guide
Page 1: ...For more information please visit www modelighting com User Guide ...
Page 2: ...ode Toggling to a Defined Level Power Cut Restore Button LEDs Dim when Inactive Infrared Enable Disable Circuit Configuration Menu Selecting a Circuit to Edit Maximum Minimum Brightness Toggle level Switched Advanced Circuit Configuration Menu Boost Dim Mode Shutdown Enable Disable Remote Switch Configuration Menu INSTALLATION__________________________________________ Important Safety Note Specifi...
Page 3: ...ble to achieve a lower minimum brightness than the default value To decrease the minimum circuit brightness see entering the configuration menus p 10 and follow the instructions to enter the circuit configuration menu If lights fail to turn on at minimum brightness boost mode may be required Refer to the troubleshooting guide for further guidance It is normal for the fascia plate to become warm du...
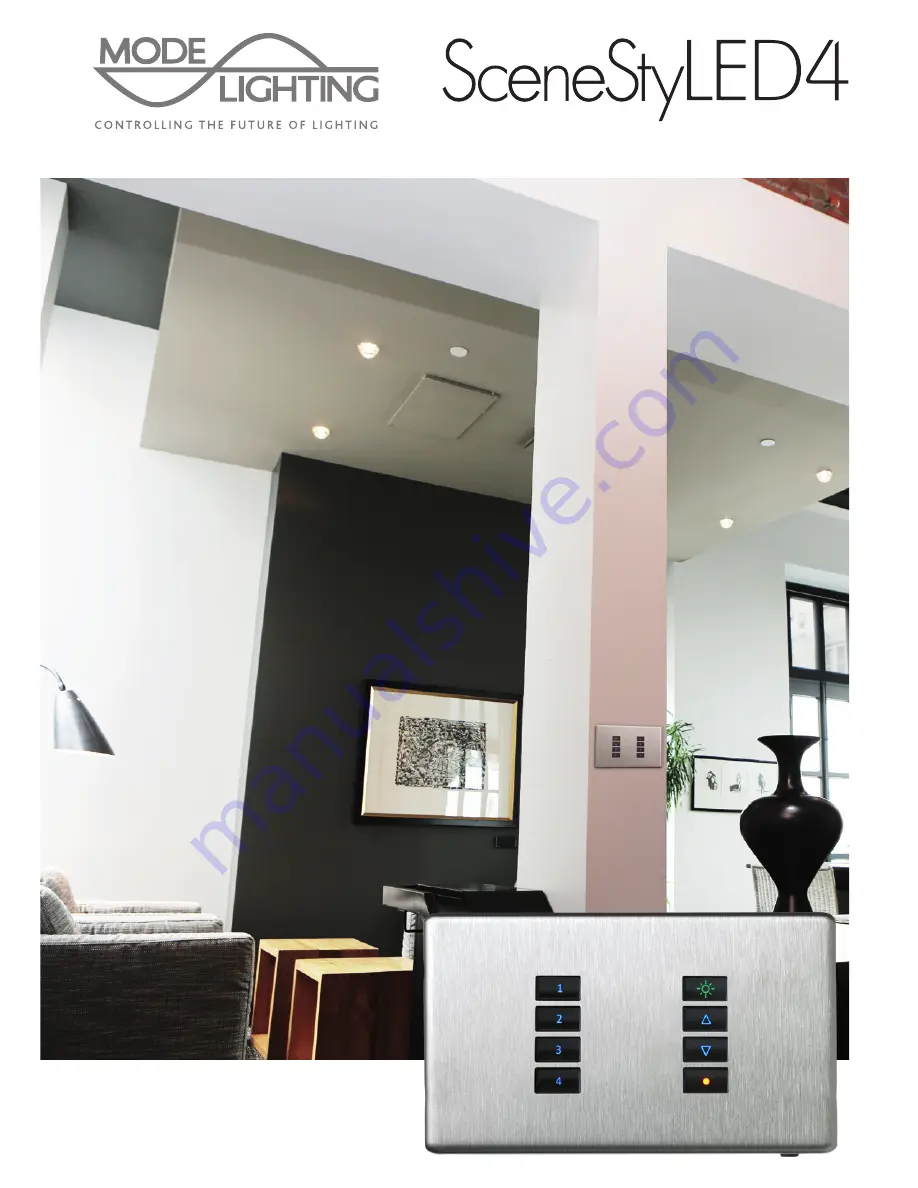
Page 4: ...ns of light levels to be created for different activities such as watching TV reading or entertaining Scene operation Each scene can be selected by pressing its respective button Use the raise and lower buttons to collectively raise and lower the brightness of the scene By default SceneStyle is configured so that every light fitting connected will dim to a percentage of its full brightness dependi...
Page 5: ...then holding the button again The raise and lower buttons can be used to collectively adjust the brightness of all the circuits which are currently on To turn off every circuit the off button can be pressed To change to Impulse operation see Entering the configuration menus p 10 followed by the Operation configuration menu p 11 Factory restore resets every scene colour and setting to the factory d...
Page 6: ...ds Once selected the button will flash blue All changes made whilst scene editing are saved automatically Adjusting Circuit Brightness Once the scene to edit has been selected select the circuit to adjust by briefly pressing that circuits respective button The button will illuminate brighter to show the circuits brightness can now be adjusted using the raise and lower buttons By default SceneStyle...
Page 7: ...to the main screen where another scene can be selected for editing if required Including Excluding Circuits Only circuits included in a scene are affected when the scene is selected Consequently a circuit not included in a scene will remain at its current brightness even when that scene is selected Circuits illuminated green are included in the scene whereas those illuminated red are not To change...
Page 8: ...ene whereas in Impulse it shows which circuits are on The background colour is the colour displayed at any other time The ON OFF buttons can be fixed green and red respectively From the main screen hold the top two buttons for five seconds Foreground colour can then be selected followed by background colour and finally whether the ON OFF buttons should use the selected colours or be fixed green an...
Page 9: ...egin The sequence is designed to start at around 6pm so that illumination occurs from 6pm 12pm and from 6 30am to 9am Work out how many hours there are between the current time and the time at which the first step should begin This is the required time delay Enter the time delay into SceneStyle using any combination of the 5 pre programmed time delays provided Selected buttons contributing to the ...
Page 10: ...hutdown circuitry which will prevent damage due to short circuit or circuit overload If a circuit is faulty the circuits respective button will flash red Faulty circuits will be restarted automatically once the fault has been resolved In this example the 1 HRS 4 HRS and 12 HRS buttons have all been selected Therefore the total time delay is 17 HRS If the current time was 1 00am the first step of h...
Page 11: ...ld the bottom two buttons for one second until they are lit red Release the bottom two buttons and then press buttons two and one alternately in the pattern 2 1 2 1 to enter the menu MAIN CONFIGURATION MENU The main config menu can be used to perform a factory restore and to access the three further configuration menus Factory Restore Factory restore resets every scene colour and setting to the fa...
Page 12: ...the button is lit green all circuits will toggle to a defined level when switched on To set this level see Toggle level in the circuit configuration menu p 13 Power Cut Restore After a power cut the lighting circuits can be set either to return to their previous light levels or to remain off To select which action is taken press the power cut restore button When lit green the circuits are set to r...
Page 13: ...o the previous screen at any point press the return button Selecting a Circuit to Edit To edit a circuit press that circuits respective button The screen will change to show the options which can be adjusted for the circuit Maximum Brightness To adjust maximum circuit brightness first briefly press the maximum brightness button which will lead to a second menu being displayed The maximum light lev...
Page 14: ...o toggle to a defined light level see Entering the configuration menus p 10 followed by the Operation configuration menu p 11 Toggle level is the light level to which circuits will be set if SceneStyle has been configured to toggle to a defined light level To adjust toggle level first briefly press the toggle level button which will lead to a second menu being displayed The toggle level can then b...
Page 15: ...light fittings This setting should only be changed if issues are being experienced Shutdown Enable Disable The shutdown button can be used to disable SceneStyle s protection circuitry although this is not recommended unless the protection circuitry is causing an issue When the shutdown enable button is lit green the shutdown circuitry is active and SceneStyle is protected from circuit faults REMOT...
Page 16: ... switch This code is selected in Steps 3 and 4 on the following page You will then be required to enter this code in Step 5 SWITCH TYPE DESCRIPTION COMMON USES Momentary Switch Triggers an action each time it is pressed Impulse dimming Latching Switch Alternate Action Triggers an action each time the switch is moved to a new position Two way switching Latching Switch Defined Action Triggers the sa...
Page 17: ...tary Latching Alternate Latching Defined Contact Closure Contact Opening Two way switching of one or more circuits P P O P P 1 Toggle between two nominated scenes P P P P P 2 Toggle between nominated scene and previous scene P P O P P 3 Selection of nominated scene P P P P P 4 Impulse control of one or more circuits P O O O O 5 Special functions Function Dependent 6 Keycard O O P O O 7 ...
Page 18: ...etween two nominated scenes Nominated Scenes Code Off Scene and On Scene 21 Off Scene and Scene 1 22 Off Scene and Scene 2 23 Off Scene and Scene 3 24 Off Scene and Scene 4 25 On Scene and Scene 3 26 On Scene and Scene 4 27 Scene 1 and Scene 4 28 Toggle between nominated scene and previous scene Nominated Scene Code Off Scene 31 On Scene 32 Scene 1 33 Scene 2 34 Scene 3 35 Scene 4 36 Recall of nom...
Page 19: ... Circuits 2 and 4 57 Circuits 2 3 and 4 58 Special functions Function Switch Type Code Last man out If the current scene is off select the on scene other wise select the off scene Push Button Rocker Switch Alternate Action Contact Closure Contact Opening 61 Table 5 Table 6 Keycard Disables SceneStyle whilst keycard removed Scenes selected Code On scene on entry off scene on exit 71 Scene 1 on entr...
Page 20: ...be capable of supplying the total current for all circuits 4A maximum SceneStyle must be protected by an external circuit breaker or fuse rated at 6A maximum SceneStyle is a Class 1 product This unit must be earthed SceneStyle must be installed in a suitable UK double gang backbox compliant to BS4662 or BS5733 We recommend that a 47mm depth backbox is used SceneStyle complies with EN60669 1 EN6066...
Page 21: ...ight fittings CIRCUIT LOADING Circuits 1 2 500W max Circuits 3 4 250W max Total load 1000W max LOAD TYPES LED Mains tungsten Halogen GLS GU10 and compatible low voltage electronic transformers VOLTAGE 230Vac 10 FREQUENCY 50Hz CURRENT CONSUMPTION 4A max 0 1A quiescent 1 5W SUPPLY INPUT PROTECTION Live in must be externally fused or protected at 6A maximum TEMPERATURE Ta max 25oC Tc max 70oC STANDAR...
Page 22: ...Specification section of this manual The mains supply to the SceneStyle and the wiring of the circuits is shown in the following diagram The cable connected to the Live in terminal must be capable of supplying the total current for all circuits and be protected by an external fuse or circuit breaker rated at 6A maximum The terminals marked with a have no internal connection and may be used as a wi...
Page 23: ... follows The remote switches are mains live and therefore all switches and the cable to them must be mains rated When mounting SceneStyle ensure that the screws supplied with the unit are used The supplied screws have a special low profile head and if incorrect screws are used it will not be possible to fit the Fascia During operation it is normal for the fascia to get warm To keep temperature ris...
Page 24: ...ensure that they do not get trapped behind the fascia Step 3 Securing the Fascia Firmly press the top right corner and the bottom right corner of the fascia until it clicks into place Check that all the buttons are freely protruding through the holes on the fascia HOW TO REMOVE YOUR FASCIA PLATE A fascia may be removed by inserting a 4mm flat head screwdriver under the tab that pro trudes from the...
Page 25: ...lit red Release the bottom two buttons and then in turn press buttons 3 2 and 1 to enter the test menu TESTING THE CIRCUITS Each circuit can be individually switched fully on and off with a momentary press of buttons 1 to 4 When the circuit is off the respective LED will be red and when the circuit on the LED will be green A momentary press of the Exit button will return to the main screen ...
Page 26: ...Configuration Menus 25 CONFIGURATION MENUS See Operation Configuration Menu p 11 ...
Page 27: ...Configuration Menus 26 See Circuit Configuration Menu p 12 See Remote Switch Configuration Menu p 15 ...
Page 28: ...Scene Programming 27 SCENE PROGRAMMING ...
Page 29: ...Scene Programming 28 ...
Page 30: ...3 Button flashing red There is a fault with the buttons respective circuit Check circuit for failed light fittings Front fascia warm This is normal especially when the unit is heavily loaded Contact inputs don t work as expected Wiring is incorrect or the wrong two digit code has been inserted Light fitting won t turn off In rare cases certain light fittings might not turn off completely when used...
Page 31: ...Notes 30 ...
Page 32: ...urn your living room into a home cinema the day room into a quiet snug and the conservatory into a dining room all at the touch of a button You can also select full on for cleaning or manually increase or decrease the brightness of an individual scene or circuit Each scene can be any combination of the lighting circuits at any brightness level from a soft glow to a bright illumination Even the tim...