


06.01.22, 11:53
Duo X User Guide - MOD Wiki
https://wiki.moddevices.com/wiki/Duo_X_User_Guide
10/11
Pressing and hold the left endless knob will open the Device Settings menu.
Access the Device Settings page to learn how to use it to Load Banks and Pedalboards, adjust volumes and MIDI Settings, manage User profiles and
more.
Editing
The MOD Duo X has a built-in graphical user interface (GUI), which means you don’t need to download any extra software in order to configure the
device. To access the interface, you only need a web browser, such as Chrome, Safari or Firefox.
Once you are connected to your device you will be able to build and share your pedalboards, download new plugins, organize your banks for offline
access and much more.
Please refer to the Web GUI User Guide to learn all about it.
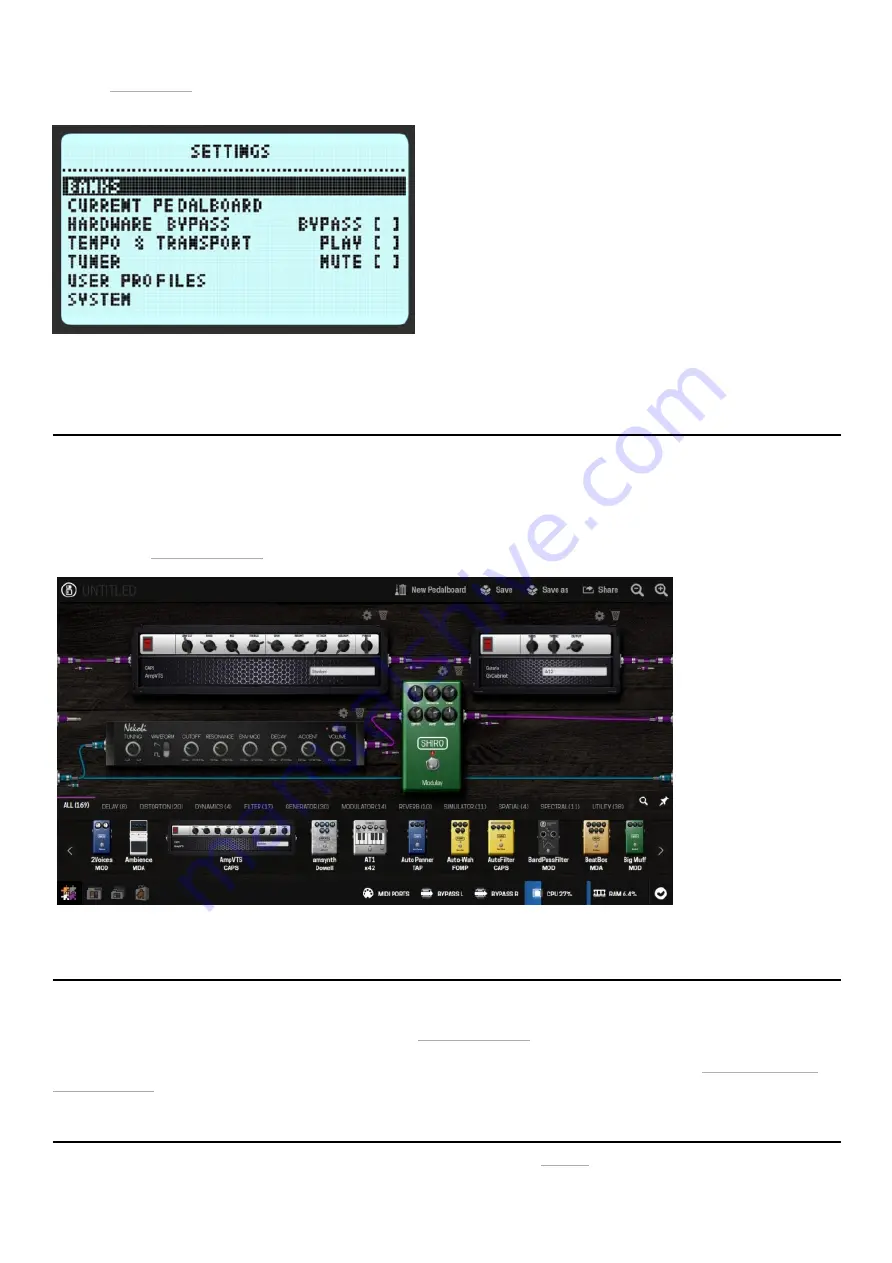
Overview shot of the pedalboard builder in the web interface
The easiest way to access the GUI is through the USB cable. Simply connect the USB cable, which you received along with your MOD Duo X, to your
PC or Mac. The operating system should recognize the MOD Duo X as a network device and configure it automatically. However, this process may
fail in certain Windows versions, if that is your case please check the troubleshooting page
After successfully connecting the MOD Duo X to your PC or Mac, open your favorite browser and navigate to http://modduox.local (or
http://192.168.51.1).
It is also possible to connect to your computer using a wireless Bluetooth connection. Check this page to see how to do it!
Accessing the graphical interface
Accessing via USB cable
Accessing via Bluetooth


