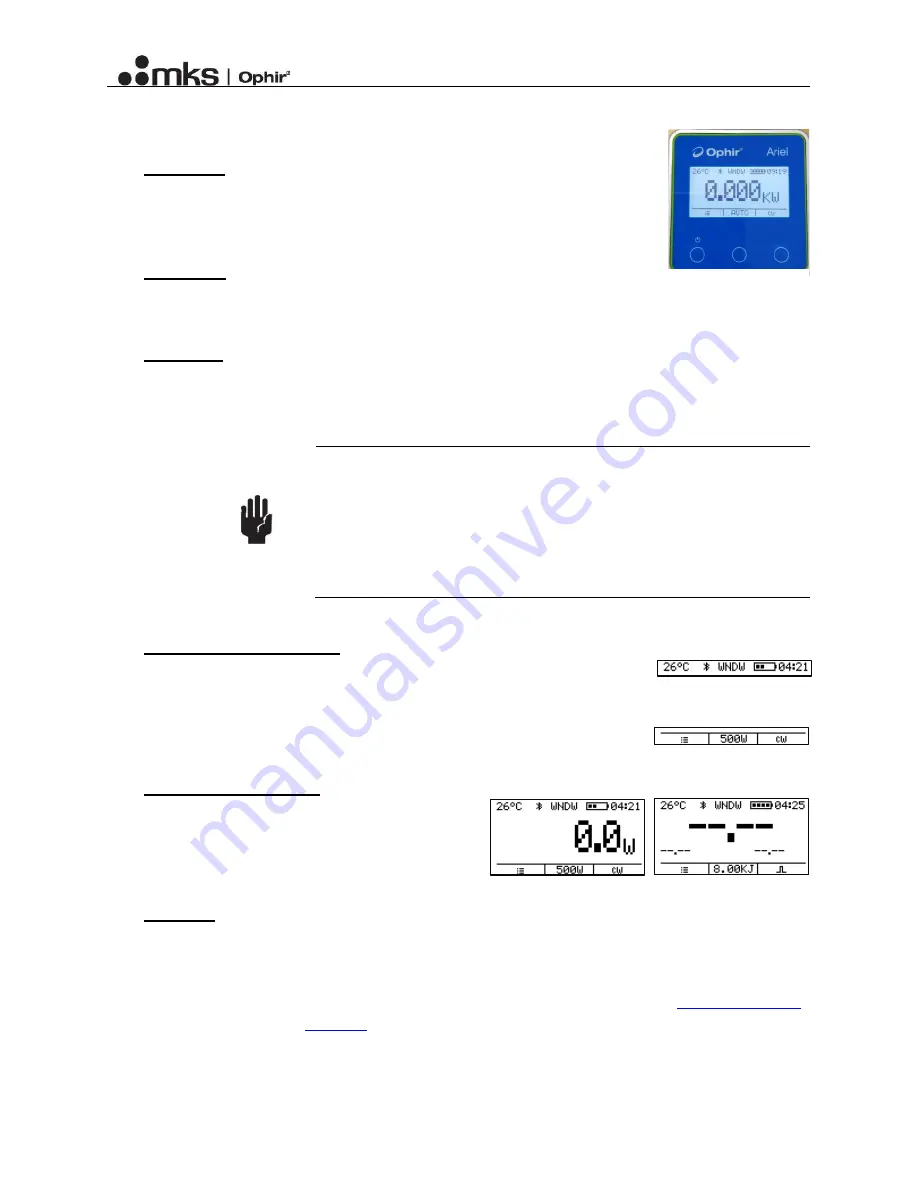
The Ariel User Manual
Rev 5, 01/04/21
11
Chapter 6: Using the Ariel
6.1: Power on
In order to power on the Ariel just click the left button (which has a small on/off
icon), or attach a powered USB-C cable. The Ophir logo will appear, followed by
the date and time, and then the measurement screen.
6.2: Power off
In order to power the Ariel off, hold the left button for a few seconds, until a
‘powering off’ display appears.
6.3: Charging
Connect the USB-C cable to the supplied wall charger or to a computer. During charging, the battery icon
will be animated: the constant bars represent the current battery level. When the battery is fully charged,
the battery icon will have four constant bars.
Caution
It is recommended to charge the Ariel by connecting the
USB cable to a PC with a standard USB 2.0 or USB 3.x
socket capable of providing at least 500mA. Alternatively,
connect to the provided Ophir wall charger. Using a wall
charger or any type of USB socket that cannot provide
minimum 500mA will prevent the Ariel from charging
properly, and may cause damage to the charger.
6.4: Display and navigation
The display has a status line on the top. This line shows the body temperature,
a Bluetooth icon (if enabled; this icon will have dots from both sides if
connected to a device), wavelength setting, battery level and time.
On the bottom line the dynamic functions for each button are displayed.
6.5: CW or Pulsed Power
Use the right most button to toggle between CW
measurement and Pulsed Power measurement. The
current measurement mode name/icon will be
displayed on top of the button.
6.6: Logging
The Ariel logs measurements automatically. In CW
power mode it logs once each second, and in Pulsed
Power mode it logs every pulse. The Ariel has space for 32768 entries. When the log reaches maximum,
the oldest measurements will be overwritten. You can check the memory status in the
and clear the entire log in the
Figure 10: The Ariel
front view
Figure 12: Status line
Figure 11: Measurement
screen controls
Figure 14: CW
measurement screen
Figure 13: Pulse
measurement screen


