49
OCH758
Settings menu
Service menu:
Function setting
Function setting
Cursor
Address
Monitor:
Ref. address
Unit No.
Grp.
/1/2/3/4/All
F1
F2
F3
F4
Function setting
Cursor
Cursor
Request:
Ref. address
Mode 1
Mode 2
Mode 3
Mode 4
Grp.
Function setting
Cursor
Cursor
Request:
Ref. address
Mode 1
Mode 2
Mode 3
Mode 4
Grp.
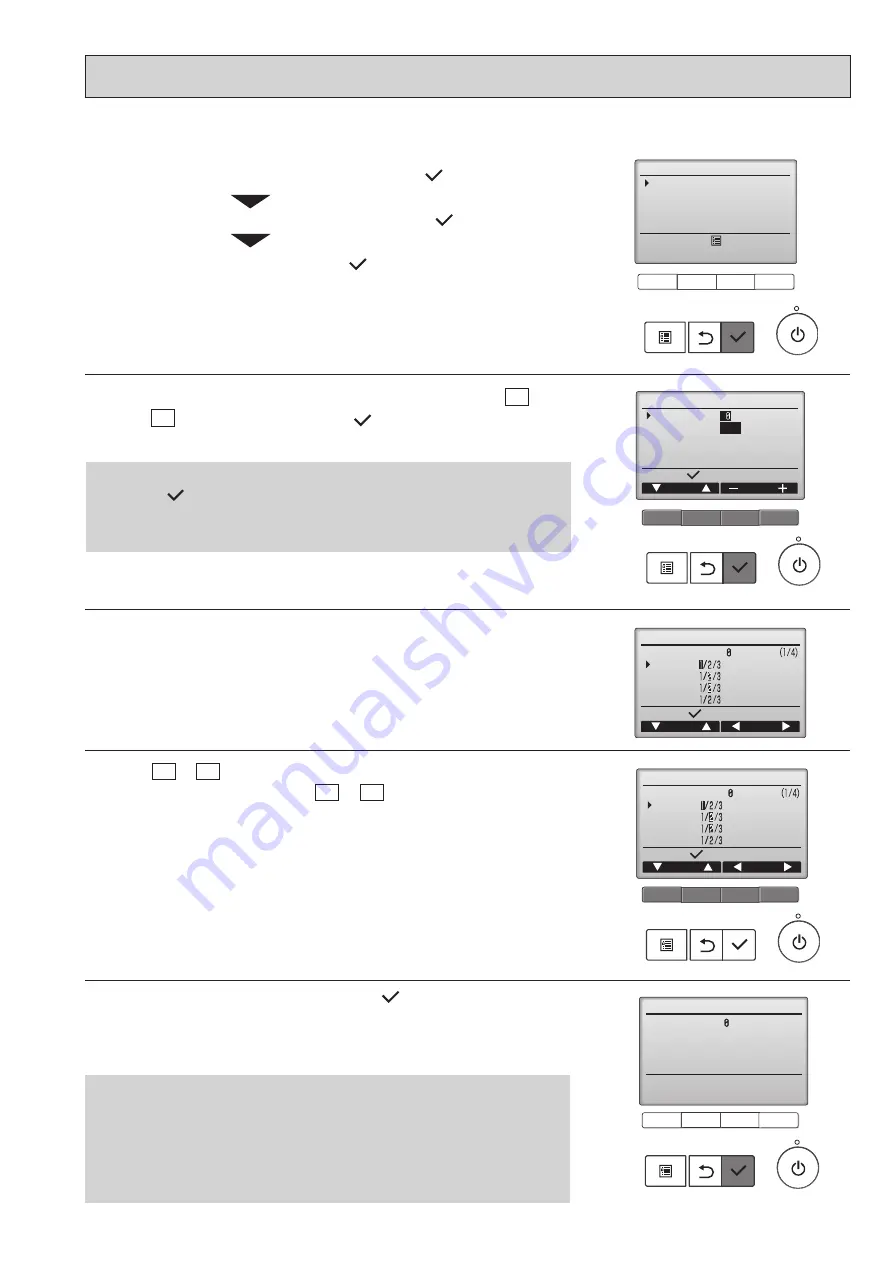
2. Set the indoor unit refrigerant addresses and unit numbers with the F1
through F4 buttons, and then press the [
] button to confirm the current
setting.
3. When data collection from the indoor units is completed, the current settings
appears highlighted.
Non-highlighted items indicate that no function settings are made.
Screen appearance varies depending on the ˝Unit No.˝ setting.
4. Use the F1 or F2 button to move the cursor to select the mode number, and
change the setting number with the F3 or F4 button.
<Checking the indoor unit No.>
When the [
] button is pressed, the target indoor unit will start fan opera-
tion. If the unit is common or when running all units, all indoor units for the se-
lected refrigerant address will start fan operation.
Function setting
Ref. address
Sending data
5. When the settings are completed, press the [
] button to send the setting
data from the remote controller to the indoor units.
When the transmission is successfully completed, the screen will return to the
Function setting screen.
Note: • Make the above settings only on Mr. Slim units as necessary.
• The above function settings are not available for the CITY MULTI units.
• Table 1 summarizes the setting options for each mode number. Refer to
the indoor unit Installation Manual for the detailed information about ini-
tial settings, mode numbers, and setting numbers for the indoor units.
• Be sure to write down the settings for all functions if any of the initial
settings has been changed after the completion of installation work.
13-5.
FUNCTION SETTING
13-5-1. PAR-40MAA
Select ˝
Function setting
˝, and press the [
] button.
Select ˝
Setting
˝ from the Service menu, and press the [
] button.
1.
Select ˝
Service
˝ from the Main menu, and press the [
] button.
F1
F2
F3
F4
F1
F2
F3
F4
F1
F2
F3
F4
F1
F2
F3
F4


