3
. Multiple outdoor units control
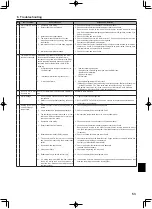
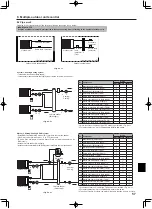
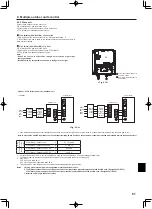
.5. Connecting the thermistor cables
Connect the thermistor for the FTC4 (Slave) controller.
.5.1. Connecting the refrigerant pipe temp. thermistor (TH2) cable
Connect the TH2 cable to the CN21 connector on FTC4 (Slave).
For split Outdoor unit : Connect TH2.
For packaged Outdoor unit : It is NOT necessary to connect TH2.
When the TH2 cable is too long, bundle the excess cable outside the FTC4 (Slave) unit.
Do not bind the wires in the FTC4 (Slave) unit.
<Thermistor position>
Place TH2 on
refrigerant
piping (
liquid
side).
It is recommended to protect the thermistor with heat insulating materials so as not
to be affected by ambient temperature.
Note: Be sure to place TH2 where it correctly detects refrigerant piping temp. (liquid side).
Because;
(1) TH2 is required to detect heating subcool correctly.
(2) Refrigerant temperature of water-to-refrigerant heat exchanger also needs
to be detected for protection purpose.
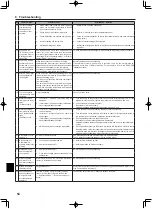
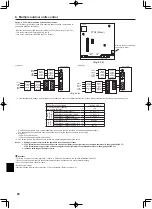
.5.2.
Connecting the flow water temp. thermistor (THW1) cable
and the return water temp. thermistor (THW2) cable
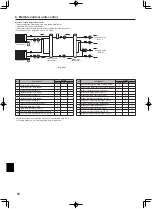
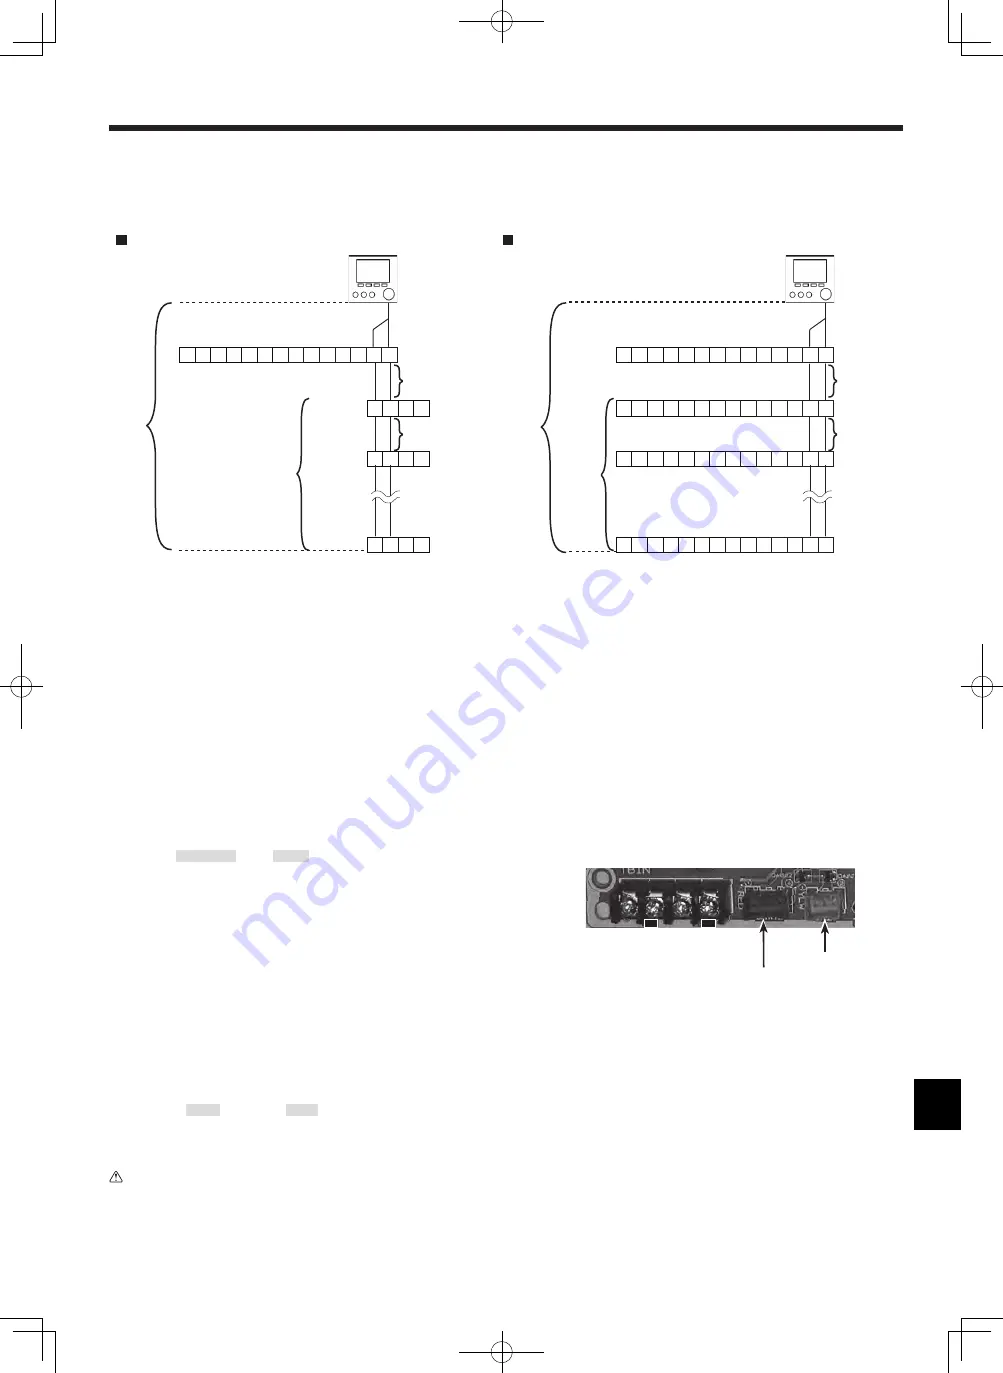
The THW1 and the THW2 cables share a connector, and the connector connects to
CNW12 connector on FTC4 (Slave).
When the THW1 and THW2 cables are too long, bundle the excess cables outside the FTC4 (Slave) unit.
Do not bind the wires in the FTC4 (Slave) unit.
<Thermistor position>
Place THW1 on
water
piping (water
outlet
side) after booster heater, and THW2 on the water inlet side.
It is recommended to protect the thermistor with heat insulating materials so as not to be affected by ambient temperature.
Note: Be sure to attach THW1 where it correctly detects Flow temp. (water oulet side). Fore more details, see Page 6.
Caution:
Do not route the thermistor cables together with power cables.
The sensor part of the thermistor should be installed where user can not access.
(It should be separated, by supplementary insulation, from areas the user can access.)
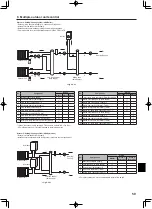
<Fig. .5.1>
Connector CN21
Connector CNW12
RC
IN2
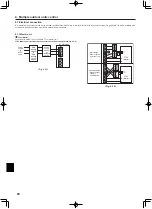
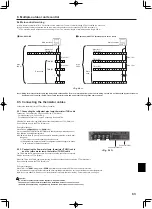
.4 Main controller wiring
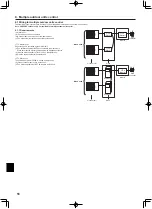
(a) Wire the main controller to TBI.2 RC terminals on the master unit. The main controller must NOT be connected to a slave unit.
(b) Use the daisy chain wiring method to wire the master unit and slave units by connecting TBI.2 RC terminals. *1
*1 The maximum length between each units wiring is 10 m. The maximum length of total daisy-chain wiring is 500 m.
Note: Wiring for main controller cable and daisy chain cable shall be (5 cm or more) apart from power source wiring so that it is not influenced by electrical noise
from power source wiring. (Do NOT insert main controller cable and power source wiring in the same conduit.)
12 13 14
9 10 11
6 7 8
3 4 5
1 2
12 13 14
9 10 11
6 7 8
3 4 5
1 2
12 13 14
9 10 11
6 7 8
3 4 5
1 2
12 13 14
9 10 11
6 7 8
3 4 5
1 2
12 13 14
9 10 11
6 7 8
3 4 5
1 2
3 4
1 2
3 4
1 2
3 4
1 2
Main controller
Main controller
Master unit
TBI.2 (RC)
Master unit
TBI.2 (RC)
TBI.2 (RC)
TBI.2 (RC)
Slave
units
Slave units
TBIN (RC)
TBIN (RC)
Hydrobox (with FTC4 (Master) that is set as slave)
PAC-SIF051B-E
Max. 10 m
Max. 10 m
Max.
500 m
Max. 10 m
Max. 10 m
Max.
500 m
<
Fig. .4.1>

