24
MENU ITEMS
The MENU is used to set the following items. The settings can be saved or changed by pressing
SET button.
WB
Adjusts white balance.
COLOR
Adjusts color of the print image.
SHARP
Adjusts image outline.
LCD
Adjusts color and brightness of the LCD
CAPTURE
Sets flash and shows the settings made by an installer.
MODE
Sets resolution of an image.
TRIM
Sets the printing area of an image.
S.MENU
Opens the sub menu.
RESET
Resets the above items to the settings made by an installer.
< EXIT
Exits this menu.
OPERATING MENU
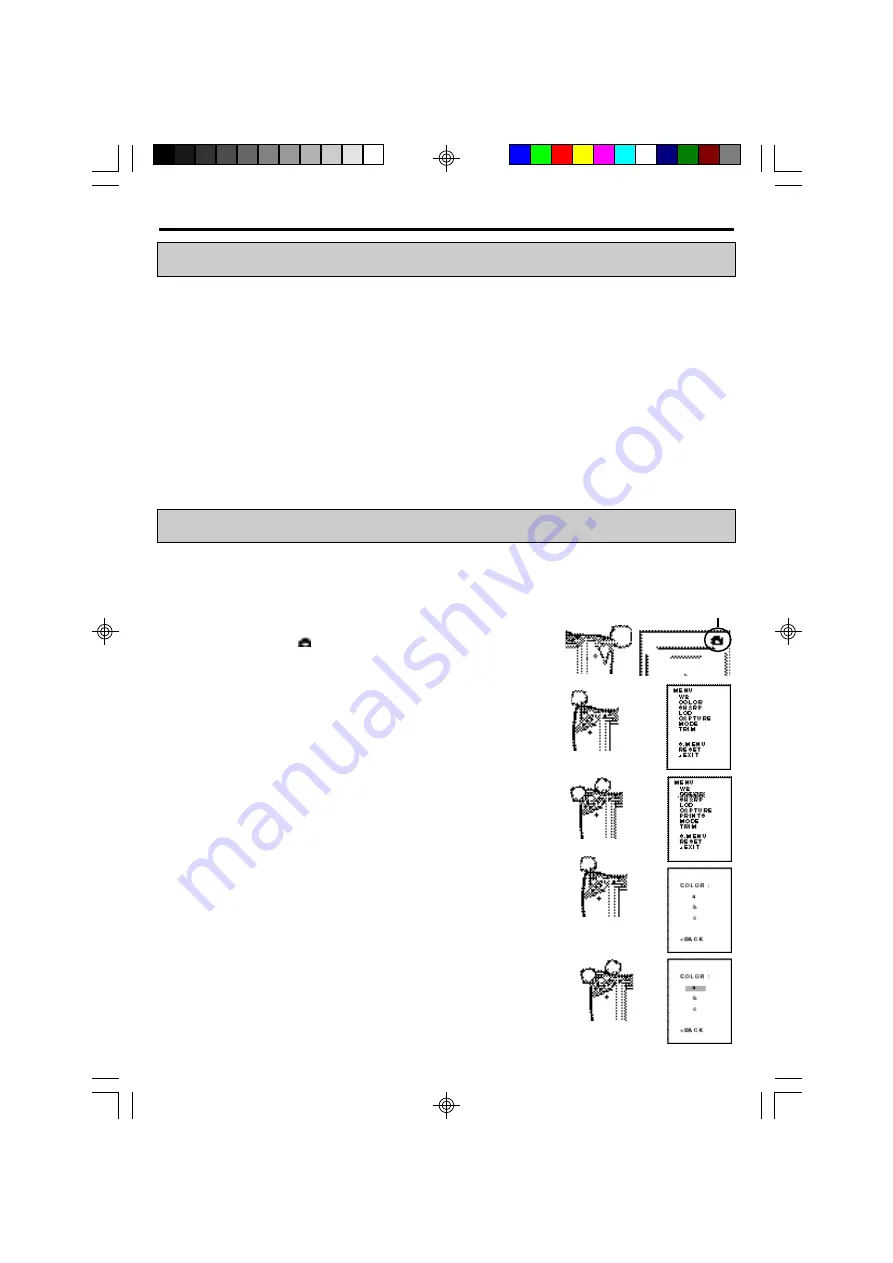
Use the buttons on the camera to display MENU and select and set
functions.
1
Press CAMERA/PLAY button to switch the camera to
CAMERA mode.
In CAMERA mode,
mark is displayed on the upper right of
the LCD.
2
Press SET button for more than 3 seconds.
MENU is displayed.
3
Select the desired item by pressing T (+) or W (-) button.
In the right figure, COLOR is selected.
4
Press SET button to open the item.
When you select S.MENU, see page 30.
5
Press T (+) or W (-) button to select the sub item.
In the right figure, “a” is selected.
CAMERA mode
Summary of Contents for DIS900D
Page 1: ...ID PHOTO SYSTEM DIS900D OPERATION MANUAL ...
Page 22: ...22 8 ADVANCED SETTING MENU CHART ...
Page 23: ...23 ...
Page 36: ...2 MENU CHART ...
Page 37: ...3 ...


