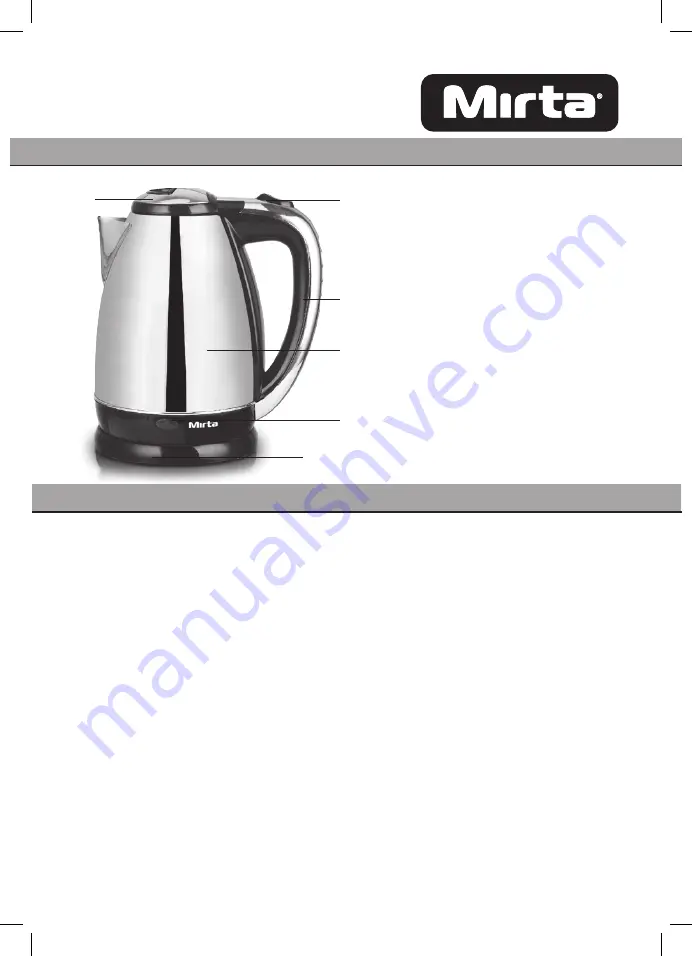
UNIT
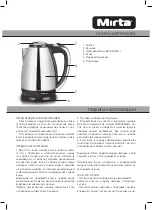
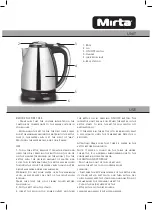
1
2
3
4
5
6
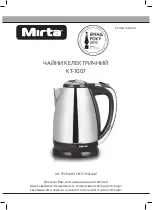
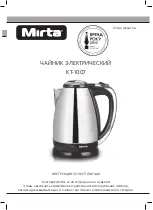
1. Body
2. Lid
3. ON/OFF switch
4. Handle
5. Indicator light
6. Base station
USE
BEFORE THE FIRST USE
- Make sure that the voltage indicated on the
carton box corresponds to the mains voltage in
your house.
- When using the kettle for the first time, please
pour the maximum amount of water into the kettle
that is, the water level is at the point of “max”.
Wait until the water boils, and pour it away.
USE
1. To fill the kettle, remove it from the stand and
open the lid by pressing the button on the lid or
on the handle (depending on the model). Fill the
kettle with the desired amount of water, and
close the lid. Alternatively, the kettle may be filled
through the spout. The water level should not be
above max mark and below min mark.
Warning: Do not pour water over the maximum
level, as water may spill out of the spout when
boiling.
Make sure that the lid is firmly closed before
plugging in.
2. Put the kettle on the stand.
3. Insert the plug into a power outlet and turn
the kettle on by pressing ON/OFF button. The
indicator light will be on. When the water in the
kettle starts to boil, the kettle will switch off
automatically.
4. If the water in the kettle is to be re-boiled, wait
a few minutes until the temperature detector is
restored.
Attention! Make sure that there is water in the
kettle before plugging in.
Note: If water is found on the table or under
the kettle, it is a normal phenomenon due to the
condensation of water vapor.
CLEANING AND STORAGE
- Pull the plug out of the socket and
allow the kettle to cool down before
cleaning.
- First wipe the exterior surface of the kettle and
its stand with a wet cloth, and then with a dry
cloth. Always keep the stand clean and dry. Do not
use abrasives for cleaning the kettle.
- Clean the inside surface of the
kettle with a cloth dipped into a
cleanser and wash it with clean water.
Summary of Contents for KT-1007
Page 1: ...2 KT 1007...
Page 2: ......
Page 3: ...1 2 3 4 5 6 1 2 3 4 5 6 1 2 3 4...
Page 4: ...2000 220 50 1 8...
Page 5: ...2 KT 1007...
Page 6: ......
Page 7: ...1 2 3 4 5 6 1 2 3 4 5 6 1 2 3 4...
Page 8: ...2000 220 50 1 8...
Page 16: ...Mirta 24 Mirta 1 2 Mirta 3 4 5 I 1 24 2 30 3 II III 1 2 IV 1 2 3...
Page 17: ...4 5 V VI...
Page 18: ...Mirta 24 Mirta 1 2 Mirta 3 4 5 I 1 24 2 30 3 II III IV...
Page 19: ...1 2 3 4 5 V VI...
Page 22: ...604 6 2 24 11 2002 N 506 2 N 1...
Page 23: ...3 N 2...
Page 24: ..._____ _______ 20__ _____ _______ 20__ _____ _______ 20__...
Page 25: ......
Page 26: ...5 N 4 N__________________ _____ __ N _________ 5 N 4 N__________________ _____ __ N _________...
Page 27: ......
Page 28: ...604 6...

