HT-5202A/HT-5202G
16
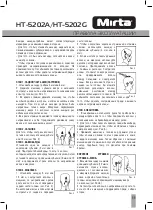
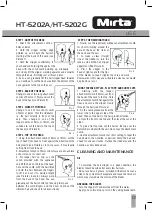
BLADE POSITION
- On the factory all hair clippers are carefully examined to
ensure that the blades were oiled and aligned.
- The blades of the hair clipper are positioned so that the
end of the bottom blade teeth is approximately 1.2mm
back from the top blade.
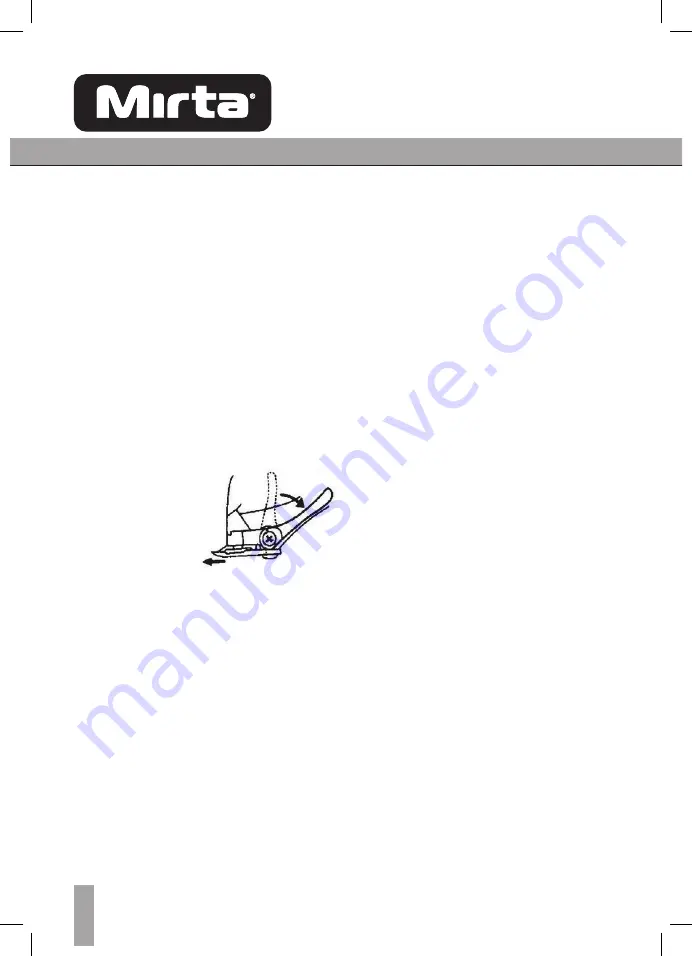
BLADE LEVER
• The blade lever is conveniently located near your thumb
(if you’re right-handed), so it can be easily adjusted while
the clipper is in your hand.
• The lever adds versatility to your clipper by allowing you
to change gradually the length of your hair without using
an attachment comb.
• When the lever is in the uppermost position the blades
will give you the shortest cut and leave your hair very short.
Pushing the lever downward will gradually increase the
hair length.
• In its lowest position
the lever will leave the
hair approximately the
same length as No.1
attachment comb.
• The lever will also
extend the use of the
blades, since a different
cutting edge is used in each setting.
• In addition, if extremely heavy hair cutting has jammed
the blades, the lever will help you remove the hair that has
become wedged between two blades without removing the
blades.
• While the clipper is running, rapidly move the lever up
and down a couple of times. Doing this each time after
you have finished using your clipper, will help to keep the
blades clear of cut hair. If your clipper stops cutting and
this does not help, your cutting blades are blunt. Replace
them with new ones.
INSTRUCTIONS FOR HAIR CUTTING
1. Before starting the hair cut examine the clipper. Make
sure that there is no oil between the cutting blade teeth.
Turn the unit on to have the oil distributed and make sure
it is running smoothly. Wipe off any excessive oil. It should
USE
be done after each use. While using the unit, untwist the
cord from time to time to avoid tangling.
2. Seat the person so that the person’s head is
approximately at your eye level. It allows to ease the
visibility, and to control the unit while cutting.
3. Before you start cutting, always comb the hair first to
make it tangle free and look naturally.
4. Place a towel around the neck and the shoulders of the
person having the haircut.
RECOMMENDATIONS
• Cut the hair in a relaxed and slow manner. Use only short
strokes to work gradually over the entire head.
• Always take off a little hair at a time. You can always trim
off additional hair later.
• As you work, comb the hair frequently and set the hair
into the style to which you are cutting.
• When cutting with this hair clipper, it is recommended
to leave the hair dry, not wet. With the hair dry, it is much
easier to control the amount of hair being cut.
BEGINNING THE HAIRCUT
Cutting hair requires practice, so it is always better to leave
the hair longer for the first few haircuts, until you become
used to the length, to which each attachment comb cuts
the hair.
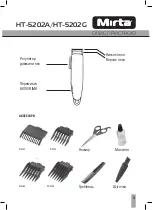
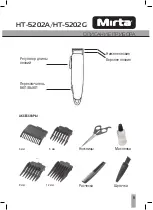
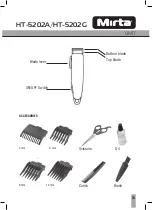
ATTACHMENT COMBS (see Accessories)
- Attachment Comb No. 1 leaves 3mm hair length.
- Attachment Comb No. 2 leaves 6mm hair length.
- Attachment Comb No. 3 leaves 9mm hair length.
- Attachment Comb No. 4 leaves 12mm hair length.
* right comb is for better hair cutting at the right side.
* left comb is for better hair cutting at the left side.
Each comb attachment is marked accordingly on its
outside middle surface.
- To attach a comb, hold it with the teeth up, and slide it
onto and along the clipper blade, until the front of the comb
firmly rests on the clipper blade.
- To remove the comb, simply pull the comb upward and
away from the clipper blade.
- For even cutting, allow the attachment comb/the blade
to cut through the hair. Do not force it through. Also
remember to comb the hair frequently to remove trimmed
hair and to check for uneven strands.
Summary of Contents for HT- 5202A
Page 1: ...Mirta HT 5202G HT 5202A HT 5202B...
Page 2: ...5202A HT 5202G 2...
Page 3: ...HT 5202A HT 5202G 2...
Page 4: ...HT 5202A HT 5202G 3 3 6 9 12...
Page 5: ...HT 5202A HT 5202G 4 1 2 1 1 2 3 4 1 3 2 6 3...
Page 7: ...HT 5202A HT 5202G 6 6 2 3 4 6 10 230 50...
Page 8: ...5202A HT 5202G 2...
Page 9: ...HT 5202A HT 5202G 8...
Page 10: ...HT 5202A HT 5202G 9 3 6 9 12...
Page 11: ...HT 5202A HT 5202G 10 1 2 1 1 2 3 4 1 3 2 6 3 9 4 12 5 6...
Page 13: ...HT 5202A HT 5202G 12 3 4 6 10 230 50...
Page 20: ......
Page 21: ......
Page 25: ......
Page 26: ...Mirta 24 Mirta 1 2 Mirta 3 4 5 I 1 24 2 30 3 II III 1 2 IV 1 2 3 4...
Page 27: ...5 V VI...
Page 28: ...Mirta 24 Mirta 1 2 Mirta 3 4 5 I 1 24 2 30 3 II III IV 1 2 3 4...
Page 29: ...5 V VI...
Page 32: ...1010 132 2 24 11 2002 N 506 2 N 1...
Page 33: ...3 N 2...
Page 34: ..._____ _______ 20__ _____ _______ 20__ _____ _______ 20__...
Page 35: ......
Page 36: ...5 N 4 N__________________ _____ __ N _________ 5 N 4 N__________________ _____ __ N _________...
Page 37: ...1010 132...
Page 38: ......


