background image

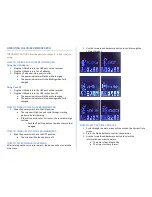
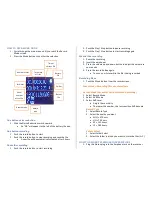
HOW TO USE RECORD MODE 

1.


Cycle through the main menu until you reach the Record 
Mode screen 

2.


Press the Mode button to confirm the selection 


One button noise reduction 

1.


Slide the Noise Reduction switch upward 


An “NR” will appear to the left of the battery life icon 


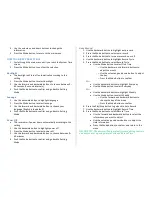
One button recording 

1.


Push the record button to start 

2.


Push the record button to stop recording and save the file 


A new file will be automatically created after 3 hours 


Pause the recording 

1.


Push the record button to start recording 

2.


Push the Play / Stop button to pause recording 

3.


Push the Play / Stop button to start recording again 


Monitor the recording 

1.


Pause the recording 

2.


Insert the earphones 

3.


Press the volume up and down button to adjust the volume to 
your needs 

4.


Press the record button again 


You can now listen while the file is being recorded 


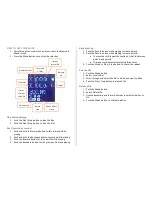
Recording Menu 

1.


Push the Moed button from the record screen 


Local Folder: Recording files are stored here 
 
Record Mode (Normal or Voice Activated Recording) 

1.


Select Record Mode 

2.


Select  AVR Mode 

3.


Select AVR Level 


Adjust the sensitivity 


The lower the number, the less sensitive AVR become 

Record Type 

1.


Select Record Type 

2.


Select the quality you want 


SHQ ≈ 47 hours 


HQ ≈ 70 hours 


SP ≈ 141 hours 


LP ≈ 283 hours 


Folder Select 

1.


Select Folder Select 

2.


Select the folder in which you want to store the files (A–C) 


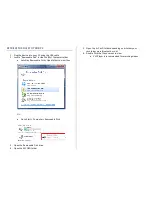
HOW TO RECORD TELEPHONE CONVERSATIONS 

1.


Plug the Stereo plug into the Earphone Jack on the recorder 

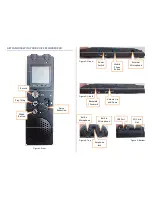
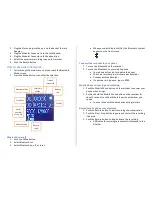
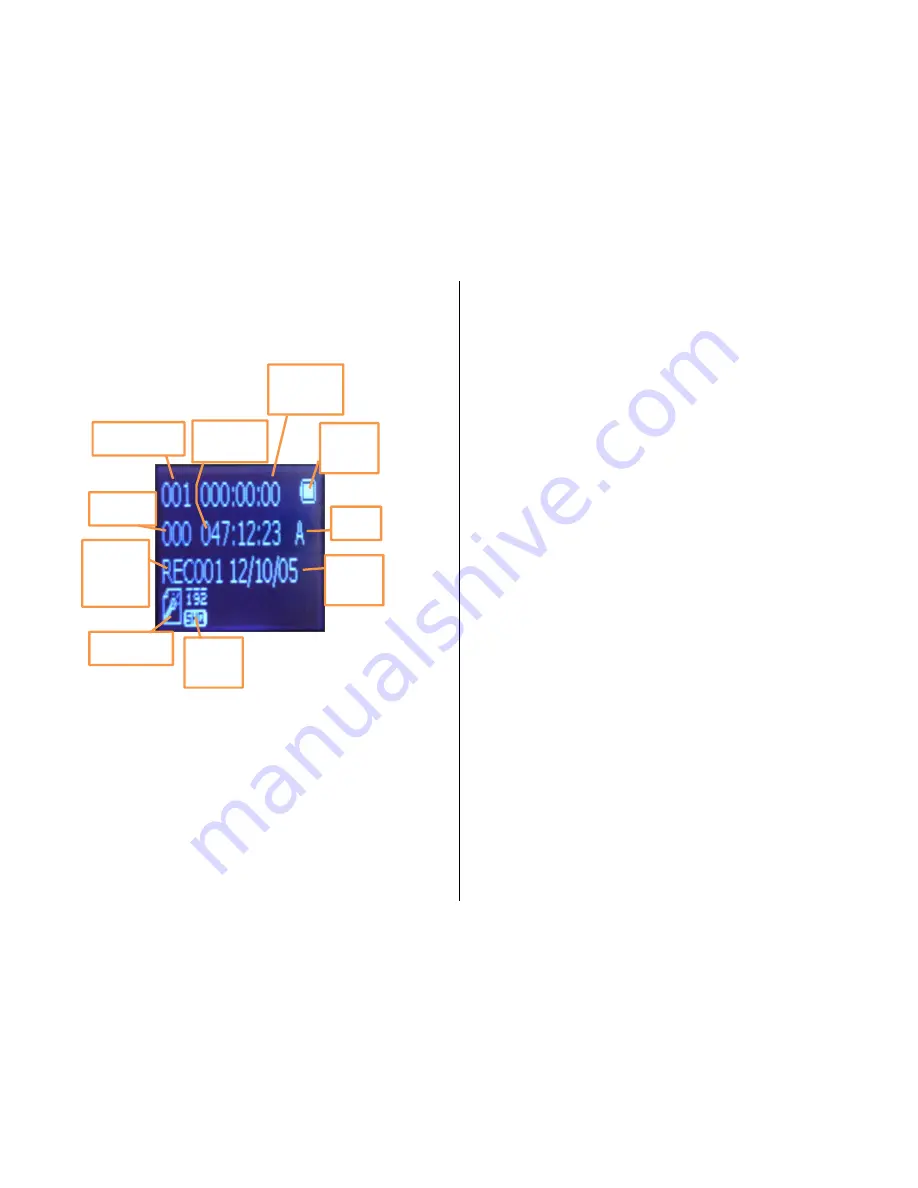
Total time 

of files 

Number of files 

Battery 

life 

Time of 

current file 

Total files 

Folder 

Serial 

number 

of the file 

Record mode 

Record 

type 

Date of 

file 

Summary of Contents for VR4GBPRO

Page 1: ...pick the recording quality mode that suits the situation Set it to automatically answer and you can go about your day or listen in with the included earphones Manage the trade off between quality and...

Page 2: ...2 Side A Figure 3 Side B Figure 4 Top Figure 5 Bottom Noise Reduction Record Mode Button Play Stop Power Switch Mobile Phone Button External Microphone Backward Forward Volume Up and Down Built in Mic...

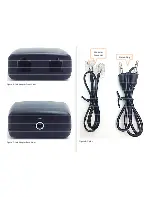
Page 3: ...Figure 6 Jack Adapter Front View Figure 7 Jack Adapter Back View Figure 8 Cords Modular Connector Stereo Plug...

Page 4: ...ORDER PRO 1 Slide the power switch into the ON position The screen will light up and cycle through starting welcome and initializing If there is no activity for 2 minutes the recorder will go to sleep...

Page 5: ...on to confirm and go back to Setting Mode Auto Record 1 Use the backward button to highlight auto record 2 Press the Mode button to select auto record 3 Press the Mode button to turn auto record on or...

Page 6: ...p and down button to adjust the volume to your needs 4 Press the record button again You can now listen while the file is being recorded Recording Menu 1 Push the Moed button from the record screen Lo...

Page 7: ...phone Your phone will search for Bluetooth devices The voice recorder pro will show up as Recorder Connect with the Recorder If a password in required type in 0000 Mobile phone answering and redialin...

Page 8: ...hile playing to create point A 2 Push the Record button while playing to create point B The recorder will repeat the section of the file between point A and point B The repeat will cancel after playin...

Page 9: ...folder AutoPlay Removable Disk Open folder to view files Or Go to Start Computer Removable Disk 3 Open the Removable Disk drive 4 Open the RECORD folder 5 Open the A C or D folder depending on whethe...

Page 10: ...oot the device Unplug the device from your PC and reboot your PC Try using a different USB slot on your PC Replace the USB cable THE SOUND OR VIDEO IS UNCLEAR The device needs charging OTHER PROBLEMS...

Reviews: