background image

 
HOW TO USE PHOTOGRAPHY MODE 

1.


Use the Previous and Next button to select the Photo icon on 
the screen (a red box appears around the selected icon) 

2.


Press the OK button 

3.


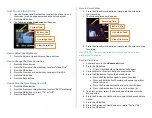
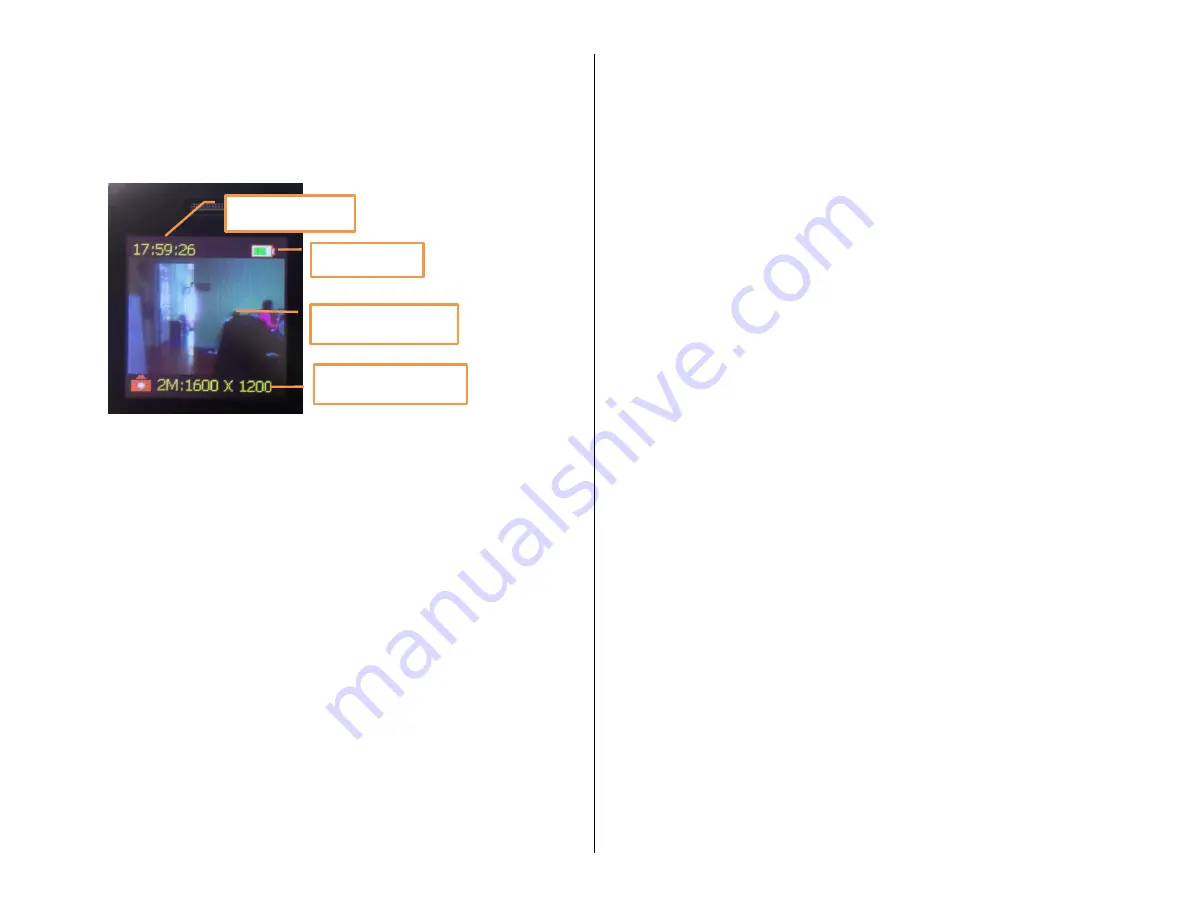
The following 

photo mode


screen will appear 


How to Adjust the Brightness 

1.


Press the Volume Up and Volume Down buttons 


How to Change the Photo Resolution 

1.


Press the Menu button 

2.


Press the Previous or Next buttons to select “Capture Size” 

3.


Press the OK button 

4.


Press the Previous or Next buttons to select 2M, 5M, or 8M 

5.


Press the OK button 

6.


Press the Back button 


How to Turn the Time Stamp On or Off 

1.


Press the Menu button 

2.


Press the Previous or Next buttons to select “Capture 
TimeStamp” 

3.


Press the OK button to select “On” or “Off” 

4.


Press the Previous or Next buttons to select “HD” or “VGA” 

5.


Press the OK button 

6.


Press the Back Button 

How to Turn the Sound On or Off 

1.


Press the Menu button 

2.


Press the Previous or Next buttons to select “Capture Sound” 

3.


Press the OK button to select “On” or “Off” 

4.


Press the Back Button 


How to Take a Photo 

1.


Press the Photograph button or simply tap the screen to start 
recording 


If the capture sound is on, you will hear a camera 
shutter sound 


If the capture sound is off, you will not hear anything 


How to View Photos 

1.


Ensure you are in the 

photo mode

 screen 

2.


Press the OK button 


A list of photo file names will appear 

3.


Press the Next or Previous button to browse the list 

4.


Press the OK button to view the desired photo 


Press the Previous or Next buttons to switch photos 


Press the Back button to return to the video list 

5.


To delete a photo, select the desired video file and press the 
Menu button 

6.


Press the Previous or Next buttons to select the desired delete 
option 

7.


Press the OK button 

8.


Press the Previous or Next buttons to select “Yes” or “No” 

9.


Press the OK button 


Current Time 

Battery Life 

Live Image Feed 

Photo Resolution 

Summary of Contents for HCMP4HD

Page 1: ...modern design fits in almost anywhere It features a camera capable of recording clear 720p video as well as a full touchscreen front for easy control of all aspects of the device The unit charges eas...

Page 2: ...RDER WITH WIRELESS CHARGING Microphone Indicator Light Back Video Record Audio Record Photograph Menu Previous Rewind Volume Down OK Play Next Fast Forward Volume Up Power Button Earphone Jack Camera...

Page 3: ...ld outlet 2 Connect the wireless charging pad to the AC adapter using the included USB cable The red indicator light on the charging pad will turn on 3 Place the recorder on the charging pad as shown...

Page 4: ...he following screen will appear 3 Press the Video Record button or simply tap the screen to stop recording HELPFUL TIP The device automatically saves and starts a new video every 30 minutes How to Pla...

Page 5: ...he Sound On or Off 1 Press the Menu button 2 Press the Previous or Next buttons to select Capture Sound 3 Press the OK button to select On or Off 4 Press the Back Button How to Take a Photo 1 Press th...

Page 6: ...ode screen 2 Press the OK button A list of recording file names will appear 3 Press the Next or Previous button to browse the list 4 Press the OK button to listen to the desired recording Press the Pl...

Page 7: ...wait until it powers itself down 4 Press OK How to Change the Backlight Timer 1 Press the Previous or Next buttons to select Backlight Timer 2 Press OK 3 Press the Previous or Next buttons to select...

Page 8: ...264 2448 Photo Format JPEG Audio Format WAV Voice Activation Yes Water Resistant No Battery Life Video up to 3 hours Audio up to 15 hours Type of Memory Internal 8GB Up to 32GB MicroSD card expansion...

Reviews: