


2
Getting Started with Basic Setup
This is a very important step, allowing you to enter
the correct Date and Time, select Fahrenheit or Celsius
Temperature readings, and calibrate for pH.
This unit comes with factory presets, but before using you must
reset to meet your specific requirements. If you ever wish to
revert to factory settings (a factory reset), simply unplug unit,
then plug back in while holding the Lights button down for 3
seconds.
Breadcrumbs, or the navigation path, shown at the beginning
of each section of this manual, will take you from the Menu
screen to the screen where you will be entering changes.
Setting Date and Time
Menu Button>Basic Setup>Date and Time
1) Press the Menu button on the keypad and the full menu will
appear on screen.
2) The cursor appears beside the first option on each new
screen, and since “Basic Setup” is the first option listed, you can
press the SELECT button on the keypad.
Please note that the Full Menu lists seven options, but only three
will be visible on the screen. To see other options, scroll with the
down arrow to bring other options into view.
3) The **Basic Setup** screen will appear and the cursor will be
beside the first option, which is “Date and Time.” Press SELECT.
4) The “Date and Time” screen will now appear. Both the date
and the time will be shown, but they may not be correct.
5) To change the date, make sure cursor is beside the Date line
and press SELECT.
6) To set the “Date,” use the left/right arrows on the keypad to
move the blinking cursor through the line. Be sure to skip over
slashes. Use the up/down arrows to find the correct numbers
for the month, day, and year. Once you have set all numbers to
match today’s date, press the SELECT button and the SAVED!
screen should appear for a few moments. It will then go back to
the “Date and Time” screen.
7) Now you are ready to set the “Time.” Scroll down to the next
option, which is Time. Press SELECT.
8) Again, work across the Hours:Minutes (00:00) using left/right
arrows, picking the number you want to change, then using
up/down arrows to select the appropriate number.
Note that this unit displays in military time (24-hour); there is
no am/pm option, that is, 9AM is 09:00 and 2:05PM is 14:05.
10:30PM is 22:30.
9) Once complete, press SELECT to enter the new time. A
screen will appear indicating that your change has been SAVED!
10) Scroll to “Exit” and press SELECT to return to **Basic
Setup** screen, or press the Menu button to return to the
primary display screen.
Important:
When utilizing portal, date on controller and portal
dashboard must be the same, and times should be set as close
as possible (within ten minutes).
Setting Temperature – Fahrenheit or Celsius
Menu Button>Basic Setup>Temperature
Work your way to the “Temperature” screen and, using
up/down arrows, select Fahrenheit or Celsius, then press
SELECT. The SAVED! screen will appear, then go back to the
“Temperature” screen. Scroll to “Exit” and press SELECT to
return to **Basic Setup** screen, or press the Menu button to
return to the primary display screen.
Setting “pH Resolution” – Tenths,
Hundredths, or Thousandths
Menu Button>Basic Setup>pH Resolution
On the “pH Resolution” screen, use up/down arrows to select
tenths, hundredths, or thousandths, and press SELECT. The
SAVED! screen will appear, then go back to the “pH Resolution”
screen. Scroll to “Exit” and press SELECT to return to **Basic
Setup** screen, or press the Menu button to return to the
primary display screen.
This completes the Basic Setup of your DL122.
******************************************
Setting Up for pH Readings
The **pH Menu**, as shown below:
• allows you to set for 1, 2, or 3 point calibration
• allows you to check the last calibration – date, time,
number of points, and which points
• provides pH probe diagnostic
• allows you to establish a pH setpoint along with caution
and critical alerts for “out of parameter” readings
**pH Menu**
> pH Calibration
pH Probe Diagnostic
pH Controller
pH Below Alert
pH Above Alert
Manual Temp. Comp.
pH Hysteresis
Exit
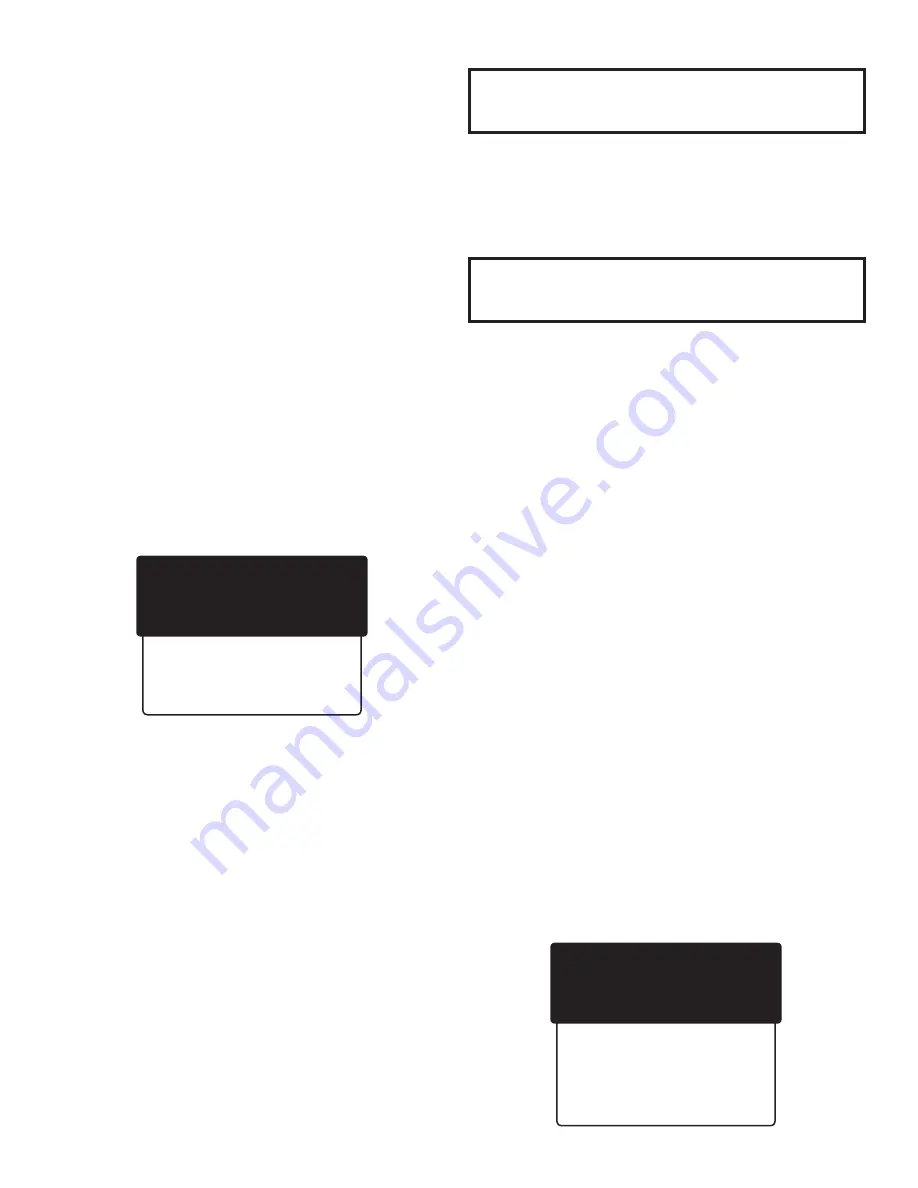
** Menu **
> Basic Setup
pH
Data Log Setup
Last Logged
Wi-Fi Settings
IDC Setup
Exit
Please be sure to read
Getting to Know the DL122
, previous page, before beginning Basic Setup.