background image

OM-293 Page 2

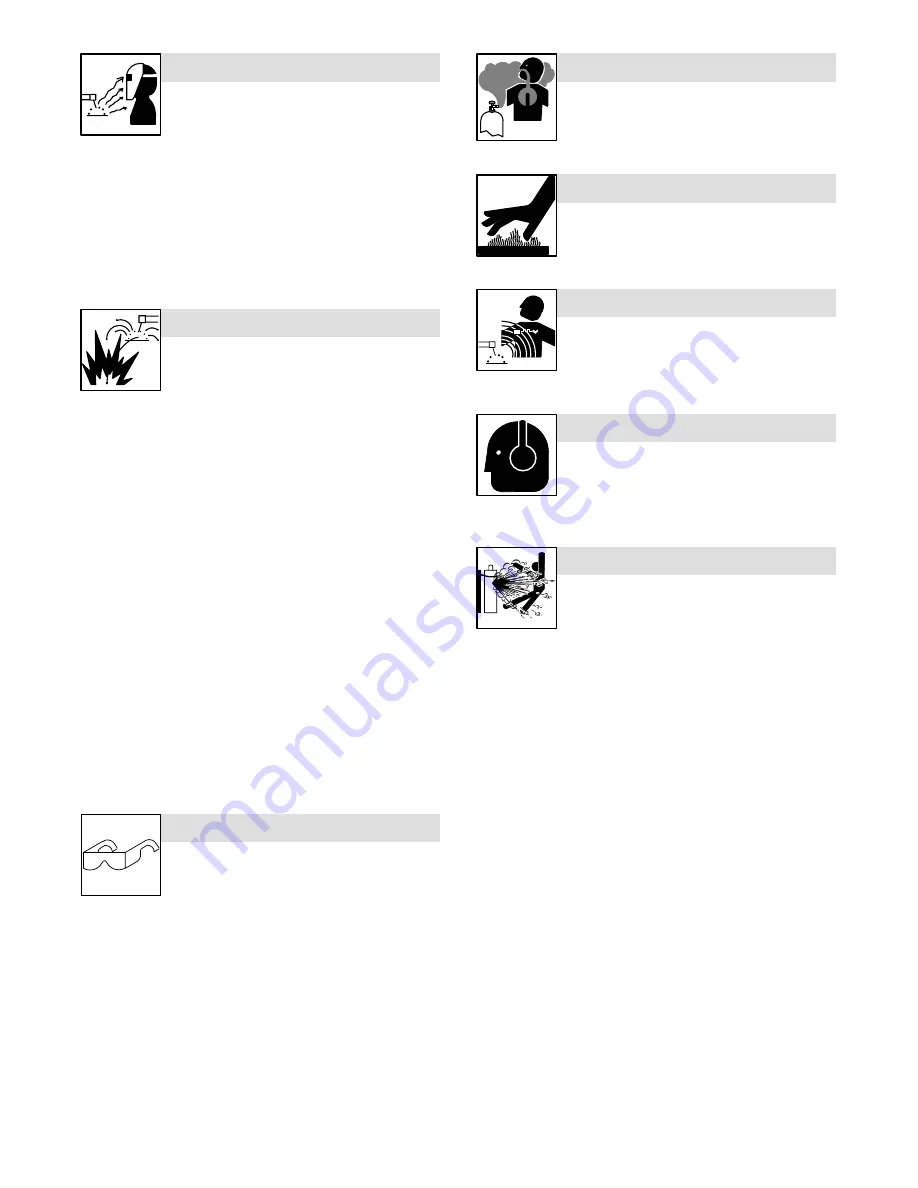
Arc rays from the welding process produce intense
visible and invisible (ultraviolet and infrared) rays
that can burn eyes and skin. Sparks fly off from the
weld.

ARC RAYS can burn eyes and skin.

D

Wear a welding helmet fitted with a proper shade of filter to protect
your face and eyes when welding or watching (see ANSI Z49.1
and Z87.1 listed in Safety Standards).

D

Wear approved safety glasses with side shields under your
helmet.

D

Use protective screens or barriers to protect others from flash and
glare; warn others not to watch the arc.

D

Wear protective clothing made from durable, flame-resistant mate-
rial (leather and wool) and foot protection.

Welding on closed containers, such as tanks,
drums, or pipes, can cause them to blow up. Sparks
can fly off from the welding arc. The flying sparks, hot
workpiece, and hot equipment can cause fires and

burns. Accidental contact of electrode to metal objects can cause
sparks, explosion, overheating, or fire. Check and be sure the area is
safe before doing any welding.

WELDING can cause fire or explosion.

D

Protect yourself and others from flying sparks and hot metal.

D

Do not weld where flying sparks can strike flammable material.

D

Remove all flammables within 35 ft (10.7 m) of the welding arc. If
this is not possible, tightly cover them with approved covers.

D

Be alert that welding sparks and hot materials from welding can
easily go through small cracks and openings to adjacent areas.

D

Watch for fire, and keep a fire extinguisher nearby.

D

Be aware that welding on a ceiling, floor, bulkhead, or partition can
cause fire on the hidden side.

D

Do not weld on closed containers such as tanks, drums, or pipes,
unless they are properly prepared according to AWS F4.1 (see
Safety Standards).

D

Connect work cable to the work as close to the welding area as
practical to prevent welding current from traveling long, possibly
unknown paths and causing electric shock and fire hazards.

D

Do not use welder to thaw frozen pipes.

D

Remove stick electrode from holder or cut off welding wire at
contact tip when not in use.

D

Wear oil-free protective garments such as leather gloves, heavy
shirt, cuffless trousers, high shoes, and a cap.

D

Remove any combustibles, such as a butane lighter or matches,
from your person before doing any welding.

FLYING METAL can injure eyes.

D

Welding, chipping, wire brushing, and grinding
cause sparks and flying metal. As welds cool,
they can throw off slag.

D

Wear approved safety glasses with side
shields even under your welding helmet.

BUILDUP OF GAS can injure or kill.

D

Shut off shielding gas supply when not in use.

D

Always ventilate confined spaces or use
approved air-supplied respirator.

HOT PARTS can cause severe burns.

D

Do not touch hot parts bare handed.

D

Allow cooling period before working on gun or
torch.

MAGNETIC FIELDS

 can affect pacemakers.

D

Pacemaker wearers keep away.

D

Wearers should consult their doctor before
going near arc welding, gouging, or spot
welding operations.

NOISE can damage hearing.

Noise from some processes or equipment can
damage hearing.

D

Wear approved ear protection if noise level is
high.

Shielding gas cylinders contain gas under high
pressure. If damaged, a cylinder can explode. Since
gas cylinders are normally part of the welding
process, be sure to treat them carefully.

CYLINDERS can explode if damaged.

D

Protect compressed gas cylinders from excessive heat, mechani-
cal shocks, slag, open flames, sparks, and arcs.

D

Install cylinders in an upright position by securing to a stationary
support or cylinder rack to prevent falling or tipping.

D

Keep cylinders away from any welding or other electrical circuits.

D

Never drape a welding torch over a gas cylinder.

D

Never allow a welding electrode to touch any cylinder.

D

Never weld on a pressurized cylinder – explosion will result.

D

Use only correct shielding gas cylinders, regulators, hoses, and fit-
tings designed for the specific application; maintain them and
associated parts in good condition.

D

Turn face away from valve outlet when opening cylinder valve.

D

Keep protective cap in place over valve except when cylinder is in
use or connected for use.

D

Read and follow instructions on compressed gas cylinders,
associated equipment, and CGA publication P-1 listed in Safety
Standards.

Summary of Contents for Regency 250

Page 1: ...Regency 250 Processes Description R MIG GMAW Welding Arc Welding Power Source OM 293 120 243N October 2001 Visit our website at www MillerWelds com...

Page 2: ...alue established in 1929 This Owner s Manual is designed to help you get the most out of your Miller products Please take time to read the Safety precautions They will help you protect yourself agains...

Page 3: ...rheating 9 2 3 Volt Ampere Curves 10 2 4 Selecting A Location 10 2 5 Dimensions And Weights 11 2 6 Weld Output Receptacles And Selecting Cable Sizes 11 2 7 Remote 14 Receptacle Information 12 2 8 Elec...

Page 4: ......

Page 5: ...that cord plug is connected to a properly grounded receptacle outlet D When making input connections attach proper grounding conduc tor first double check connections D Frequently inspect input power...

Page 6: ...lding wire at contact tip when not in use D Wear oil free protective garments such as leather gloves heavy shirt cuffless trousers high shoes and a cap D Remove any combustibles such as a butane light...

Page 7: ...intained D Keep high frequency source doors and panels tightly shut keep spark gaps at correct setting and use grounding and shielding to minimize the possibility of interference ARC WELDING can cause...

Page 8: ...a human health hazard However studies are still going forth and evidence continues to be examined Until the final conclusions of the research are reached you may wish to minimize your exposure to ele...

Page 9: ...ation est bien raccord la borne de terre du sectionneur ou que la fiche du cordon est raccord e une prise correctement mise la terre D En effectuant les raccordements d entr e fixer d abord le conduct...

Page 10: ...des v tements de protection d pourvus d huile tels que des gants en cuir une chemise en mat riau lourd des pantalons sans re vers des chaussures hautes et un couvre chef D Avant de souder retirer tou...

Page 11: ...rements et dispositifs de protection LE RAYONNEMENT HAUTE FR QUENCE H F risque de provoquer des interf rences D Le rayonnement haute frequence peut provoquer des interf rences avec les quipements de r...

Page 12: ...hamps magn tiques basse fr quence Le courant de soudage pendant son passage dans les c bles de sou dage causera des champs lectromagn tiques Il y a eu et il y a encore un certain souci propos de tels...

Page 13: ...3 0 1 While idling 2 2 Duty Cycle And Overheating Duty Cycle is percentage of 10 min utes that unit can weld at rated load without overheating If unit overheats thermostat s opens output stops and co...

Page 14: ...g Forks Use lifting forks to move unit Extend forks beyond opposite side of unit 2 Rating Label Use rating label to determine input power needs 3 Line Disconnect Device Locate unit near correct input...

Page 15: ...Sizes Total Cable Copper Length In Weld Circuit Not Exceeding 100 ft 30 m Or Less 150 ft 45 m 200 ft 60 m 250 ft 70 m 300 ft 90 m 350 ft 105 m 400 ft 120 m Weld Output Terminals Welding Amperes 10 60...

Page 16: ...Chassis common The remaining sockets are not used 2 8 Electrical Service Guide Input Voltage 200 230 460 Input Amperes At Rated Output 46 40 20 Max Recommended Standard Fuse Rating In Amperes 1 Time...

Page 17: ...evice Select type and size of overcurrent protection using Section 2 8 Rat ings must comply with applicable codes Install conductors in conduit or equivalent into a deenergized line disconnect device...

Page 18: ...of 2 volts Y Do not change position of Voltage Range switch or Voltage Adjustment switch while welding Arcing can da mage contacts causing connections to fail 3 Power Switch 4 Pilot Light 5 Circuit Br...

Page 19: ...ion 2 9 Check for proper input connections see Section 2 9 Erratic weld output Use proper size and type weld cable see Section 2 6 Clean and tighten all weld connections see Section 4 1 Check for prop...

Page 20: ...OM 293 Page 16 SECTION 5 ELECTRICAL DIAGRAM 192 974 Figure 5 1 Circuit Diagram For Welding Power Source...

Page 21: ...7 THERMOSTAT NO 1 11 T1 191 540 TRANSFORMER pwr main 200 230 460 1 190 789 CAPACITOR ASSY consisting of 1 12 192 727 BRACKET mtg capacitors 1 13 190 790 STRIP mtg center capacitor 1 14 190 793 STRIP i...

Page 22: ...OM 293 Page 18 Hardware is common and not available unless listed 121 587 G 1 2 3 6 7 8 9 10 11 12 11 13 14 4 5 15 Figure 6 2 Panel Front w Components...

Page 23: ...g Amp 213571 2 134 731 CONNECTOR circ pin push in 14 18ga Amp 213603 1 079 739 CONNECTOR circ clamp str rlf sz 17 20 Amp 206322 2 or 143 922 CONNECTOR circ clamp str rlf sz 17 20 Amp 206070 3 9 039 04...

Page 24: ...L consisting of 1 9 TP2 193 248 THERMOSTAT NO 1 10 TP3 193 247 THERMOSTAT NC 1 11 192 994 RECTIFIER SI 1Ph 300A 600PIV top and bottom units 1 12 192 975 BRACKET mtg rectifier 2 13 FM 081 373 MOTOR 1 1...

Page 25: ......

Page 26: ......

Page 27: ...ting Torches Remote Controls Accessory Kits Replacement Parts No labor Spoolmate 185 Spoolmate 250 Canvas Covers Miller s True Blue Limited Warranty shall not apply to 1 Consumable components such as...

Page 28: ...complete and retain with your personal records Always provide Model Name and Serial Style Number Call 1 800 4 A Miller or see our website at www MillerWelds com to locate a DISTRIBUTOR or SERVICE AGEN...

Reviews: