background image

OM-201 872 Page 2

D

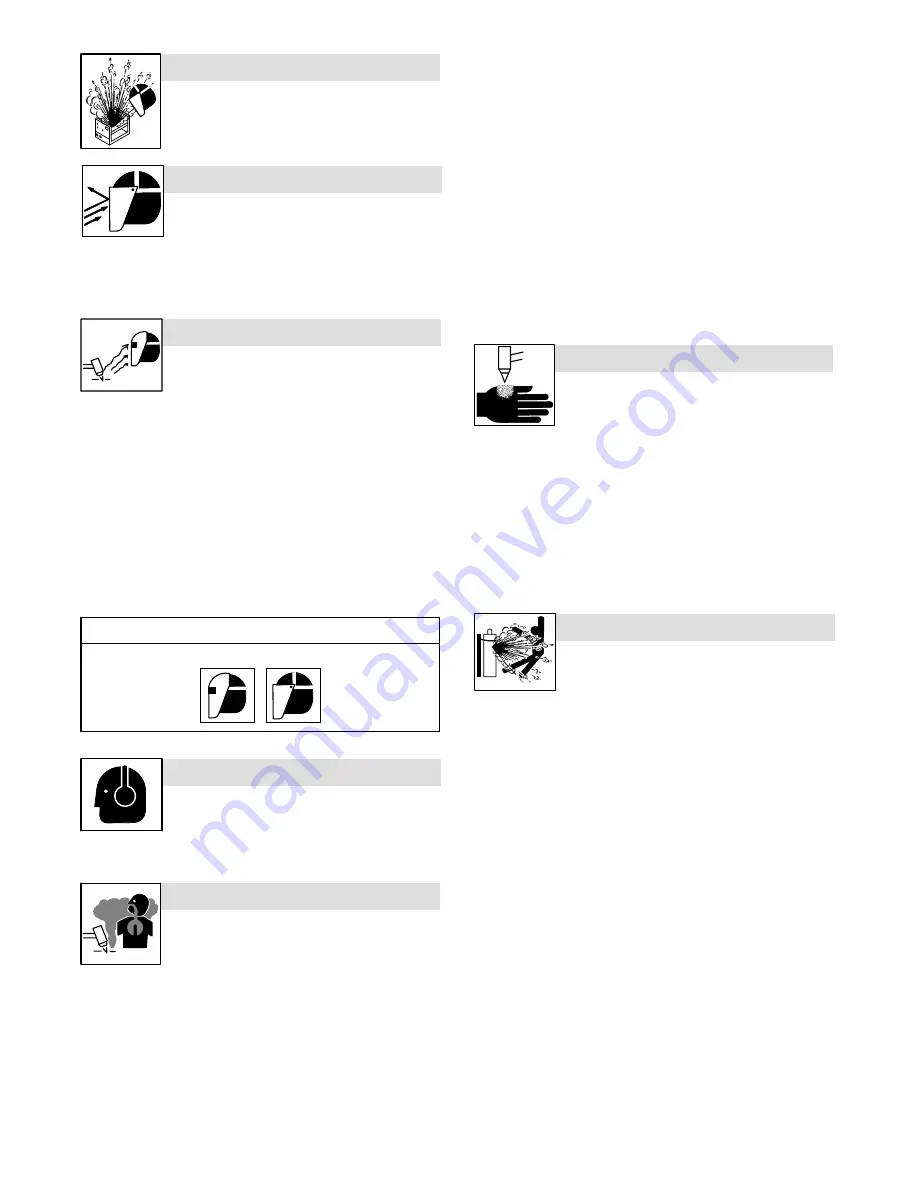
On inverter power sources, failed parts can ex-
plode or cause other parts to explode when
power is applied. Always wear a face shield
and long sleeves when servicing inverters.

EXPLODING PARTS can injure.

Sparks and hot metal blow out from the cutting arc.
Chipping and grinding cause flying metal.

FLYING SPARKS can cause injury.

D

Wear approved face shield or safety goggles with side shields.

D

Wear proper body protection to protect skin.

D

Wear flame-resistant ear plugs or ear muffs to prevent sparks from
entering ears.

Arc rays from the cutting process produce intense
visible and invisible (ultraviolet and infrared) rays
that can burn eyes and skin.

ARC RAYS can burn eyes and skin.

D

Wear face protection (helmet or shield) with a proper shade of filter
lenses to protect your face and eyes when cutting or watching. ANSI
Z49.1 (see Safety Standards) suggests a No. 9 shade (with No. 8 as
minimum) for all cutting currents less than 300 amperes. Z49.1 adds
that lighter filter shades may be used when the arc is hidden by the
workpiece. As this is normally the case with low current cutting, the
shades suggested in Table 1 are provided for the operator’s conve-
nience.

D

Wear approved safety glasses with side shields under your helmet
or shield.

D

Use protective screens or barriers to protect others from flash, glare
and sparks; warn others not to watch the arc.

D

Wear protective clothing made from durable, flame-resistant
material (leather, heavy cotton, or wool) and foot protection.

Table 1. Eye Protection For Plasma Arc Cutting

Current Level In Amperes

Minimum Shade Number

Below 20

20 − 40
40 − 60
60 − 80

#4
#5
#6
#8

Prolonged noise from some cutting applications can
damage hearing if levels exceed limits specified by
OSHA (see Safety Standards).

NOISE can damage hearing.

D

Use approved ear plugs or ear muffs if noise level is high.

D

Warn others nearby about noise hazard.

FUMES AND GASES can be hazardous

.

Cutting produces fumes and gases. Breathing
these fumes and gases can be hazardous to
your health.

D

Keep your head out of the fumes. Do not breathe the fumes.

D

If inside, ventilate the area and/or use local forced ventilation at the
arc to remove cutting fumes and gases.

D

If ventilation is poor, wear an approved air-supplied respirator.

D

Read and understand the Material Safety Data Sheets (MSDSs)
and the manufacturer’s instruction for metals to be cut, coatings,
and cleaners.

D

Work in a confined space only if it is well ventilated, or while wearing
an air-supplied respirator. Fumes from cutting and oxygen depletion
can alter air quality causing injury or death. Be sure the breathing air
is safe.

D

Do not cut in locations near degreasing, cleaning, or spraying oper-
ations. The heat and rays of the arc can react with vapors to form
highly toxic and irritating gases.

D

Do not cut on coated metals, such as galvanized, lead, or cadmium
plated steel, unless the coating is removed from the cutting area, the
area is well ventilated, and while wearing an air-supplied respirator.
The coatings and any metals containing these elements can give off
toxic fumes when cut.

D

Do not cut containers with toxic or reactive materials inside or
containers that have held toxic or reactive materials − they must be
emptied and properly cleaned first.

PLASMA ARC can cause injury.

The heat from the plasma arc can cause serious
burns. The force of the arc adds greatly to the burn
hazard. The intensely hot and powerful arc can
quickly cut through gloves and tissue.

D

Keep away from the torch tip.

D

Do not grip material near the cutting path.

D

The pilot arc can cause burns − keep away from torch tip when trig-
ger is pressed.

D

Wear proper flame-retardant clothing covering all exposed body ar-
eas.

D

Point torch away from your body and toward work when pressing
the torch trigger − pilot arc comes on immediately.

D

Turn off power source and disconnect input power before disas-
sembling torch or changing torch parts.

D

Use only torch(es) specified in the Owner’s Manual.

Gas cylinders contain gas under high pressure. If
damaged, a cylinder can explode. Since gas cylin-
ders are normally part of metalworking processes,
be sure to treat them carefully.

CYLINDERS can explode if damaged.

D

Protect compressed gas cylinders from excessive heat, mechani-
cal shocks, physical damage, slag, open flame, sparks, and arcs.

D

Install and secure cylinders in an upright position by chaining them
to a stationary support or equipment cylinder rack to prevent falling
or tipping.

D

Keep cylinders away from any cutting or other electrical circuits.

D

Never allow electrical contact between a plasma arc torch and a
cylinder.

D

Never cut on a pressurized cylinder − explosion will result.

D

Use only correct gas cylinders, regulators, hoses, and fittings de-
signed for the specific application; maintain them and associated
parts in good condition.

D

Turn face away from valve outlet when opening cylinder valve.

D

Keep protective cap in place over valve except when cylinder is in
use or connected for use.

D

Use the right equipment, correct procedures, and sufficient number
of persons to lift and move cylinders.

D

Read and follow instructions on compressed gas cylinders, asso-
ciated equipment, and Compressed Gas Association (CGA)
publication P-1 listed in Safety Standards.

Summary of Contents for ICE-100T

Page 1: ...Spectrum 1251 And ICE 100T TM Torch Processes Description Air Plasma Cutting and Gouging Air Plasma Cutter OM 201 872D 2007 03 R File Plasma Cutters Visit our website at www MillerWelds com...

Page 2: ...tinue the tradition They re just as committed to providing equipment and service that meets the high standards of quality and value established in 1929 This Owner s Manual is designed to help you get...

Page 3: ...Air Supply 13 4 6 Connecting And Disconnecting Torch 13 4 7 Electrical Service Guide 14 4 8 Extension Cord Data 15 4 9 Connecting 3 Phase Input Power 16 4 10 Connecting To Miller Welder Generator Wit...

Page 4: ...g Shield Cup Shutdown System 39 7 4 Checking Replacing Retaining Cup Tip And Electrode 40 7 5 Checking Or Replacing Filter Element 41 7 6 Troubleshooting Power Source 42 7 7 Troubleshooting Torch 43 S...

Page 5: ...ments in OSHA 1910 252 a 2 iv and NFPA 51B for hot work and have a fire watcher and extinguisher nearby Touching live electrical parts can cause fatal shocks or severe burns The torch and work circuit...

Page 6: ...oxygen depletion can alter air quality causing injury or death Be sure the breathing air is safe D Do not cut in locations near degreasing cleaning or spraying oper ations The heat and rays of the arc...

Page 7: ...st strap BEFORE handling boards or parts D Use proper static proof bags and boxes to store move or ship PC boards H F RADIATION can cause interference D High frequency H F can interfere with radio nav...

Page 8: ...www nfpa org OSHA Occupational Safety and Health Standards for General Industry Title 29 Code of Federal Regulations CFR Part 1910 Subpart Q and Part 1926 Subpart J from U S Government Printing Office...

Page 9: ...D Ne coupez pas de contenants qui ont d j re u des combustibles D Portez des v tements de protection exempts d huile tels que des gants en cuir une veste r sistante des pantalons sans revers des botte...

Page 10: ...peut endommager l ou e D Utilisez des prot ge tympans ou un serre t te antibruit si le niveau sonore est lev D Pr venez toute personne sur les lieux du danger reli au bruit LES FUM ES ET LES GAZ peuv...

Page 11: ...porteurs sont pri s de consulter leur m decin avant d approcher les op rations de coupage plasma L EMPLOI EXCESSIF peut SURCHAUFFER L QUIPEMENT D Pr voir une p riode de refroidissement respecter le cy...

Page 12: ...ention During Welding Cutting and Other Hot Work NFPA Standard 51B de National Fire Protection Association P O Box 9101 1 Battery March Park Quincy MA 02269 9101 t l phone 617 770 3000 site Internet w...

Page 13: ...nt Voltage Input On Off Percent Direct Current U0 Rated No Load Voltage Average U1 Primary Voltage U2 Conventional Load Voltage Line Connection I1max Rated Maximum Supply Current I2 Rated Welding Curr...

Page 14: ...At 75 PSI 517 kPa Air Or Nitrogen Only 1 25 in 32 mm At 12 IPM 305 mm min 265 Power light will flash if torch trigger is pressed when unit is connected to single phase input power indicating an incorr...

Page 15: ...ts AC Three Phase Input Power 40 Duty Cycle 380 575 Volts AC Three Phase Input Power 80 Duty Cycle 5 Minutes Cutting 5 Minutes Resting 8 Minutes Cutting 2 Minutes Resting 4 Minutes Cutting 6 Minutes R...

Page 16: ...ilar device to move unit 3 Line Disconnect Device Locate unit near correct input power supply Y Special installation may be required where gasoline or volatile liquids are present see NEC Article 511...

Page 17: ...nd install fitting in opening Route hose to gas air supply Adjust gas air pressure according to Section 5 2 Tools Needed 9 16 in 3 4 Ref 803 640 A Ref 192 441 Ref 804 026 A Rear of Unit 5 1 2 From Gas...

Page 18: ...no intentional delay fuses are UL class K5 up to and including 60 amp and UL class H 65 amp and above 4 Conductor data in this section specifies conductor size excluding flexible cord or cable between...

Page 19: ...th 208 V 3 60 Time Delay 2 60 A Normal Operating 3 80 A 8 AWG 89 ft 27 m 230 V 3 60 Time Delay 2 60 A Normal Operating 3 70 A 8 AWG 108 ft 33 m 460 V 3 60 Time Delay 2 30 A Normal Operating 3 35 A 10...

Page 20: ...be connected to any input power between 208 and 575 VAC without removing cover to relink the power source 1 Input Power Cord 2 Disconnect Device switch shown in the OFF position 3 Green Or Green Yell...

Page 21: ...d stud 10 Power Cord 11 Circuit Breaker CB7 User Terminals Circuit breaker CB7 protects single phase receptacle RC5 and the load wires from overload If CB7 opens all three phase generator output stops...

Page 22: ...eres Gas air automatically flows at the set pressure Use Gas Air Set area of control range for set ting gas air pressure see Section 5 2 4 Trouble Lights see Section 7 2 5 Power Light 6 Cut Gouge Swit...

Page 23: ...Pull knob and turn set pressure to 75 PSI 517 kPa Push knob in to lock setting 1 Power Switch Setting Gas Air Pressure Unit Requires 90 120 PSI 621 827 kPa Supply At 9 2 CFM 260 L min Minimum Flow Rat...

Page 24: ...close to cutting area as possible Set correct air pressure for process 75 PSI 517 kPa for cutting 60 PSI 414 kPa for gouging 90 DO NOT start pilot arc without cutting or gouging as this shortens the s...

Page 25: ...tarts Postflow continues for approx 20 seconds after releasing trigger cutting arc can be instantly restarted during postflow by raising trigger lock and pressing trigger The pilot arc starts immediat...

Page 26: ...proximately a 45 angle to surface Release trigger Postflow continues for approx 20 seconds after releasing trigger arc can be instantly restarted during postflow by raising trigger lock and pressing t...

Page 27: ...rc starts immediately when trigger is pressed Hold torch at an angle to the workpiece Raise trigger lock and press trigger Pilot arc starts Connect work clamp to a clean paint free location on workpie...

Page 28: ...et of customer supplied remote contacts to provide a remote trigger input signal to RC61 sockets 1 and 5 for the remote Remote Start Red 5 provide a remote trigger input signal to RC61 sockets 1 and 5...

Page 29: ...sure remote control cable plug is connected to RC61 on rear of unit If voltage sensing is required see Section 6 8 Install wrapper on unit Required Items Customer supplied 24 volts dc relay coil with...

Page 30: ...ceptacle RMT2 4 Receptacle RC61 Move plug from RMT1 into receptacle RMT2 on PC1 Be sure remote control cable plug is connected to RC61 on rear of unit If voltage sensing is required see Section 6 8 In...

Page 31: ...from factory with plug connected to receptacle RMT1 Be sure that remote control cable plug is connected to RC61 on rear of unit If voltage sensing is required see Section 6 8 Install wrapper on unit R...

Page 32: ...e signal 1 Control Board PC1 2 Receptacle RMT2 3 Receptacle RC61 Unit is shipped from factory with plug connected to receptacle RMT1 Be sure that remote control cable plug is connected to RC61 on rear...

Page 33: ...rear panel Remove nut from strain relief and route plug end of cable through opening in rear panel Slide nut over cable and secure strain relief to rear panel Route plug end of cable through nylon bu...

Page 34: ...66 2 5 1 1 4 31 8 19 482 12 305 Stainless Arc Current Arc Voltage Pierce Delay Material Thickness Maximum Cut Speeds Optimum Cut Speeds Arc Current Arc Voltage Pierce Delay Inches mm IPM mm min IPM mm...

Page 35: ...7 8 22 2 23 584 15 381 156 N A 1 25 4 16 406 10 254 Stainless Arc Current Arc Voltage Pierce Delay Material Thickness Maximum Cut Speeds Optimum Cut Speeds Arc Current Arc Voltage Pierce Delay Inches...

Page 36: ...3 4 19 0 22 559 14 363 Stainless Arc Current Arc Voltage Pierce Delay Material Thickness Maximum Cut Speeds Optimum Cut Speeds Arc Current Arc Voltage Pierce Delay Inches mm IPM mm min IPM mm min 134...

Page 37: ...0 149 1 1 4 6 4 74 1 880 48 1 219 Stainless Arc Current Arc Voltage Pierce Delay Material Thickness Maximum Cut Speeds Optimum Cut Speeds Arc Current Arc Voltage Pierce Delay Inches mm IPM mm min IPM...

Page 38: ...Optimum Cut Speeds Arc Current Arc Voltage Pierce Delay Inches mm IPM mm min IPM mm min 142 0 5 1 4 6 4 240 6 121 153 3 886 145 0 5 3 8 9 5 131 3 327 85 2 159 148 1 0 1 2 12 7 80 2 032 53 1 346 100 15...

Page 39: ...067 80 149 1 5 8 15 8 42 1 066 28 711 Stainless Arc Current Arc Voltage Pierce Delay Material Thickness Maximum Cut Speeds Optimum Cut Speeds Arc Current Arc Voltage Pierce Delay Inches mm IPM mm min...

Page 40: ...nt Arc Voltage Pierce Delay Material Thickness Maximum Cut Speeds Optimum Cut Speeds Arc Current Arc Voltage Pierce Delay Inches mm IPM mm min IPM mm min 60 134 0 14 ga 2 2 610 15 494 385 9 779 60 138...

Page 41: ...nt Arc Voltage Pierce Delay Material Thickness Maximum Cut Speeds Optimum Cut Speeds Arc Current Arc Voltage Pierce Delay Inches mm IPM mm min IPM mm min 123 0 18 ga 1 3 515 13 081 328 8 331 40 130 0...

Page 42: ...ing severe conditions n Check Z Change Clean l Replace To be done by Factory Authorized Service Agent Reference Each Use n Torch Tip Electrode And Shield Cup n Gas Air Pressure Every Week Week n Shiel...

Page 43: ...Light Lights if power source overheats see Section 4 2 1 2 3 Difficulty establishing pilot arc may indicate consumables need to be cleaned or replaced 7 3 Checking Shield Cup Shutdown System Ref 801...

Page 44: ...etaining cup Check retaining cup for cracks and replace if necessary 3 Tip 4 Opening Remove tip Check tip and replace if open ing is deformed or 50 oversize If inside of tip is not clean and bright cl...

Page 45: ...g Nut 4 Filter Element 5 Defuser Ring 6 Filter Cap Slide latch down and rotate filter cup approximately 1 4 turn Remove cup Remove retaining nut filter element and defuser ring Check filter element fo...

Page 46: ...gas air system for leaks Check filter element see Section 7 5 Pressure Trouble light On Check for correct gas air pressure adjustment see Section 5 2 Check for sufficient gas air supply pressure see S...

Page 47: ...in 3 2 mm workpiece see Section 5 5 Clean or replace torch consumables as necessary see Section 7 4 Sparks come out top of cut or cut is not clean Torch travel speed too fast reduce travel speed see...

Page 48: ...OM 201 872 Page 44 SECTION 8 ELECTRICAL DIAGRAM Figure 8 1 Circuit Diagram For Power Source...

Page 49: ...OM 201 872 Page 45 201 858 A...

Page 50: ...mance of your equipment use only Manufacturer s Suggested Replacement Parts Model and serial number required when ordering parts from your local distributor 1 215 594 Handle w Screws 1 2 215 478 Switc...

Page 51: ...8 219 679 212 726 219 676 212 725 219 684 219 685 212 733 212 733 212 733 212 730 212 730 212 730 Gouging O Ring 212 735 Swirl Ring Electrode Tip Retaining Cap Shield 212 734 219 677 212 724 219 678 2...

Page 52: ...ed Cutting O Ring 212 735 219 677 219 678 219 683 219 684 212 736 Swirl Ring Electrode Tip Retaining Cap Deflector 212 734 212 724 212 728 219 682 212 729 212 733 212 733 212 733 212 736 212 736 212 7...

Page 53: ...50ft 1 220 240 Cable remote control trigger 25ft 1 220 241 Cable remote voltage sense 26 5ft 1 Part No Item No Description 4 See Figure 9 3 for additional consumable parts 3 2 1 804 036 A 5 6 Figure...

Page 54: ...Notes...

Page 55: ...nduction Heating Coils and Blankets Cables and Non Electronic Controls APT SAF Model Plasma Cutting Torches Remote Controls Accessory Kits Replacement Parts No labor Spoolmate Spoolguns Canvas Covers...

Page 56: ...retain with your personal records Always provide Model Name and Serial Style Number Contact a DISTRIBUTOR or SERVICE AGENCY near you Welding Supplies and Consumables Options and Accessories Personal...

Reviews: