


Warning and Safety instructions
18
Use of components and accessories
Only use original spare parts and accessories from the
manufacturer, which are suitable for the application they are required
for. Model designations are available from Miele.
Only use Miele mobile units, baskets, modules and inserts with this
washer-disinfector. Using mobile units, baskets, modules and inserts
made by other manufacturers, or making modifications to Miele
accessories can cause unsatisfactory cleaning results, for which
Miele cannot be held liable. Any resultant damage would not be
covered by the guarantee.
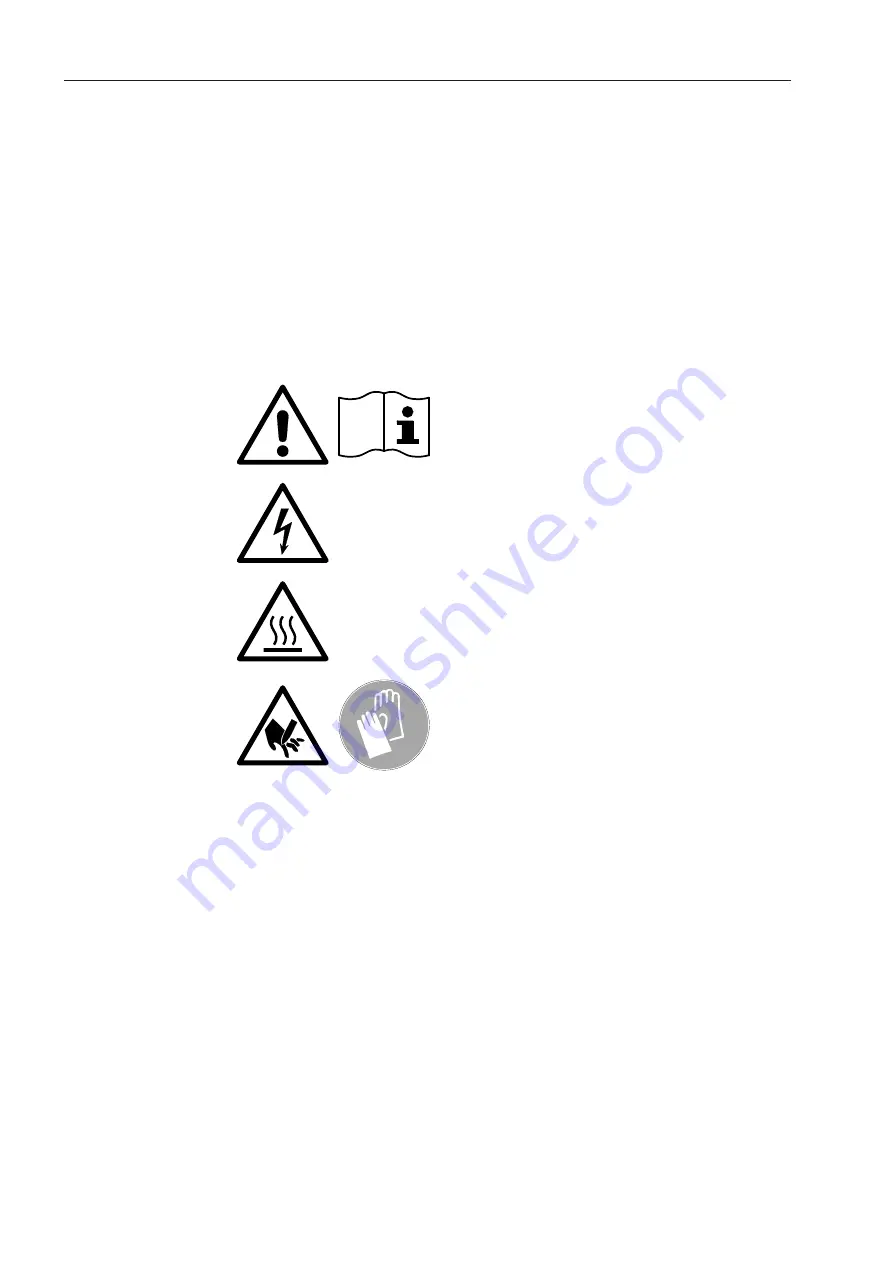
Symbols on the machine
Warning:
Observe the operating instructions!
Warning:
Danger of electric shock!
Warning: Hot surfaces:
It can be very hot inside the wash cabinet
when the door is opened!
Risk of being cut:
Wear cut-resistant protective gloves when
transporting and setting up the machine!


