MNBE-8D2x2 Instructions (continued)
4 |
P a g e 1 0 - 2 4 5 - 1 R E V : A
Table of Contents
Warnings
................................................................................................................................................................ 2
Unpacking
............................................................................................................................................................... 4
Assembly
................................................................................................................................................................ 4
Wiring
–
Battery Configuration
............................................................................................................................. 7
Circuit Breaker Selection
....................................................................................................................................... 7
Assembly drawing
.................................................................................................................................................. 8
Battery Arrangement
............................................................................................................................................. 9
Warranty
.............................................................................................................................................................. 12
Unpacking
The MNBE-8D2x2 and MNBE-8D2x2-Deluxe each ship in two boxes.
Unpacking is the same for each model except that the Deluxe model has extra components shipped within the shelf.
Before unpacking and assembly make sure there is enough space to work in comfortably. It is recommended to
unpack the painted pieces onto carpet or other soft surface to avoid scratching.
Assembling the MNBE-8D2x2 and MNBE-8D2x2-Deluxe
Assembly of the MNBE-8D2x2 and MNBE8D2x2-Deluxe is essentially identical. The differences between the two
models is that the deluxe model comes with extra components.
The MNBE-8D2x2 and Deluxe are 3R outdoor rated. In order to maximize rain-tightness, silicone sealant (Not
included) is applied to several locations on the box during assembly.
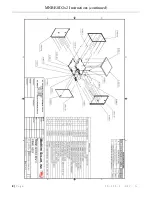
General instructions below. Refer to the assembly drawing on page 7.
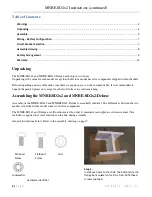
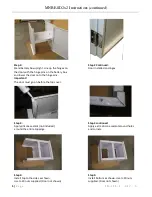
Step 1:
Install each side to the shelf. The bottom has the
flange bent outward. Use1/4-20 x 0.50 flathead
screws supplied.
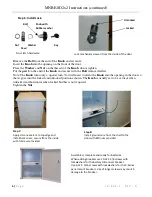
Panhead
Screw
Flathead
Screw
Nut
Hardware identifier
Lockwasher
Summary of Contents for MNBE-8D2x2
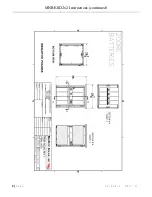
Page 8: ...MNBE 8D2x2 Instructions continued 8 P a g e 1 0 2 4 5 1 R E V A...
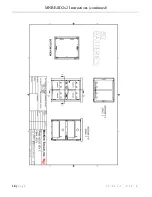
Page 9: ...MNBE 8D2x2 Instructions continued 9 P a g e 1 0 2 4 5 1 R E V A...
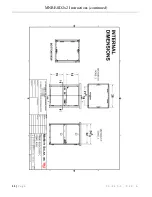
Page 10: ...MNBE 8D2x2 Instructions continued 10 P a g e 1 0 2 4 5 1 R E V A...
Page 11: ...MNBE 8D2x2 Instructions continued 11 P a g e 1 0 2 4 5 1 R E V A...

