Installation
MCAC-KTSM-2009-03
16
Heat Recovery Ventilation
12.3 Preparations before Installation
1. Confirm the positional relationship between the unit and suspension bolts.
Leave space for servicing the unit and include inspection hatches. (Always open a hole on the side of
the electric parts box so that the air filters, heat exchange elements, fans, can easily be inspected and
serviced.)
2. Make sure the range of the unit’s external static pressure is not exceeded.
3. Open the installation hole (Pre-setting ceilings)
Once the installation hole is opened in the ceiling where the unit is to be installed, pass transmission
wiring, and remote controller wiring to the unit’s wiring holes.
After opening the ceiling hole, make sure ceiling is level if needed. It might be necessary to reinforce the
ceiling frame to prevent shaking.
Please consult architect or woodworker, if necessary.
4. Install
the
suspension
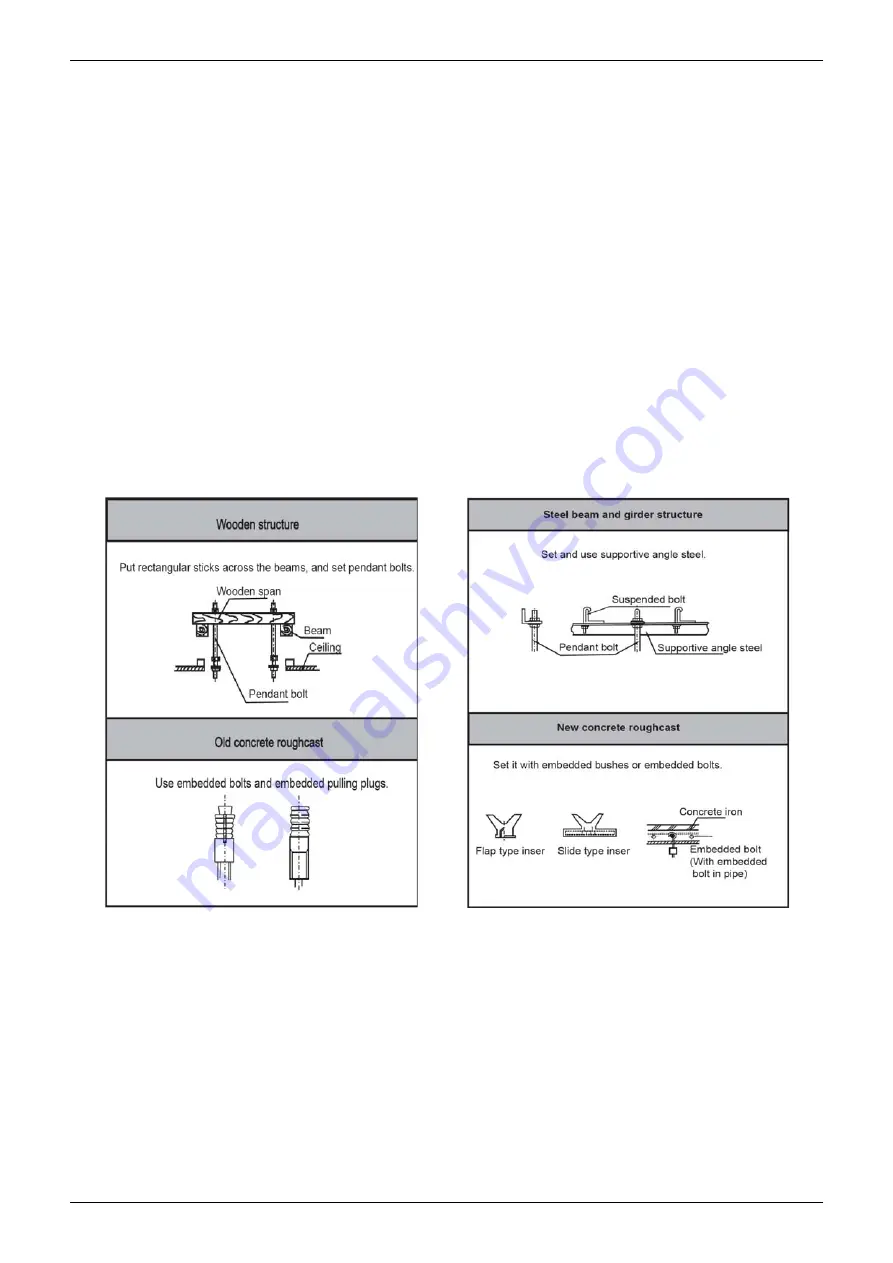
bolts. (Use M10 to M12 suspension bolts.) Use a hole-in anchor, sunken insert
anchor for existing ceilings, or other parts to be procures in the field to reinforce the ceiling to bearing
the weight of the unit.
5. Install vibration damping feet. (For vibration damping)
12.4 Installation the Unit
1. Before installation, please confirm all external parts are stand in their place and without damage.
2. The surrounding environment of the unit, especially the sides of wiring cabinet and water collecting side
should reserve sufficient wiring and maintenance and space; additionally, one should ensure the
removing space for filter griller.
3. Unit should mount steadily and without sustain the weight form condensate water pipe and air duct. The
vents of air inlet/outlet and return should be connected with flexible tube.
4. Unit in AC 220V/50Hz or 380V/50Hz, reliable grounding; each one possesses of independent cut-off
and protection device.
5. The installation dimension and maintenance space. (See the maintenance space.)


