14 ScanMaker 6000 Supplement
For advanced users
1. Double-click the ScanWizard 5 icon (
) on your desktop to launch the
ScanWizard 5 Standard Control Panel, then click the Switch icon (
) on
the right corner of the Standard Control Panel to switch to the Advanced
Control Panel.
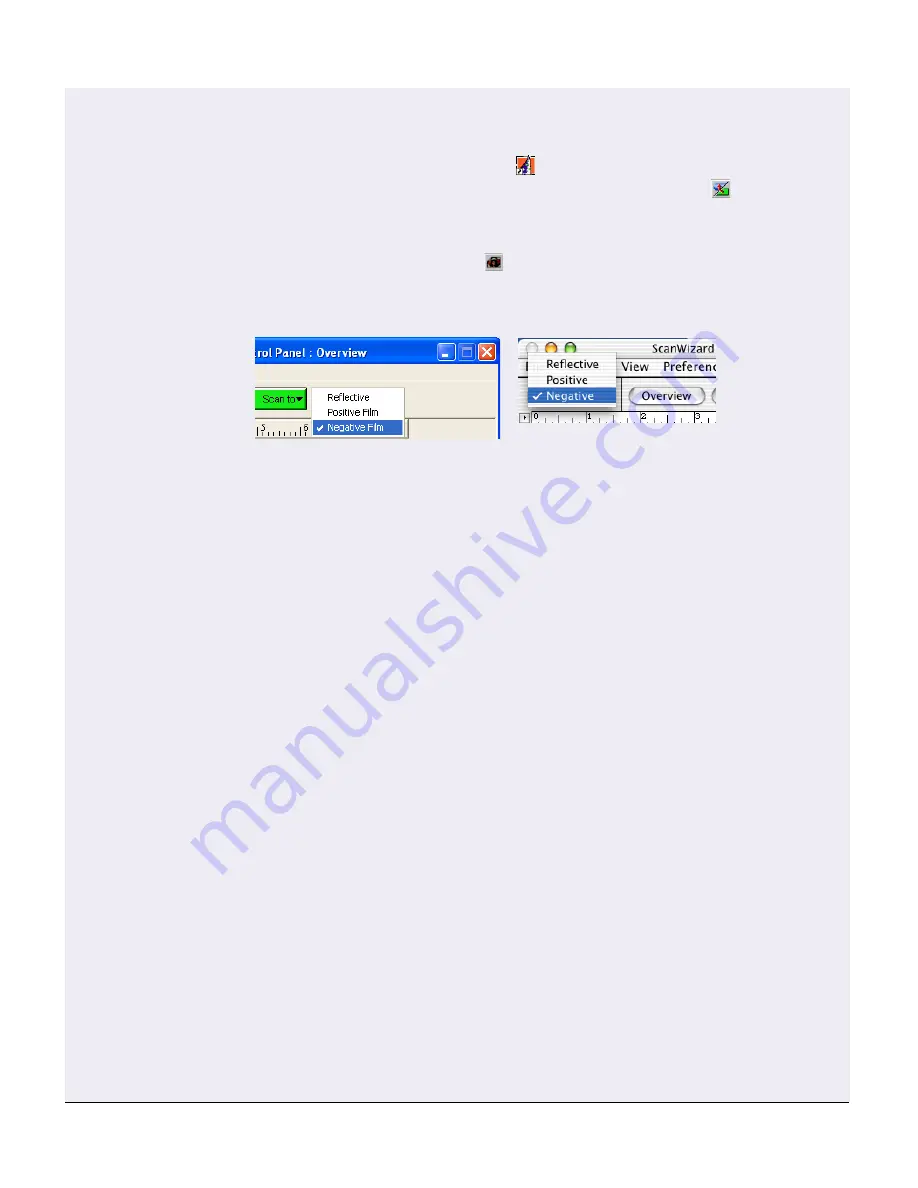
2. Click the Scan Material button (
) in the Preview window of ScanWizard 5,
and choose Negative Film from the Scan Material drop-down menu. For
Mac OS X, select Negative.
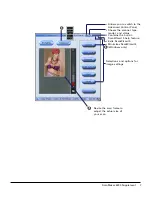
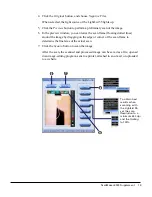
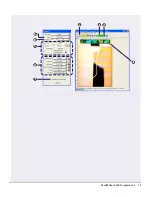
3. Click the Overview button to perform a preliminary scan of the image. When
done, you will see an image appear in the preview window.
4. In the preview window, you can resize the scan frame (floating dotted lines)
around the image by dragging on the edge or corner of the scan frame to
determine the final size of the actual scan.
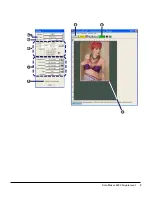
5. Specify your scanning parameters in the Settings window.
a) Select a desired image type in the Type pull-down menu as your image
output type.
b) Select a desired resolution in the Resolution pull-down menu for your
image output resolution.
c) Adjust the scan frame settings if necessary.
6. If necessary, adjust image quality using the image corrections tools (White/
Black Points, Tone Curve, Brightness/Contrast, Color Correction, Filter, and
Descreen).
7. If the colors in your photo are faded and need restoring, check the
“Automatic Color Restoration” box in the Settings window.
8. Click the Scan to button to scan the image.
After the scan, the scanned and processed image can be saved as a file,
opened in an image-editing program, sent to a printer, attached in an e-mail,
or uploaded to a website.
Summary of Contents for ScanMaker 6000
Page 9: ...ScanMaker 6000 Supplement 9...
Page 15: ...ScanMaker 6000 Supplement 15...


