


ArtixScan DI 6240S/6250S/6260S & ArtixScan TS 630S User's Manual 39
Customizing the Function Buttons
1. Launch ScanWizard DI
.
2. Follow the procedures (steps 3 through 10) for the “Scanning Documents”
section to specify your scanning requirements in the ScanWizard DI panel.
3. When you finish specifying the scanning settings, exit the ScanWizard DI.
Follow the steps in “Starting Up the Scanner Button Settings Interface” to
activate the Scanner Button Settings interface.
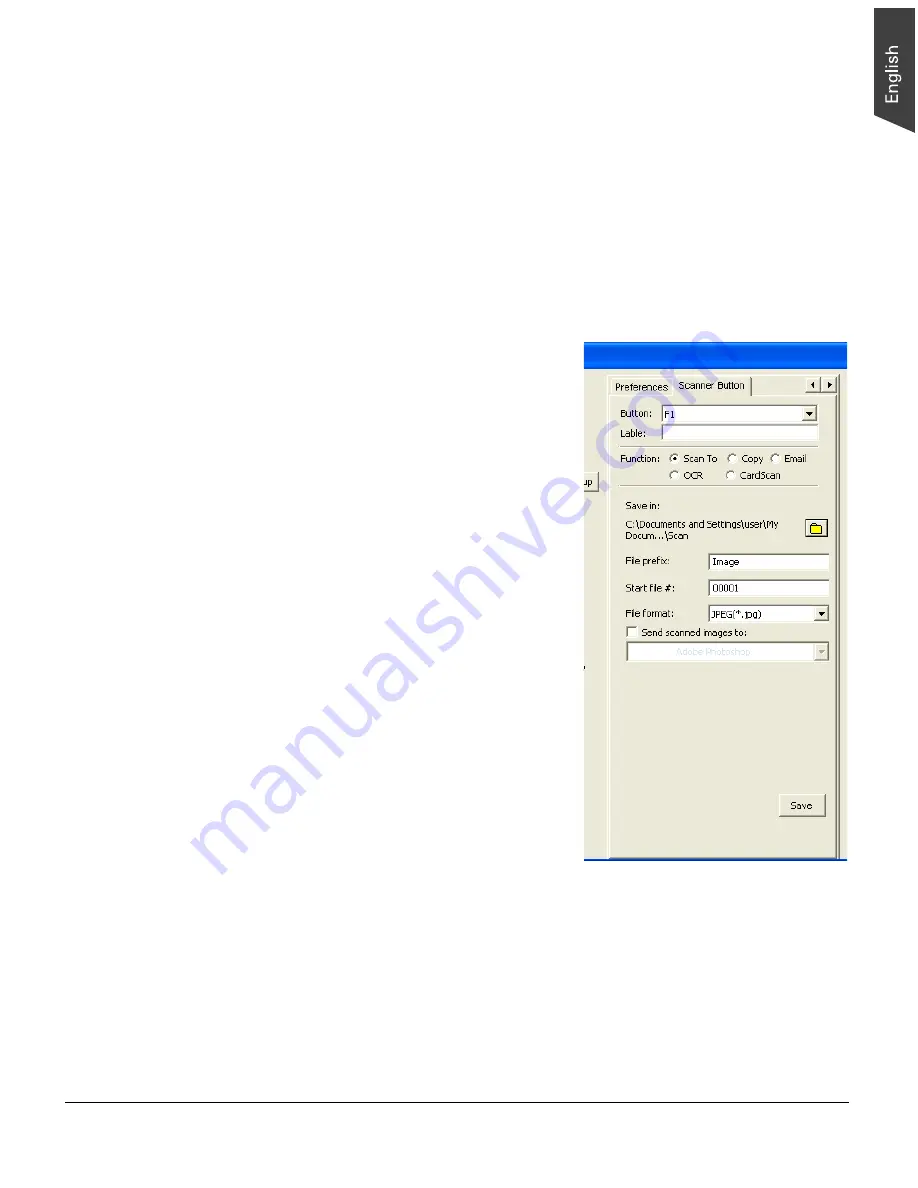
4. In the interface, specify your requirements for the button that you wish to
define (F1, F2, F3, F4, F5 and Favorite).
a) Select F1, F2, F3, F4, F5 or
Favorite (e.g., F1) to be defined
from the
Button
options.
b) Key in your preferred string in the
Label
edit box for the selected
function button.
c) Make your selection among the
Function
radio buttons below to
define your selected button. The
four functions provided are:
–
Scan To
: Captures images that
can be automatically saved as
files or sent to another
application for further
processing. This is the default
selection.
–
Copy
: Scans the image and
sends it to your printer,
transforming your scanner and
printer into a convenient copy
station. Simply specify the
number of copies you want.
–
: Captures images that
can be automatically saved as
files or sent to the system
default E-mail application.
–
OCR
: Performs OCR (Optical Character Recognition) of a document
and converts it to a fully editable digital file. Saves time from
retyping documents into your word processor.
–
CardScan
: Captures images of various cards (ex. ID cards, credit
cards or membership cards) that can be automatically cropped and
saved as files or sent to another application for further processing.