


34 ArtixScan DI 6240S/6250S/6260S & ArtixScan TS 630S User's Manual
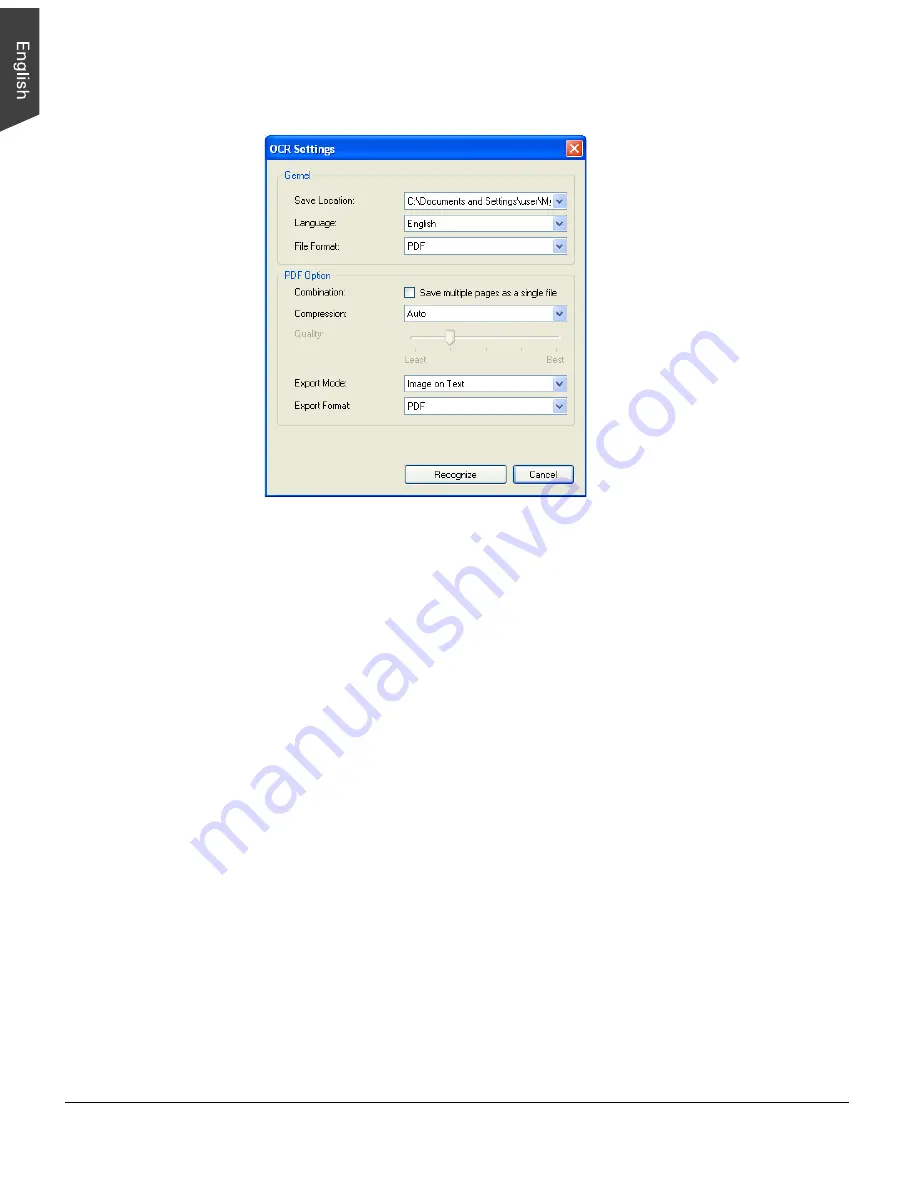
3. In the OCR Settings window, set up related requirements:
–
Save Location: Specify a directory for saving the converted files.
–
Language: Select a language in which the original text document is
written. Supported options include most common used languages in the
world.
–
File Format: Select a file format for the converted files. Options include
DOCX, PDF, PPTX, RTF, TXT, XLS, XLSX and XML.
When PDF is selected, the “PDF Option” section is enabled at bottom of
the window.
Save multiple pages as a single file:
If this option is checked, the system
allows you to save the scanned image files to a single file when OCR is
complete.
Compression:
This menu box lets you select a file format which supports
file compression feature. The available options include Auto, JPEG, JPEG
2000, LZW and ZIP. If JPEG or JPEG 2000 is selected, the Quality
control will be enabled in the window. Drag the slider to left or right to
define a quality setting for the file.
Export Mode:
This menu box lets you select a layout mode when
exporting a file containing text and images. The available options include
Image Only, Image on Text, Text on Image and Text Only.
Export Format:
This menu box lets you select a type of PDF format.
4. When done, click the Recognize button to perform OCR.
Once OCR is complete, the converted file is sent to your chosen folder.