42 ArtixScan DI 2125c User's Manual
Troubleshooting
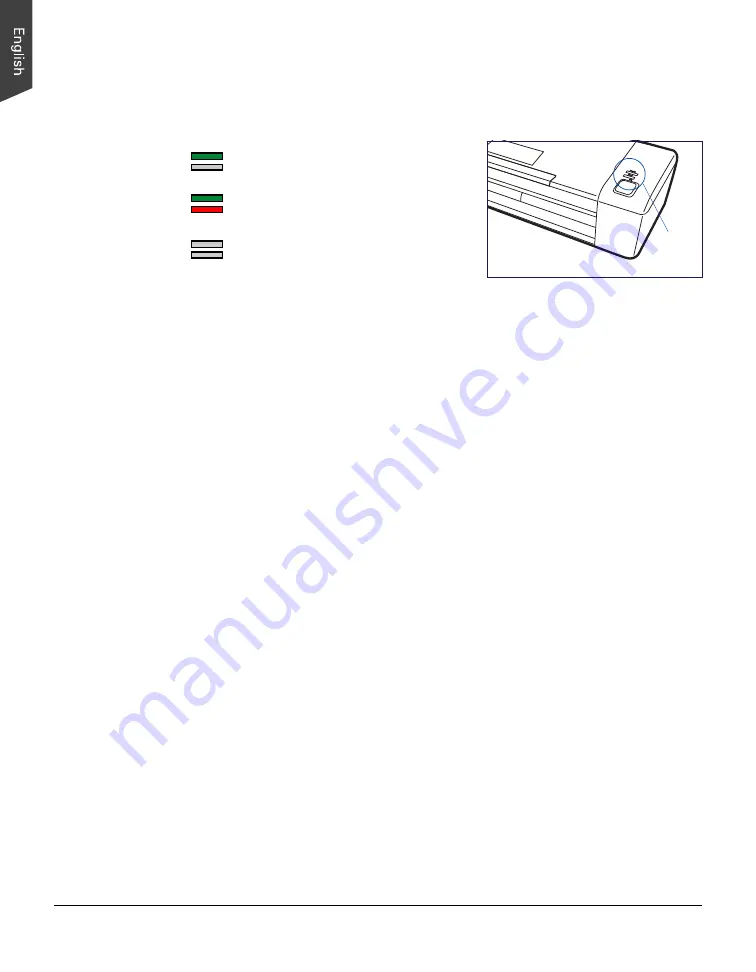
The LEDs on the top panel of the scanner indicates the status of the scanner.
First, make sure that you have followed Steps 1 to 3 as described in the “Initial
Setup” section of this document (unpack, install, connect). Then if your problem
is listed here, try the suggested solution.
1. No light comes on when the scanner is already supplied with power.
Make sure your scanner is connected to your computer and plugged into a
power source.
Make sure the Document Feed Tray is opened.
2. The Add/Remove Hardware Wizard appears on your screen.
Click the “Cancel” button and close the ScanWizard DI Control Panel.
Disconnect the Hi-Speed USB cable from the back of your computer, and refer
to the installation instructions in this document.
3. When trying to scan, an error message appears on your screen that reads,
“Can’t Find Scanners”.
Make sure your scanner is connected to your computer and plugged in to a
power source (see Step 3 in the “Initial Setup” section).
Uninstall and reinstall the ScanWizard DI software.
4. Ink stains or strips appear on the scanned images.
Clean the glass surface areas with a soft, non-abrasive and lint-free cloth.
Clean the rollers with a lint-free cloth or a swab moistened with alcohol or
ECO cleaner
5. After clicking scan, a blank screen appears.
Uninstall and reinstall the ScanWizard DI software.
6. When trying to scan, an error message appears on your screen that reads,
“ADF is not ready or no paper”.
Make sure there are papers on the Document Feed Tray.
Make sure the top edges of papers have been inserted into the feeder.
Green On
Ready to scan.
All On
Scanning errors happens.
All Off
Scanner is off.
F1
Erro
r
Rea
dy
LEDs


