Microtek ADF-700 User Manual Download Page 4

4

Microtek ADF-700 Installing and Getting Started

Scanning with the ADF-700

Scanning for Archiving / Scanning to File

The ADF-700 can be used to scan material for archiving. For instance, an image
“record” can be kept of a multiple-page legal document, or image files can be kept of
important documents such as birth certificates and tax records. Scanning for
archiving (also known as scanning to file) is different from scanning for OCR, which
is explained in the next section

1. Place the material to be scanned on the Document Feed Tray. The material could

consist of either a single sheet of paper or a stack of paper.

2. Launch ScanWizard 5 in stand-alone mode or from your image-editing software. If

you are not sure how to do this, refer to your ScanWizard documentation.

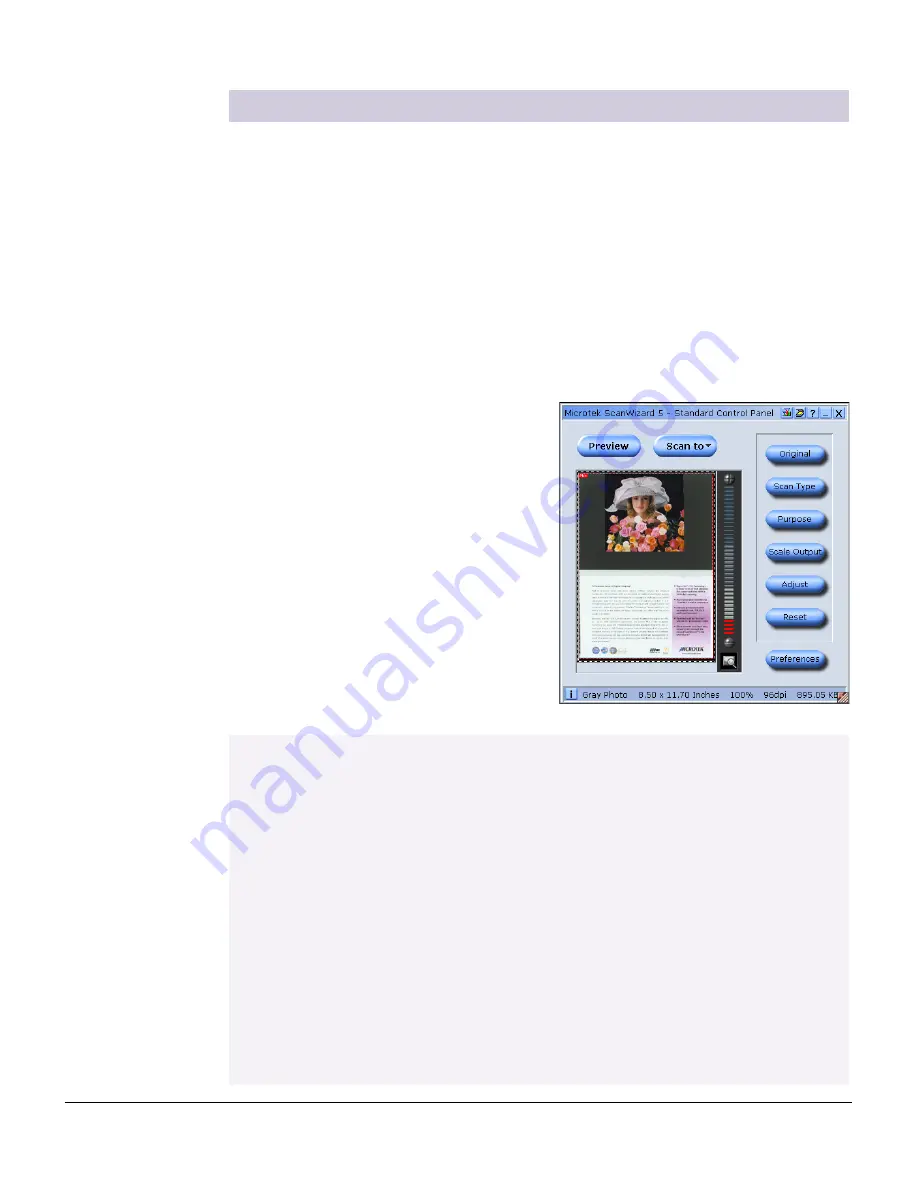
3. Specify your own scan settings by

clicking on the Tool buttons in the
Standard Control Panel; or by selecting
the appropriate setup items from the
Settings window in the Advanced
Control Panel.

4. Click and hold the Scan to button to start

multiple, automatic scanning.

After the scan, the scanned and
processed image can be saved as a file,
opened in an image-editing program, sent
to print, attached to an e-mail, or
uploaded to a website.

Before you use the ADF-700 extensively, you may wish to use the “preview” feature

Previewing can be useful to see if the physical mechanism in your ADF-700 is working
properly in conjunction with the ScanWizard 5 scanning software. Previewing requires only
the use of a single sheet of paper (with some text or material on it). Once the paper-scanning
mechanism is established and verified, you can then proceed to use the ADF-700
extensively and with assurance.

To do the preview, follow the steps below:

1. Load a piece of paper from the paper stack into the ADF’s Document Feed Tray.

2. Click the Preview button to perform a preliminary view of the entire image. When done,

a preview image appears in the preview window.

At this moment, the previewed page is delivered to the document tray from the ADF's
Document Feed Tray. Load the previewed page, along with the paper stack, on the
ADF's Document Feed Tray. You are now ready to scan.

Summary of Contents for ADF-700

Page 1: ...or registered trademarks of Microtek International Inc All other products or name brands are trademarks of their respective holders Important Documents you scan may be protected under copyright law Th...

Page 2: ...ea then lower the ADF 700 4 Plug the feeder s connector into the 15 pin Accessory port at the back panel of the scanner Secure the connector by tightening the retaining screws Protective Film 15 pin c...

Page 3: ...inals exceeds 10 inches Placing Paper in the ADF 700 Note The document feeder is not designed for scanning photos doing so may damage your originals Microtek accepts no responsibility for damage that...

Page 4: ...Click and hold the Scan to button to start multiple automatic scanning After the scan the scanned and processed image can be saved as a file opened in an image editing program sent to print attached...

Page 5: ...Selecting this check box will create files under the specified file name and numbers are added serially and in order to generate multiple file names for the scanned saved documents For example assumi...

Page 6: ...check box Send document to application after saving is enabled the saved file is automatically opened to your designated application for further editing If the check box Save multiple pages as a singl...

Page 7: ...pull out the jammed document from the feeder by doing the following Pull the paper in a forward direction if paper is jammed in the first stage paper feed rollers If the paper is jammed in the second...

Page 8: ...he rollers with a lint free cloth or a swab moistened with water Note Do not attempt to turn the roller while cleaning as this may damage the train drive mechanism of the ADF 700 Roller Roller Mainten...

Page 9: ...se check the rubber pad and replace it with a new one if needed two rubber pads are included in your scanner package for this purpose Follow the procedures below for replacing the rubber pad Earlobe L...

Page 10: ...Max Legal 21 59cmx35 56cm 8 5 x14 Accuracy Paperskew 1 Paper length 1 1 failure per 500 pages Failure occurs in the form of no feeds multiple feeds or paper jam Connector 15 pinsubminiatureD shell Phy...

Page 11: ...and choose Scanner Information A dialog box will appear showing the scanner type model firmware version and status b In the Advanced Control Panel go to the Scanner menu in the Preview window and cho...

Reviews: