PlatinumNAS Owner’s Manual
4.2 Group Administration
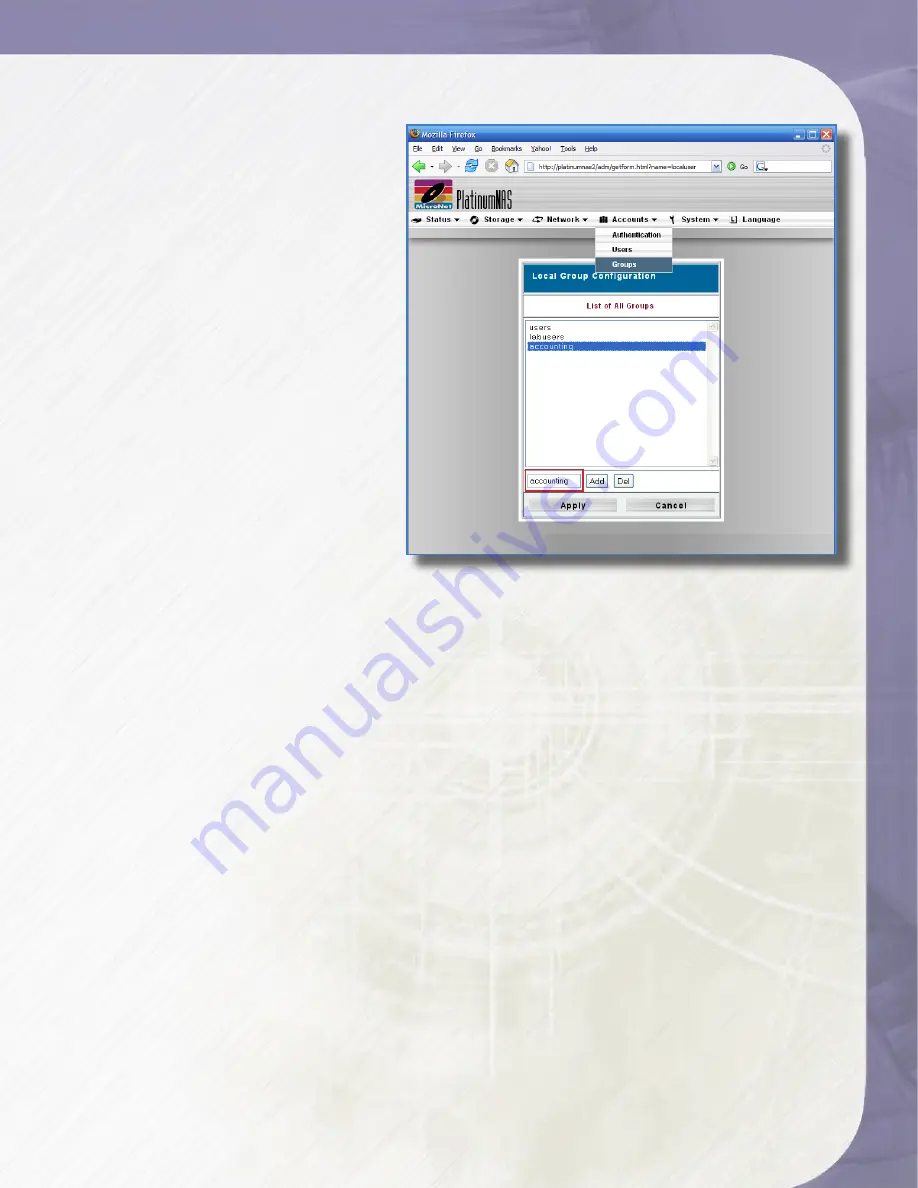
When providing shares to non Active
Directory clients, the PlatinumNAS
provides its own user and group
administration. The Local Group
Administration screen is accessible by
selecting “Groups” from the Accounts
menu. Permissions and authorization
for users and groups are assigned to
each folder shared- See section 2.3 of
this chapter for more information.
In this screen, all preexisting groups
are listed in the “List of All Groups”
pane.
• To create a new group, enter the
name of the group in the entry box
and click the “Add” Button.
• To delete an existing group, select
the desired group from the “List of
All Groups” selection box and click
the “Del” button.
When changes to the groups are complete, click the “Apply” button to finalize the action, or
“Cancel” to abort.
4.3 Local User Configuration
When providing folder access to non Active Directory clients, the PlatinumNAS provides its
own user and group administration. Creating and administering user accounts are accessible by
selecting “Users” from the Accounts menu. This screen allows you to configure local user settings
and assign or remove group membership. The Interface is divided into two sections: Group
Membership and User Administration. Permissions and authorization for users and groups are
assigned to each folder shared- See section 2.3 of this chapter for more information.
4.3.1 User Administration
Creating or updating user accounts involves entering the username in the “User Name”
field for a new user, or selecting an existing user from the “List of All Users” pane (See
illustration Figure in the following page.) Once the user selection is made, you may add,
delete, or change the user password as follows:
• To add a user, enter a new password in the “Password” and “Confirm” fields, and click (Add).
• To remove a user, click the (Del) button.
• To change a user password, enter the new password in the “Password” and “Confirm”
fields, and click the (Change User Password) button.
When changes to the user are complete, click the “Apply” button to finalize the action, or
“Cancel” to abort.
Entry Box
Entry Box
3-Administering the PlatinumNAS


