


Orbit 3 MICROBOARDS TECHNOLOGY, LLC
9
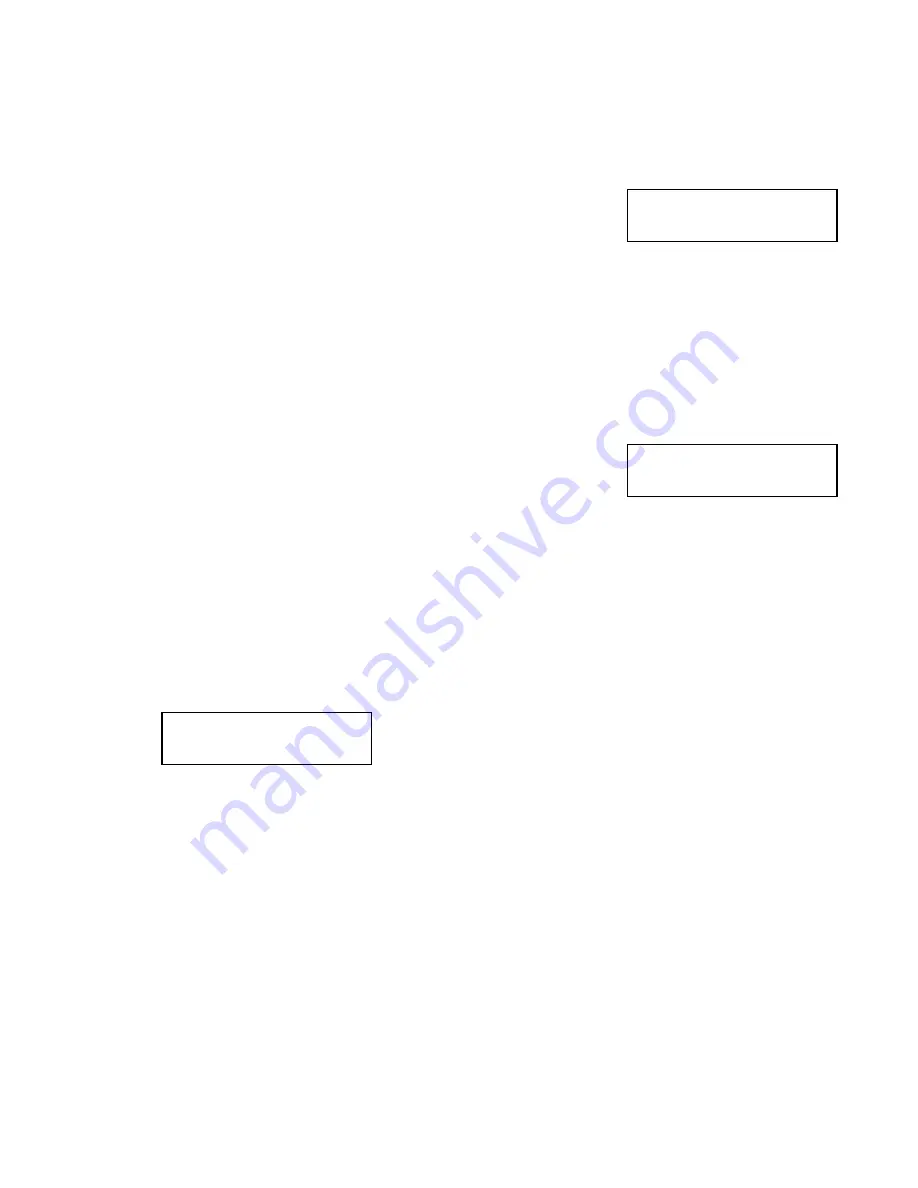
HDD (02)?
FREE
HDD (02)?
DVD-VIDEO 4.0GB
HDD (02)?
DVD-VIDEO 4.0GB
Disc-to-HDD Copy
The number of partitions available will depend on the capacity of the hard drive installed in the Orbit 3.
If your master is not already on the hard drive, please follow these steps.
1. Press
NO
or the up or down arrows until the display reads SYSTEM SETUP. Press
YES
.
2. The display will read DISC TO DISC; press
NO
. The display will read DISC TO HDD.
3. Press
YES
, then use the up or down arrows to select the hard drive
partition to which you would like to register the master. In this
example, Hard Drive partition 02 is selected.
4. Use the down arrow until the display reads Exit and press
YES
.
Press
NO
or the down arrow and the display will read COPY? DISC to HDD (02).
5. Next, follow the directions as listed in Disc-to-Disc Copy. The display will show which hard drive
partition is the source of the master, as well as the type and size of the master on that partition. After
reading the master to the selected hard drive partition, duplication will begin automatically.
HDD-to-Disc Copy
If your master is already on the hard drive, please follow these steps. If you have no masters on the hard
drive, this option will not appear in the System Setup menu.
1. Press
NO
or the up or down arrows until the display reads SYSTEM SETUP. Press
YES
.
2. The display will read DISC TO DISC; press
NO
until the display reads HDD TO DISC.
3. Press
YES
, then use the up or down arrows to select the hard drive
partition from which you would like to burn. In this example, Hard
Drive partition 02 is selected.
4. Exit Use the down arrow until the display reads Exit and press
YES
.
Press
NO
or the down arrow and the display will read COPY? HDD (02) to DISC.
5. Next, follow the directions as listed in Disc-to-Disc Copy. The display will show which hard drive
partition is the source of the master, as well as the type and size of the master on that partition. The
reader drive does not need to be loaded when burning from an existing HDD partition.
Deleting Hard Drive (HDD) Partitions
The Delete option will not appear in the System Setup menu if there is no information stored on any of the
hard drive partitions.
1. Press
NO
or the up or down arrows until the display reads SYSTEM SETUP. Press
YES
.
2. Press
NO
or the up or down arrows until the display reads DELETE. Press the
YES
button.
3. The display will show the first partition containing an image:
4. You can now select which hard drive partition to erase. Pressing the
NO
or
▼
button will scroll you
though the partition selections that contain information.
5. Press the
YES
button if you are sure you want to clear the HDD. The partition selected will be
cleared.
6. Press
ESC
to exit this menu, or scroll through the filled partitions if you would like to delete another.