IS1000 – Installation and User’s Guide
13
4.2.2. Connection Procedure
The connections must always be made with the equipment turned off (radio
base and terminal).
The radio base power supply is provided by:
- The terminal by the cable connecting it to the radio base, via the DB25
connector, or
- Externally by a 12 V power supply unit connected to the mains power supply.
•
Connect the cable to the terminal and to the DB25 connector on the radio base
•
Turn on the terminal, which automatically turns on the radio base, when the
radio base power supply is via the DB25 connector
•
If the radio base uses external power supply unit, connect it to the mains power
supply which automatically turns on the radio base.
•
When the radio base is turned on, its red LED lights up and 6 beeps are emitted.
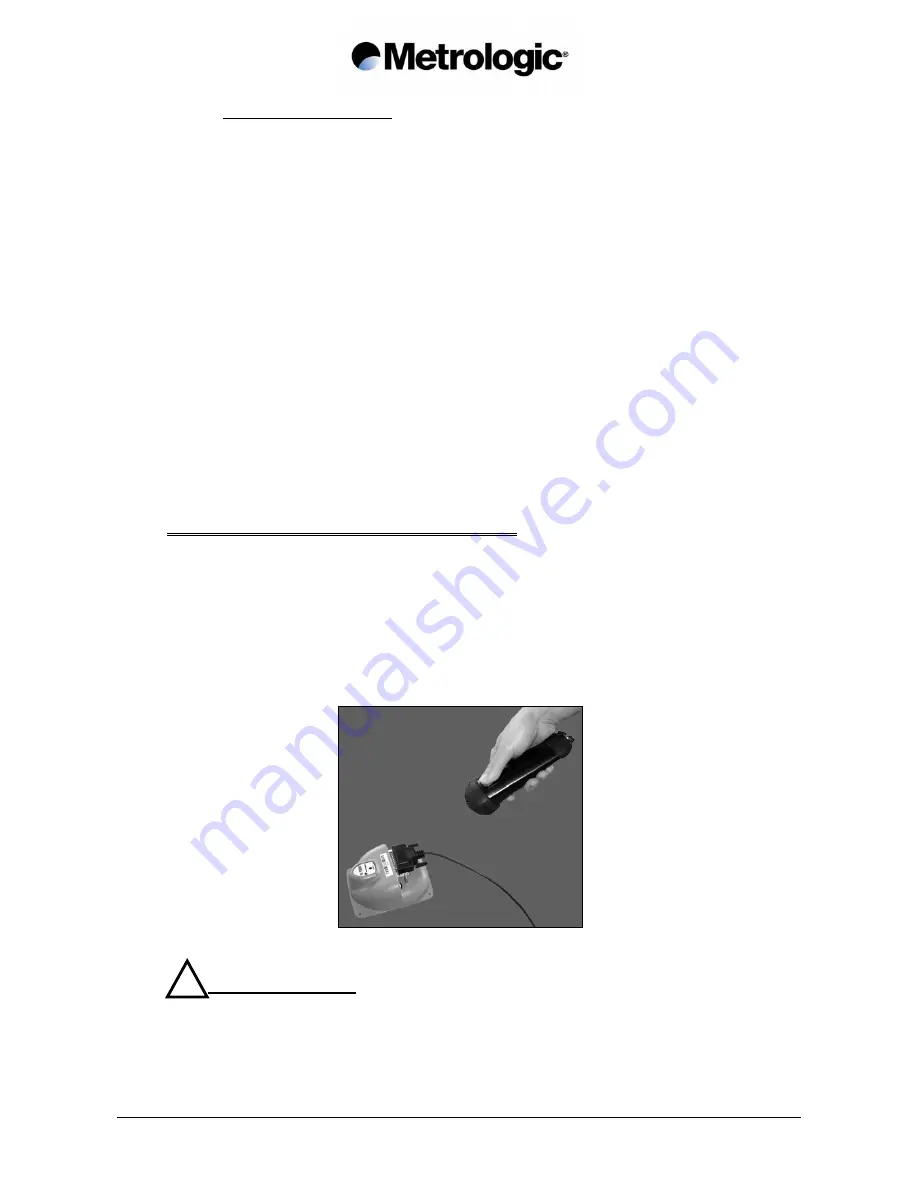
4.3. Linking the Laser Reader to the Radio Base
The first time the IS1000 is used, initialize the communication between the laser reader
and its radio base.
This is done by scanning the radio base ID bar code, located on the top of the base with
the laser reader.
Scanning of the label identifies the laser reader to the radio base and enables
communication.
The laser reader cannot read the radio base ID bar code if a parameter setting procedure
is in progress. To exit from configuration mode, read the code End of Configuration.
!
Recommendation:
Summary of Contents for IS1000 Series
Page 2: ......
Page 8: ...IS1000 Installation and User s Guide 2 Page intentionally left blank...
Page 14: ...IS1000 Installation and User s Guide 8 Page intentionally left blank...
Page 16: ...IS1000 Installation and User s Guide 10 Page intentionally left blank...
Page 28: ...IS1000 Installation and User s Guide 22 Page intentionally left blank...
Page 34: ...IS1000 Installation and User s Guide 28 Page intentionally left blank...
Page 36: ...IS1000 Installation and User s Guide 30 Page intentionally left blank...
Page 38: ...IS1000 Installation and User s Guide 32 Page intentionally left blank...
Page 40: ...IS1000 Installation and User s Guide 34 Page intentionally left blank...
Page 42: ...IS1000 Installation and User s Guide 36 Page intentionally left blank...
Page 44: ...IS1000 Installation and User s Guide 38 Page intentionally left blank...