8
is being used by the game. This can usually be checked in the “Video Options” or “Video Settings” area in a
game. For Direct3D games, it is recommended that stereo be toggled on after the game has started. This
will prevent difficulties in reading the startup and option screens on certain Direct3D games.
Simple Steps to get eyeSCREAM stereo working in Direct3D games:
1. Run the Direct3D game.
2. Make sure that your eyeSCREAM-compatible 3D accelerator card is being used. If necessary, choose
the eyeSCREAM-compatible accelerator card in the Video Options or Video Settings screen within the
game.
3. Choose the resolution you want to run from within the game. Note that stereo gameplay looks much
better at higher resolutions.
4. When gameplay begins, hit your Toggle Stereo hotkey (which is <Ctl + T> by default) to turn on
eyeSCREAM stereo.
5. An “Activating eyeSCREAM” splash screen may appear briefly, followed by your game in stereo.
6. Check to see that the images are vertically aligned. If necessary, use the Hotkeys specified in Section 3
to vertically align the images.
7. Experience 3D gameplay like never before!
Resolution Override in Direct3D Games
Because enabling stereo essentially reduces the vertical resolution of your game by one half, small items
such as text may become hard to read when stereo is enabled. In order to make text more legible in stereo,
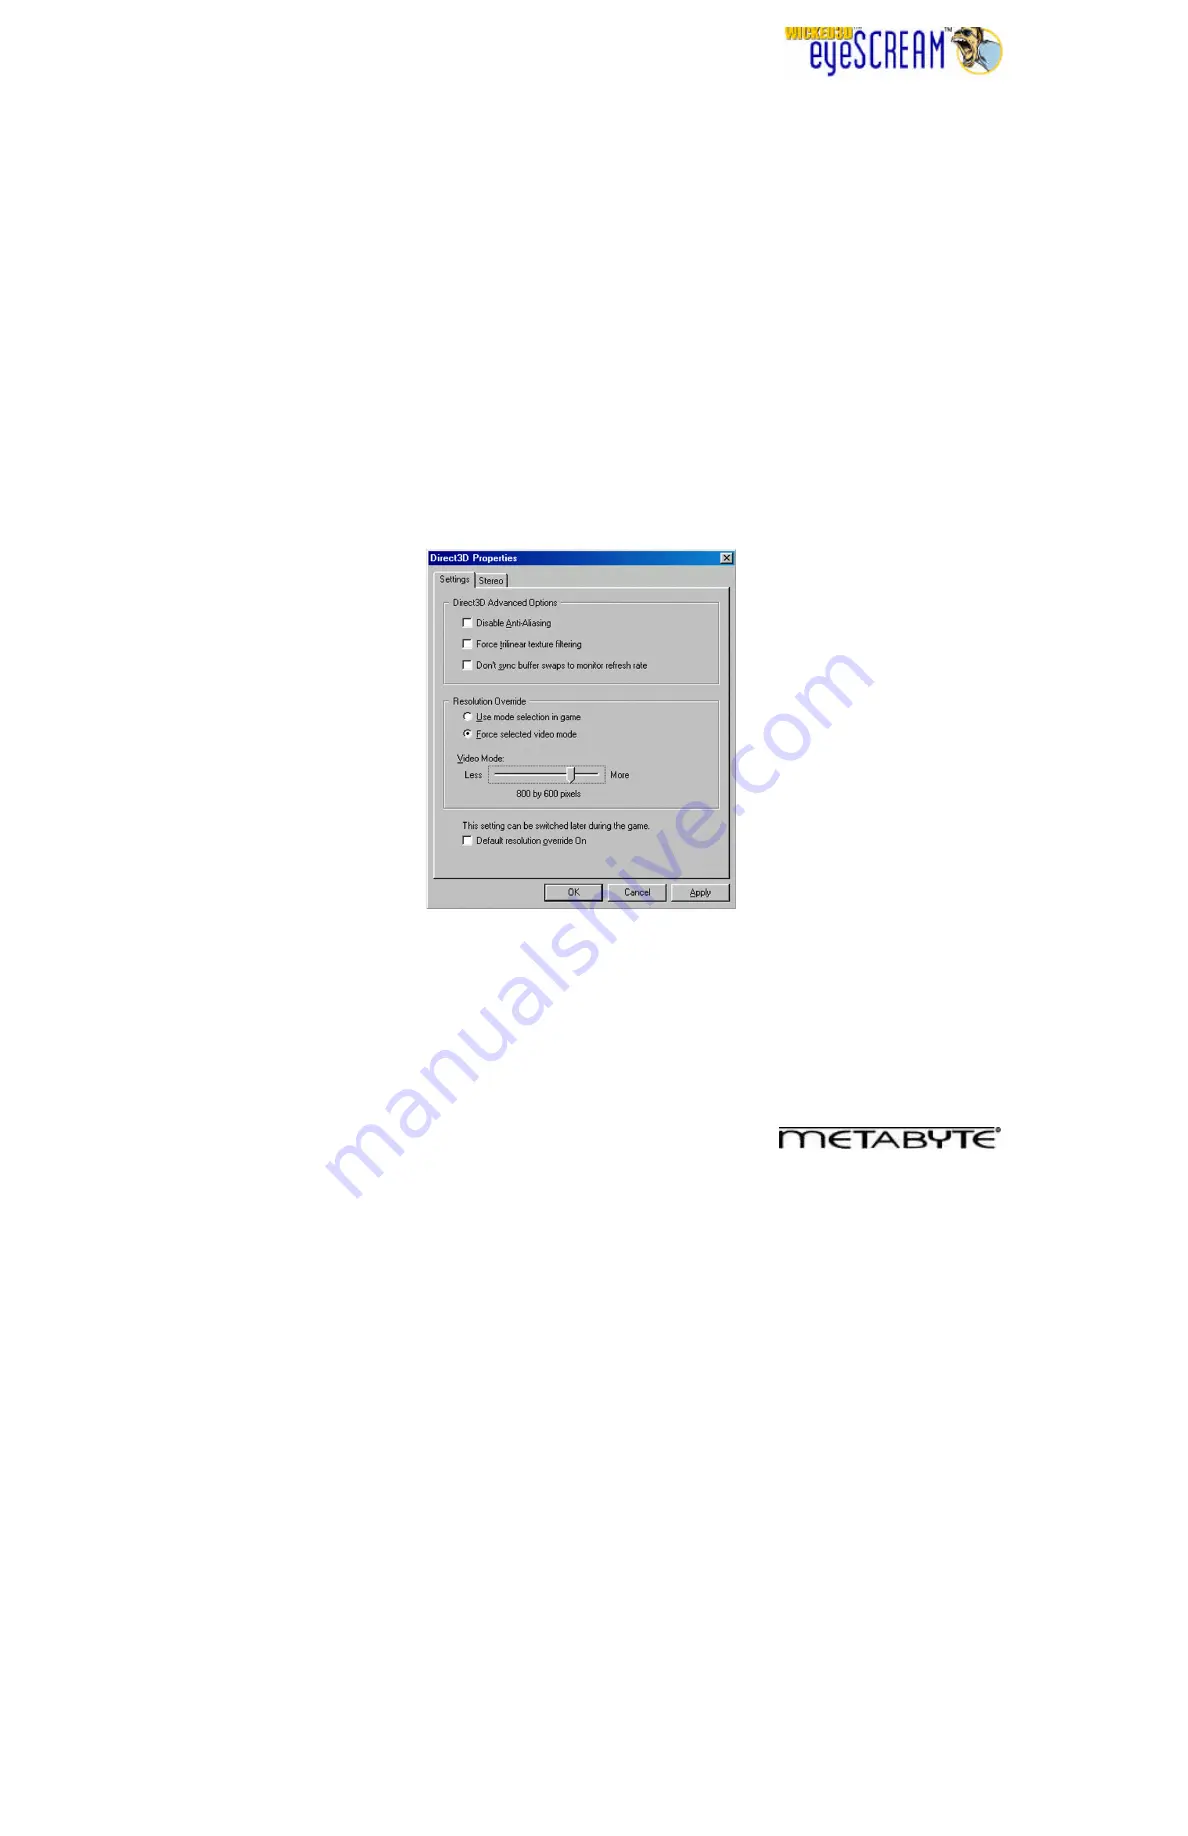
you can use eyeSCREAM’s Resolution Override feature. Go to the Wicked3D eyeSCREAM Display
Properties Sheet again and click on the “Direct3D…” button. You will see the following Direct3D settings tab:
Direct3D Settings
Simple Steps to Enable Resolution Override in Direct3D Games:
1. Select the “Force selected video mode” radio button.
2. Use the “Video Mode” slider bar to select the resolution that you want to run the game in. You want to
choose a relatively high resolution here, 800x600 or higher if your monitor supports it.
3. Leave the “Default resolution override On” checkbox unchecked.


