


frame rate. You may take a photo of 1280x1024 in the video mode of 640x480 which
delivers 30 frame per second. It is easier to get accurate focus at the high video
frames mode.
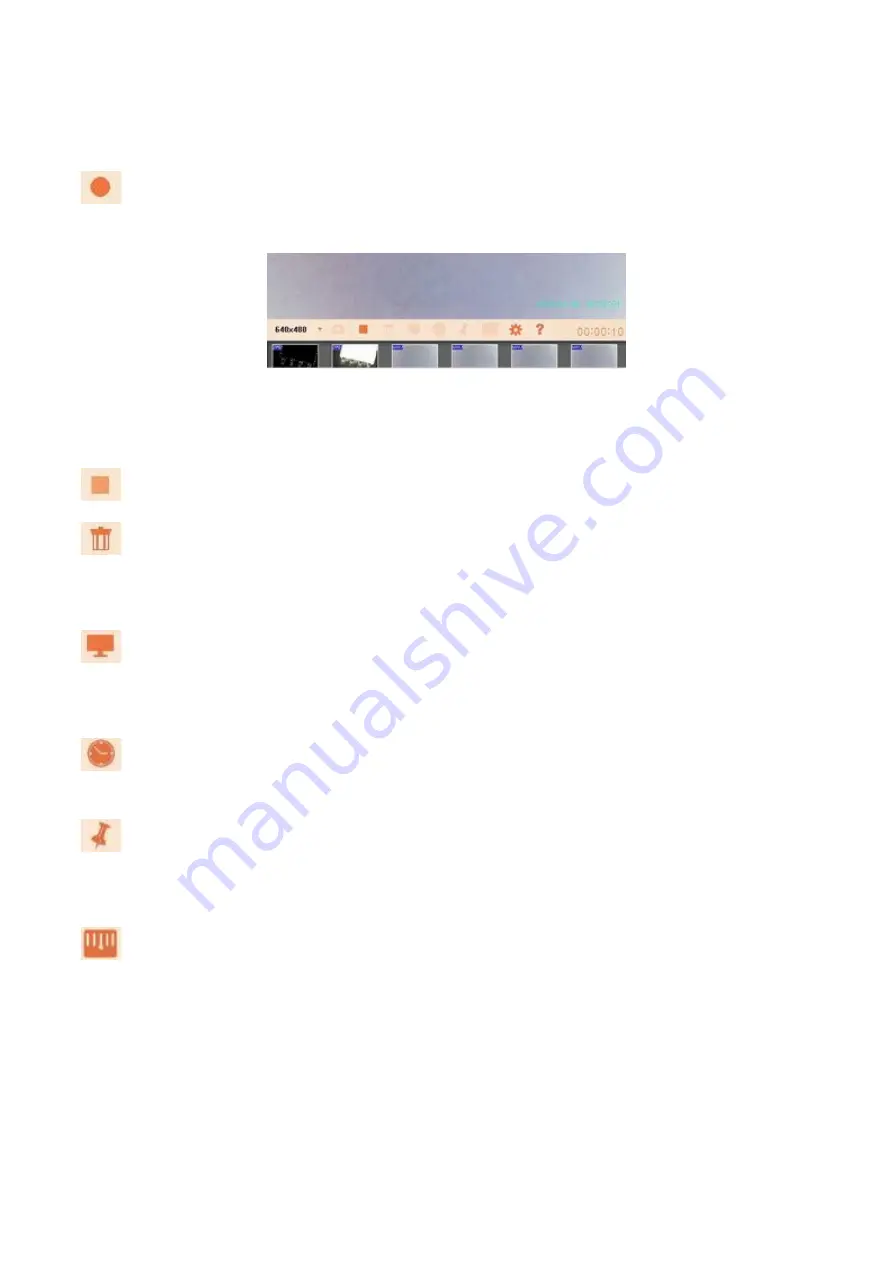
Record: record a video clip and save it to the specific folder and the icon of this video
clip is displayed on the bottom.
When you click the Record button, the video shown on the interface will become a
red circle red square button on the button, some of the button becomes gray, the
bottom right corner, and there will be recording the time display.
Stop: stop recording and save the video data into a file.
Delete: delete the selected pictures or video clips. To select a picture of a video clip,
click on the icon. To make multiple selection, press Ctrl or Shift key at the time of
clicking icons.
Full screen: put the video into the largest size as the display screen. You may
use the hot keys to do buttons functions. Press a key other than the hot keys or
double click on the screen to return to the normal video.
Date and time: switch on or off the date and time label on the right bottom area of
video screen.
Freeze video: halt the running video as a still picture for inspection This function
helps you to keep the object in the video in a still picture for measuring the size or
close up inspection. Press the button again to resume normal video.
Ruler: switch on or off the ruler for measurement on the object in the video
screen. Before making a measurement, you need to do a calibration by a real ruler.
Click on the video by right button of the mouse, a pop-up menu is shown for
calibration. You may select measure unit by pixels, 1mm or 10mm. The measurement
unit of pixels is not needed the calibration processes. Click two points in the video and
the distance of this two points should be exactly 1mm or 10mm. A real ruler can be
used under this microscope camera for calibration. After doing the calibration, you
may click on the video to measure the distance of any two points.
15


