Section 3 - Contextual Data
Page 26
90-8M0074777
eng
MAY 2013
Enlarging Persistent Data
Data boxes can be enlarged by highlighting the expand (X‑PAND) icon and pressing the enter button.
52094
Expand icon
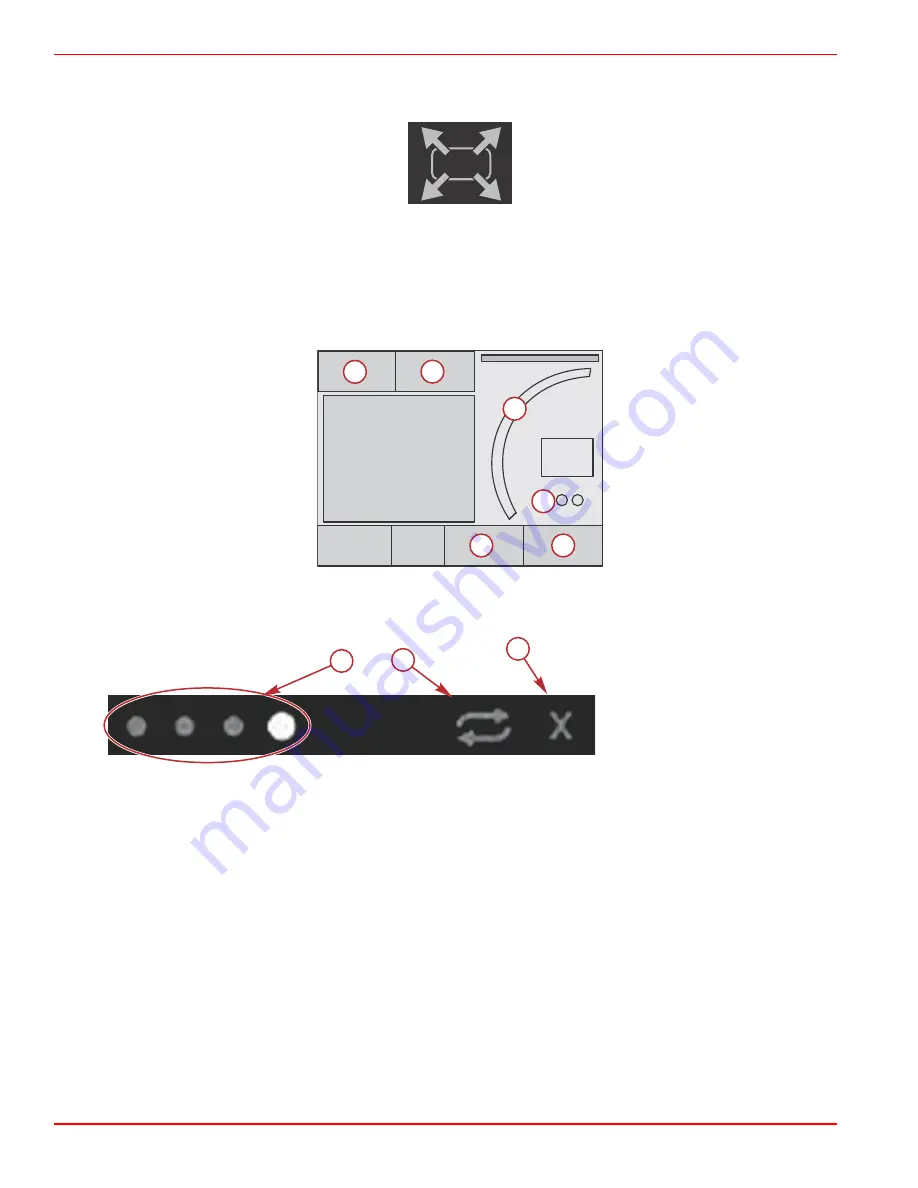
After the icon is activated, the contextual data area will be filled with the enlarged data from the actively displayed data boxes.
Up to six data boxes can be enlarged, one at a time, and will paginate in the chronological sequence shown in the following
illustration. Data boxes 3 and 4 will only display the optional user‑selected data.
NOTE: The default setting of trim and tabs will not enlarge unless they are activated with external controls. If they are activated,
a pop‑up process will be utilized. Trim and tabs pop‑ups can be turned off in the Settings menu.
1
3
4
5
6
2
52093
Each data box has its own page indicator in the lower left‑hand corner of the contextual data area. Press on the various pages
or the auto cycle icon or exit icon. Press enter when the auto cycle or exit icon are highlighted.
a -
Page indicators
b -
Auto cycle icon
c -
Exit icon
Auto Cycle
•
When auto cycle is selected but not active, the icon will be displayed on a white field.
•
Press the rotary knob to activate the auto cycle. The icon will be displayed on a blue field with white arrows and will remain
this color scheme until auto cycle is disabled. The default time for auto cycle is five seconds per page and can be changed
in the Settings menu.
•
When the auto cycle is active, the arrow icon are not available. Highlight one of the pages and press the rotary knob. Auto
cycle remains active but is not visible. To return to the auto cycle, highlight the auto cycle icon and press enter.
•
To turn off auto cycle, highlight the X and press enter. The screen will exit the contextual area.
a
b
c
52095
Summary of Contents for VesselView 7
Page 1: ... 2013 Mercury Marine VesselView 7 8M0074777 90 8M0074777 513 ...
Page 2: ......
Page 24: ...Section 2 System Startup Notes Page 20 90 8M0074777 eng MAY 2013 ...
Page 38: ...Section 4 Setup and Calibrations Notes Page 34 90 8M0074777 eng MAY 2013 ...
Page 54: ...Section 5 Screen Navigation Notes Page 50 90 8M0074777 eng MAY 2013 ...
Page 60: ...Section 6 Installation Page 56 90 8M0074777 eng MAY 2013 52866 a b c d e f ...


