X
Confirm by pressing
a
on the steering
wheel.
X
Use
:
or
9
to select the
DriveAs‐
sist
submenu.
X
Press
a
to confirm.
X
Press
:
or
9
to select
Lane Keep‐
ing Assist
.
X
Press
a
to confirm.
The current selection,
Standard
or
Adap‐
tive
, appears.
X
To change the setting: press
a
again.
For further information about Lane Keeping
Assist, see (
Y
page 220).
For further information about Active Lane
Keeping Assist, see (
Y
page 225).
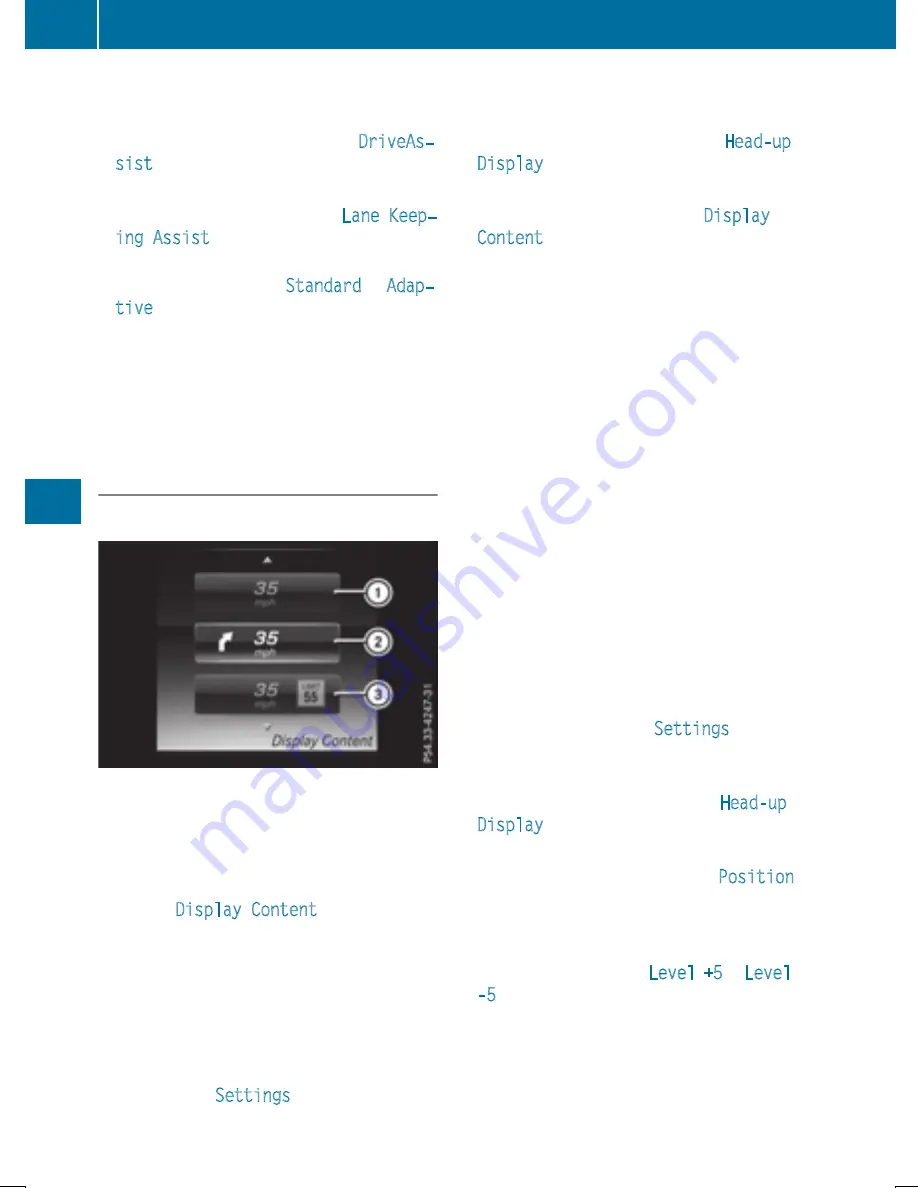
Head-up display submenu
Selecting other displays
:
Vehicle speed display
;
Vehicle speed and navigation instruction
display
=
Vehicle speed display and Traffic Sign
Assist
Using the
Display Content
function, you
can choose between four standard displays,
depending on your vehicle's equipment. The
selected contents then appear in the head-up
display.
X
Press the
ò
button on the steering
wheel to open the menu list.
X
Press
:
or
9
on the steering wheel
to select the
Settings
menu.
X
Confirm by pressing
a
on the steering
wheel.
X
Press
:
or
9
to select the
Head-up
Display
submenu.
X
Press
a
to confirm.
X
Press
:
or
9
to select
Display
Content
.
X
Press
a
to confirm.
A graphic selection list appears.
X
Press
:
or
9
to select the desired
display.
X
Press the
a
button to confirm the selec-
tion.
Additional information on navigation can be
found in the separate Audio 20 or COMAND
operating instructions.
Setting the position
You can adjust the position of the head-up
display on the windshield. You can compen-
sate for height differences if the seat posi-
tions are changed, for example.
X
Switch on the head-up display
(
Y
page 242).
X
Press the
ò
button on the steering
wheel to open the menu list.
X
Press the
:
or
9
button on the steer-
ing wheel to select the
Settings
menu.
X
Confirm by pressing
a
on the steering
wheel.
X
Use
:
or
9
to select the
Head-up
Display
submenu.
X
Press
a
to confirm.
X
Using
:
or
9
, select the
Position
function.
X
Press the
a
button to save the setting.
X
Press the
:
or
9
button to adjust the
position to a level from
Level +5
to
Level
-5
.
X
Press the
a
or
%
button to save the
setting.
Using the Memory function, you can save and
call up the set position of the head-up display
as a single memory preset (
Y
page 121).
254
Menus and submenus
On-board
com
puter
and
dis
pla
ys
Summary of Contents for 2016 GLC
Page 4: ......
Page 32: ...30...
Page 82: ...80...
Page 238: ...236...
Page 306: ...304...
Page 307: ...Useful information 306 Stowage areas 306 Features 318 305 Stowage and features...
Page 325: ...Ensure that you do not pull on the cord Features 323 Stowage and features Z...
Page 338: ...336...


