Connection &
Adjustments
9
Image adjustment (for analog connection)
This product has two ways to adjust the picture image “Automatic screen adjustment” and “Manual screen adjust-
ment”.
At
fi
rst, execute “Automatic screen adjustment” after connecting the monitor to the PC. For further adjustment, use
“Manual screen adjustment”.
*
In rare cases, any image may not be displayed with the speci
fi
ed frequency (Horiz: 30.0 to 80.0kHz, Vert.:
50.0 to 75Hz). Please change the refresh rate or resolution of the PC in such case.
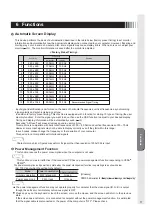
1. Automatic screen adjustment
(1) Turn on the monitor and the PC.
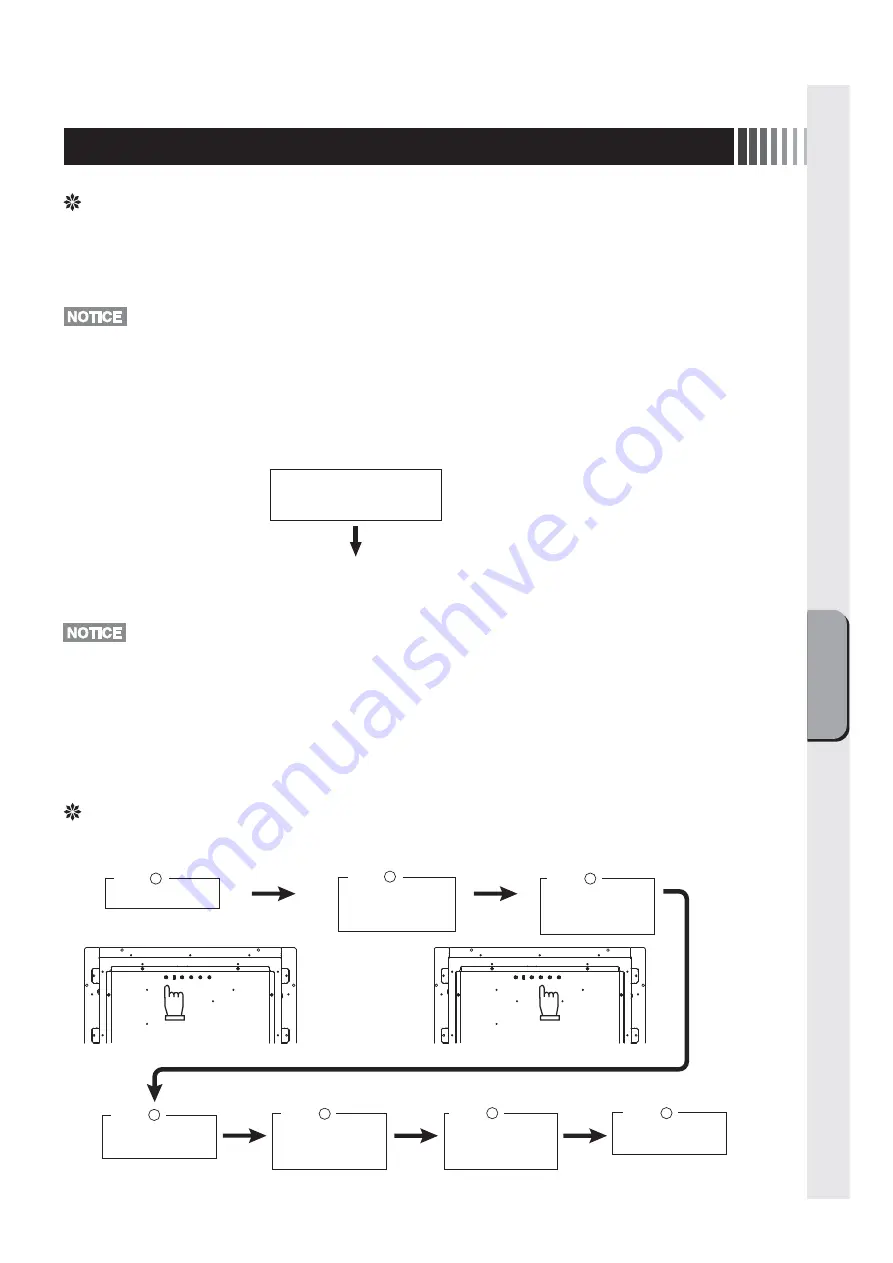
(2) According to select “Auto Image” at the OSD menu, it starts automatic screen adjustment of “Display Width”, “Phase”,
“H-Position” and “V-Position” by detecting input signal. The character of “Auto Adjust Image” is displayed while adjust-
ing the screen automatically.
5 Display Adjustment
Auto Adjust
Image
This character is displayed while
automatic screen adjusting.
This character disappears when
automatic screen adjustment ends.
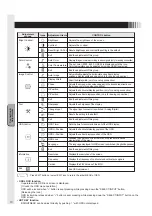
OSD function
This product features OSD (On Screen Display) function to adjust the image on the screen, and so on.
Turn on the monitor.
1
Step
Press "MENU/EXIT"
button, and OSD
menu appears.
Step
2
Step
4
Select the item with
SELECT/INPUT button.
When the operation method is displayed with OSD, follow the instruction.
Step
3
Press "–" or "+"
buttons to determine
the adjustment group.
Step
5
Step
6
Step
7
Press "–" or "+"
buttons to select the
adjustment item.
Press SELECT/INPUT
button to determine
the item.
Press "–" or "+"
buttons to adjust.
• The automatic screen adjustment might not function well for a character representation alone like DOS prompt.
• This function may fail to operate depending on the used PC type and/or video cards. In such case, use “Manual screen
adjustment”.
2. Manual screen adjustment
(1) Turn on the monitor and the PC.
(2) Refer to P.10 “OSD function”, and select the desired adjustment items.
(3) Press the adjustment buttons to adjust the image on the screen as you like.
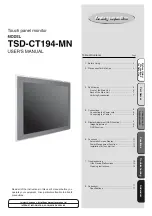
Summary of Contents for TSD-CT194-MN
Page 2: ...2 VCCI B VCCI WindowsNT Windows Vista Windows Microsoft Corporation Macintosh Apple Inc...
Page 3: ...3 AC100V AC100V...
Page 4: ...4 During servicing disconnect the plug from the socket outlet...
Page 13: ...13 WindowsXP TouchWare5 64SR5 2 4 5 6 7 4 5 5...
Page 14: ...14 WindowsVista Windows7 MT 7 Software Setup Type Typical Select Components Legacy mouse 8 9...
Page 17: ...17 TSD CT194 MN 1 1...
Page 18: ...18 9 2 TSD CT194 MN 1 TEL 1 2 3 1 2 3 4 5 4...
Page 39: ......
Page 40: ...40D871117B10...

