


Questions?
Refer to Page 10-13 For Customer Care Information.
5-5
What You See
on the Display
What You Do
Comments
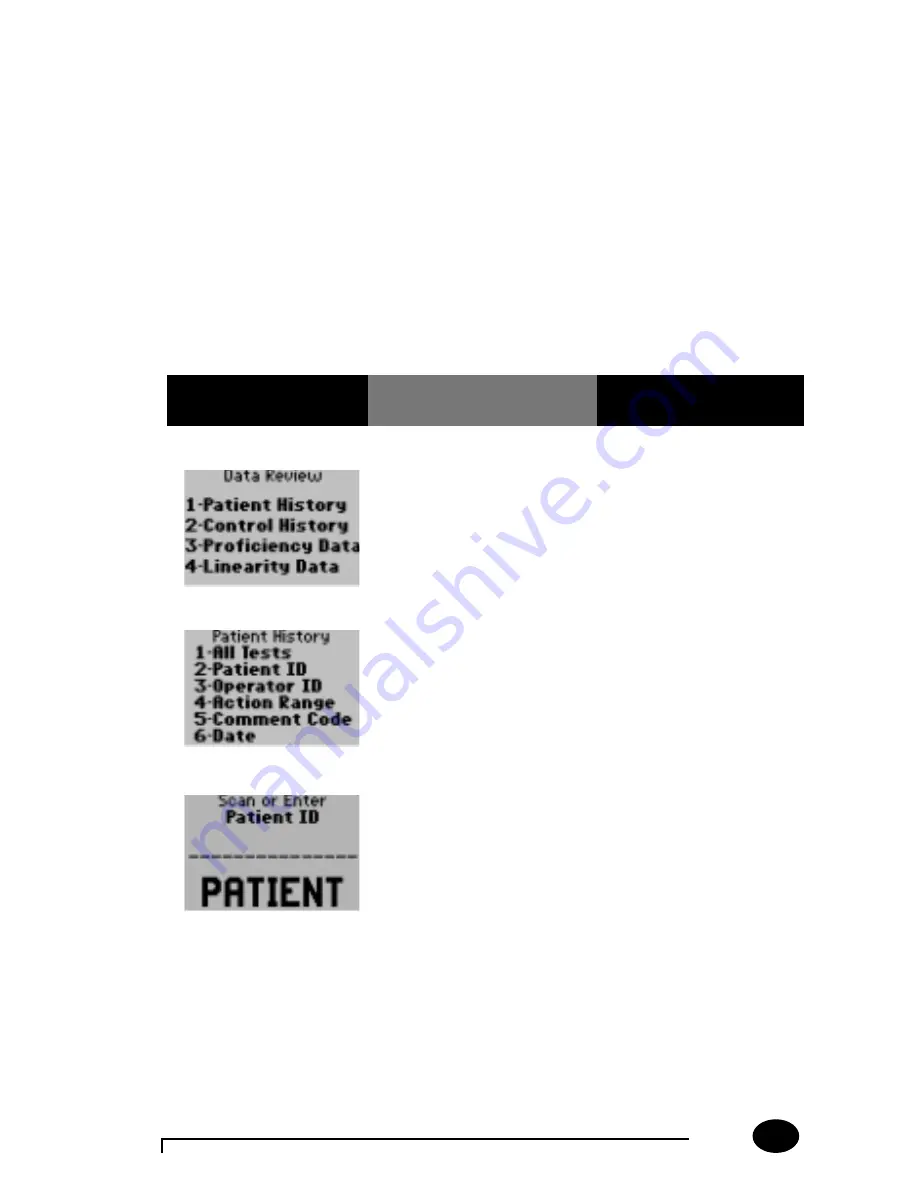
Data Review for Patient History by Patient ID:
Please refer to page 5-2 of the Data Review section for the step-by-step
instructions to access the Data Review menu.
Note: If no information is stored for the desired category that was
selected, the following message will be displayed on the monitor:
“No Stored Tests”.
Note: If no tests match the criteria specified, this message will be
displayed on the monitor: “No Tests Match Request”.
If the monitor displays a message not indicated in these procedures,
please refer to section 10, Troubleshooting.
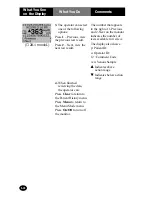
1. Press 1 – Patient
History.
The Patient History menu
now appears.
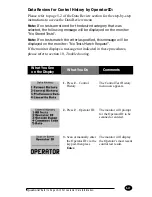
2. Press 2 – Patient ID.
The monitor will prompt
for the Patient ID to be
scanned or entered.
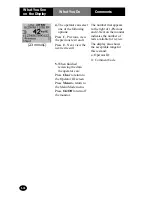
3. Scan or manually enter
the Patient ID via the
keypad, then press
Enter.