1. Open the LPI program.
2. Insert the LPI camera into the telescope eyepiece holder.
Do not tighten
the eyepiece holder thumbscrew.
Make sure the LPI camera slides down as far as it will go into the eyepiece holder.
3. Point the telescope at a terrestrial object that has a lot of contrast with the surrounding area and if possible,
has a distinctive edge (like a building, for example).
4. If you have previously moved the histogram sliders,
move the top slider to the 0 position
(move all the way
to the left) and
move the bottom slider to the 256 position
(move all the way to the right).
5. Click on the
Auto Adj.
(3) button.
6. An image which may be or may not be focused appears on the display screen.
7. Use the
telescope’s focuser
to get a rough focus of the object. Be patient.
You may have to rotate the focuser back and forth until you can achieve
focus of the image.
8. When the image is roughly in focus, remove the camera from the
eyepiece.
9. Place the supplied parfocal ring over the bottom chrome tubing of the
eyepiece.
Do not tighten the ring
.
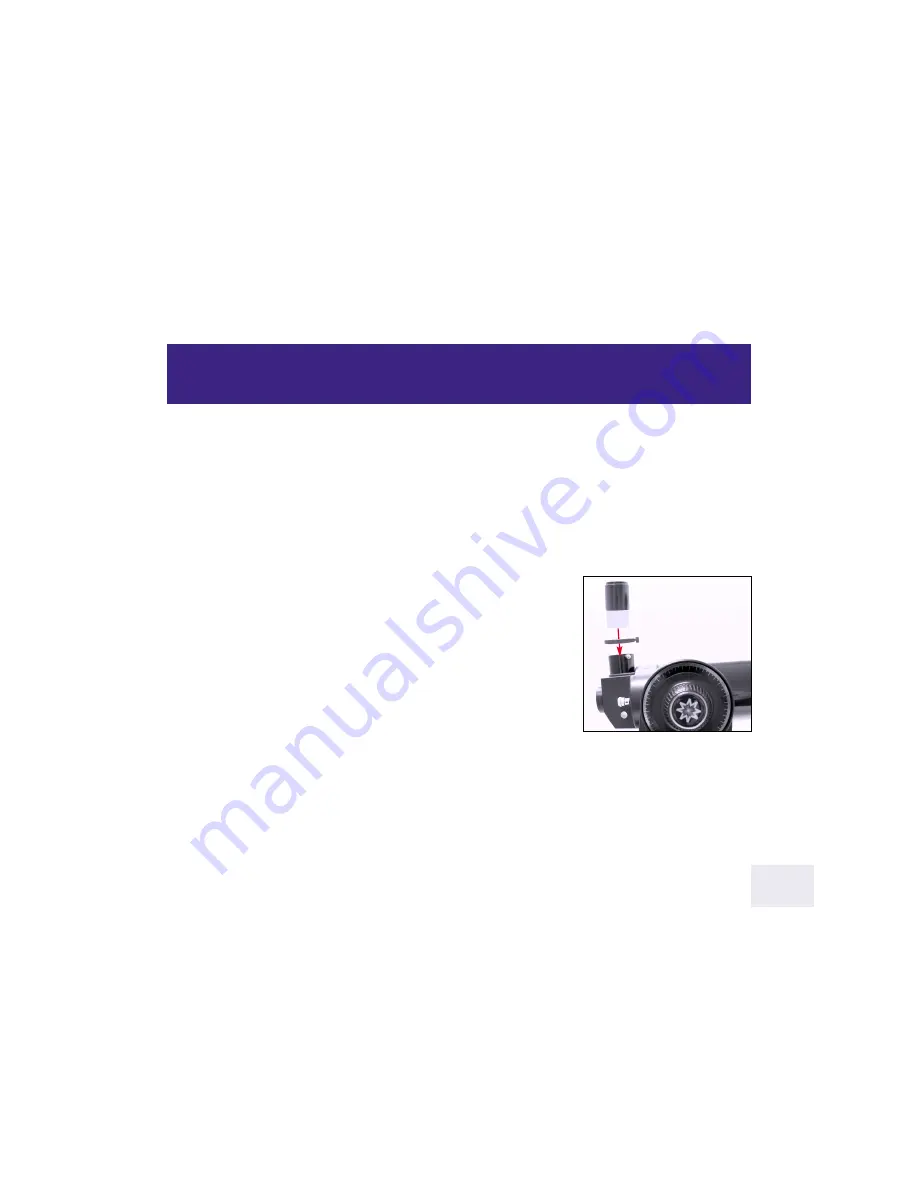
10. Place the eyepiece and tubing into the eyepiece holder.
Do not tighten any
of the thumbscrews yet
. See photo at right.
11.
Do not use the telescope focuser
in this step. Lift the eyepiece (but not the
parfocal ring) until the object is focused.
12. When the object is focused, tighten the parfocal ring. The eyepiece is now
parfocal with the LPI camera.
Do not remove or change the position of the parfocal ring or you will need to
repeat the procedure.
Now, instead of focusing the camera with the telescope focuser (which is somewhat difficult and time
consuming), insert in the eye piece/parfocal assembly and focus the eyepiece as you normally would. Then
remove the eyepiece and replace the camera. You’ll find that the camera is focused and may need only minor
focuser adjustment.
The Parfocal Ring
2
15


