Installation and Operational Instructions for BRE250 and BRE400
ROBA-stop
®
-M brake Type 891.
0_ _._
Sizes 250 and 500
(E070 09 203 001 4 EN)
31/10/2019 TK/MW
Chr. Mayr GmbH + Co. KG
Eichenstraße 1, D-87665 Mauerstetten, Germany
Phone: +49 8341 804-0, Fax: +49 8341 804-421
Page 16 of 20
your reliable partner
Optional microswitch for brake monitoring
(Items 13/14 / Figs. 3 and 7)
If you require a release monitoring device or a
wear monitoring device, please state this ex-
plicitly when ordering your brake.
Microswitches cannot be guaranteed fail-safe.
Therefore, please ensure appropriate access for
replacement or adjustment.
The switching contacts are designed so that they
can be used for both small switching powers and
medium ones. However, after switching a medium switching
power, small switching powers are no longer reliably possible.
In order to switch inductive, capacitive and non-linear loads,
please use the appropriate protection circuit to protect against
electric arcs and unpermitted loads!
Microswitch Specification
Characteristic values for
measurement:
250 V~ / 3 A
Minimum switching power:
12 V, 10 mA DC-12
Recommended switching
power:
for maximum lifetime
and reliability
24 V, 10...50 mA
DC-12
DC-13 with freewheeling di-
ode!
Usage category acc. IEC 60947-5-1:
DC-12 (resistance load), DC-13 (inductive load)
If a replacement or new adjustment of a micro-
switch is required
by the customer, separate adjustment instruc-
tions stating the article or serial number of the
respective brake can be requested from the
manufacturer.
Release Monitoring (Item 13)
The brakes are supplied optionally with manufacturer-side in-
stalled and adjusted release monitoring device.
A microswitch emits a signal for every brake condition change:
“brake opened” or “brake closed”.
The customer is responsible for a signal evaluation of both
conditions.
From the point at which the brake is energised, a time span of
three times the separation time must pass before the micro-
switch signal on the release monitoring is evaluated.
Function
When the magnetic coil is energised in the coil carrier (2), the ar-
mature disk (3) is attracted to the coil carrier (2), the microswitch
emits a signal, the brake is released.
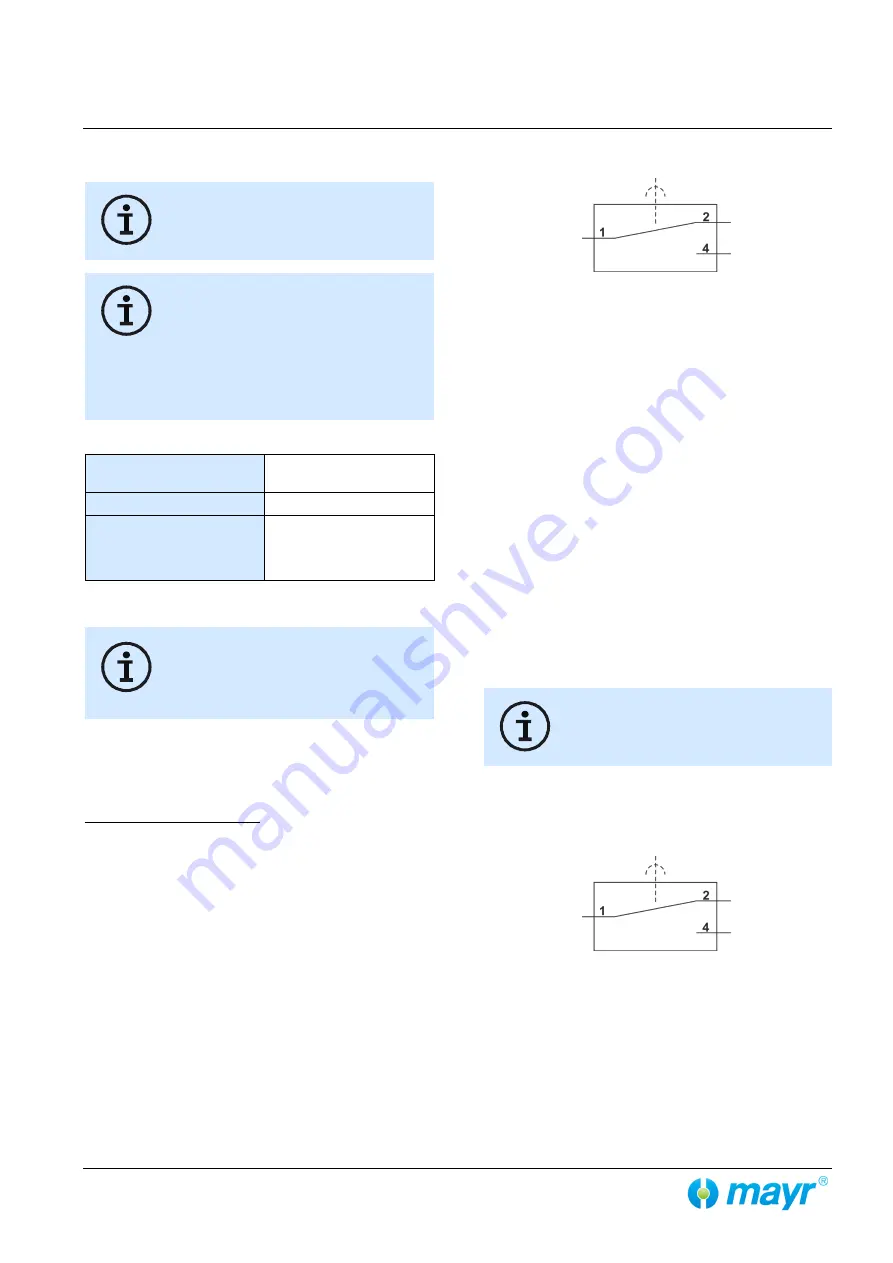
Wiring Diagram of the Microswitch for Release Moni-
toring
Customer-side Inspection after Attachment
Carry out a functional inspection before brake initial operation.
for connection as NO contact:
Brake
de-energised
: Inspection lamp must signal
“OFF”
.
Brake
energised
: Inspection lamp must signal
“ON”
.
for connection as NC contact:
Brake
de-energised
: Inspection lamp must signal
“ON”
.
Brake
energised
: Inspection lamp must signal
“OFF”
.
Wear Monitoring (Item 14)
The brakes are supplied optionally with manufacturer-side in-
stalled and adjusted wear monitoring device.
Function
Due to wear on the rotor (4), the air gap “a” between the coil car-
rier (2) and the armature disk (3) increases.
Once the limit air gap of
0.95 mm for Size 250
or
1.0 mm for
size 500
has been reached, the microswitch contact switches
over and emits a signal.
The rotor (4) must be replaced.
Customer-side changes of the spring configura-
tion have an effect on the maximum permitted
air gap.
The customer is responsible for a signal evaluation.
Wiring Diagram of the Microswitch for Wear Monitor-
ing
COM contact
Brown connection
NC contact
Black connection
Connection when
wear limit
has been reached
NO contact
Blue connection
Connection when
wear limit
has not yet been
reached
COM Contact
Brown connection
NC contact
Black connection
Connection when
brake closed
NO contact
Blue connection
Connection when
brake released


