background image

16 

Masterwork Automodules Tech Corp Ltd 


Verify and Adjusting the Environment Settings 


To verify and adjust the settings   


Enter Setting Mode 


Press the FUNCTION and SET (4) to enter the setting mode. 


Highlight icons with navigation keys   


The navigation keys turn to arrows "     (Move Left) ", "     (Move 

Right) ", and "      (Enter) ". 


Confirm the selection 


After highlighting a desired icon, press the "     (Enter)"or "Start

to confirm the selection. 


Go back to main screen. 


Press    C   

anytime to delete last input operation and return to the 

upper layer, until

 the main screen. 


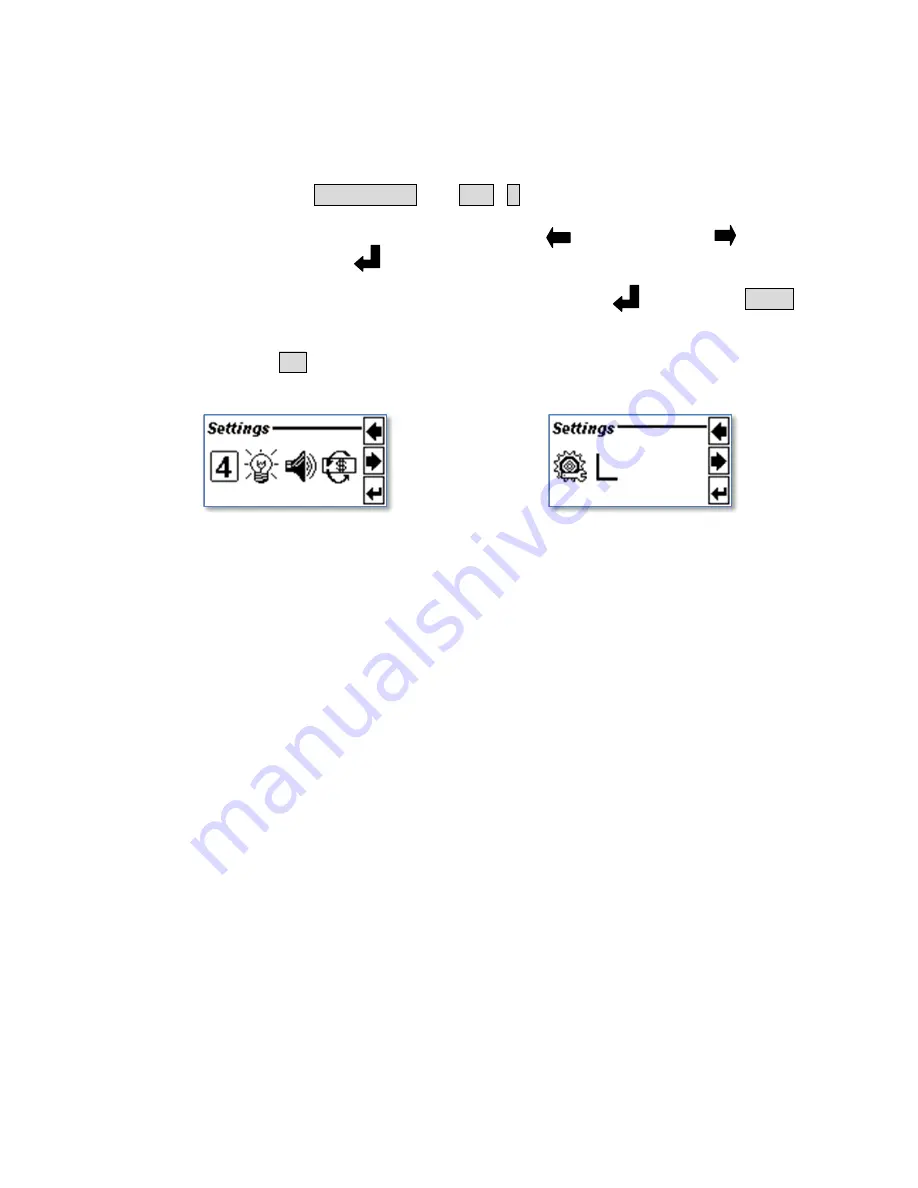
Settings Menu 1st Page 

Settings Menu 2nd Page 


Summary of Contents for NC-3000 Series

Page 1: ...NC 3000 Series Multi Currency Banknote Counter Operation Manual...

Page 2: ...000 8 Power On Off 9 Placing Bills 9 Selecting Currency Detection Off Mode 10 Auto Manual Start Mode 10 Add mode 10 Counting Speed 11 Batch Counting 11 Counting Mode 12 Result Display Modes and Cleari...

Page 3: ...3 Chapter 1 Introduction Abbreviations and Acronyms 4 Important Notes 4 Contact Information 4...

Page 4: ...ose NC 3000 to liquids extreme humidity or moisture To avoid operating NC 3000 in environments with strong magnetic and or electromagnetic fields Use the supplied power cord with a properly grounded o...

Page 5: ...5 Chapter 2 Overview of NC 3000 NC 3000 at a Glance 6 Overview of Control Panel 7 Overview of LCD Display 7...

Page 6: ...k Automodules Tech Corp Ltd NC 3000 at a Glance Hopper Guide 2 8 LCD Display Hopper Stacker Pocket Remote Display Socket PC Connection Socket Serial Port Printer Power Socket SD Card Upgrade Socket Po...

Page 7: ...Panel Overview of LCD Display Number Direction Keys 2 8 LCD Display Navigation Keys F1 F2 F3 C Clear Start Currency Detection Counting Mode Counting Result Print Information Counting Speed Batch Auto...

Page 8: ...r 3 Operating NC 3000 Power On Off 9 Placing Bills 9 Selecting Currency Detection Off Mode 10 Auto Manual Start Mode 10 Add mode 10 Counting Speed 11 Batch Counting 11 Counting Mode 12 Result Display...

Page 9: ...switch button to turn it off Placing Bills To operate the device smoothly please follow the instruction Avoid counting wet excessively dirty or spoiled notes Check for foreign matter mixed with notes...

Page 10: ...d disappear when it is off When detection is off only the Quantity shows the Amount and List will be disabled Currency Selection Detection Off mode Auto Manual Start Mode To set the start counting mod...

Page 11: ...tch the counting speed between Low medium High speeds Three different counting speeds are shown sequentially on the middle top of the LCD display 900 notes minutes 1200 notes minutes 1500 notes minute...

Page 12: ...unting Mixed Value mode Counts mixed denomination of bank notes and stops when a suspicious note is detected Denomination detection mode Counts the notes with the denomination of first real note detec...

Page 13: ...ed List mode all details available value quantity and amount of counted notes if the 5 rows are not enough press the navigation key Down to display the remaining details Amount and Quantity Modes are...

Page 14: ...onnect an available printer with the device Press the navigation key Follow the display message to proceed Press navigation key again to print one piece of breakdown list Press the C to cancel the ope...

Page 15: ...ttings 16 Contents and Functions of the Environment Settings 17 Contrast Adjust 17 Backlight Setting 17 Sound Settings 18 Set the Currency Exchange Rates 19 Advanced Setting 19 Switched on mode 20 Pri...

Page 16: ...ing mode Highlight icons with navigation keys The navigation keys turn to arrows Move Left Move Right and Enter Confirm the selection After highlighting a desired icon press the Enter or Start to conf...

Page 17: ...llowing options are available Contrast Adjust Highlight the icon press the Enter Adjust the LCD panel contrast Light to Dark 7 levels default is level 4 Backlight Setting Highlight the icon press the...

Page 18: ...Select the desired submenu a Alarm warning alarm when suspicious note detected On Off default is ON b Key Beep confirm beep when pressing buttons On Off default is ON Turn key sound on or off Use the...

Page 19: ...e the dot press C to delete the last digit After setting the desired exchange rate press Enter Start to confirm and go back to the upper layer Advanced Setting Highlight the icon and press the Enter S...

Page 20: ...he factory defalut settings Detection On Add On Batch Off Count mode Auto On Turn off Status keep the last settings for the next restart Confirm setting Press the Enter to confirm setting and go back...

Page 21: ...the icon Pring BPS Confirm Selection with the Find a desired baud rate 9600 9600bps 38400 38400bps 115200 115200bps Select the baud rate of the connected thermal printer Use the and to toggle a desir...

Page 22: ...9 default 5 presents the sensibility of IR MG sensors from low to high Select the factor denomination or double which you want to tune up Use the and to toggle a desired setting press the Enter to se...

Page 23: ...23 Chapter 5 Maintaining NC 3000 Open Bill Path 24 Cleaning NC 3000 24 Calibration 25 Optical Calibration 25 Motor Calibration 26...

Page 24: ...rface to remove the detergent Rinse the sponge with clean running water Wipe the over with the clean sponge Wipe the surface again with a dry soft lint free cloth Wait for the surface to dry completel...

Page 25: ...he calibration paper white slip supplied with this manual and press F3 NC 3000 Series calibrates the sensors automatically The display shows the result accordingly Any number of sensors Repeat calibra...

Page 26: ...es the motor automatically The motor starts to run at different speeds for calibration Wait till the motor stops and display shows OK Once you completed the calibration just turn the unit off NC 3000...

Page 27: ...vailable Currencies USD EUR LOCAL OPTION Hopper Capacity Max 500 notes Pocket Capacity Max 200 notes Countable Note Size 60 X 85 X 0 08mm 100 X 190 X 0 12mm Display 2 8 Inch LCD Power supply 100 240V...

Page 28: ...28 Masterwork Automodules Tech Corp Ltd Remarks...

Page 29: ...29 Remarks...

Page 30: ...30 Masterwork Automodules Tech Corp Ltd Remarks...

Page 31: ...31...

Page 32: ...Masterwork Automodules Tech Corp Ltd www automodules com 11F 3 3 Yuanqu St Nangang 11503 Taipei Taiwan...

Reviews: