background image

 15 of 16 

104 S. 8th Ave. Marshalltown, IA Phone 800-888-0127 / 641-753-0127  •  Fax 800-477-6341 / 641-753-6341 www.MARSHALLTOWN.com

WS3664

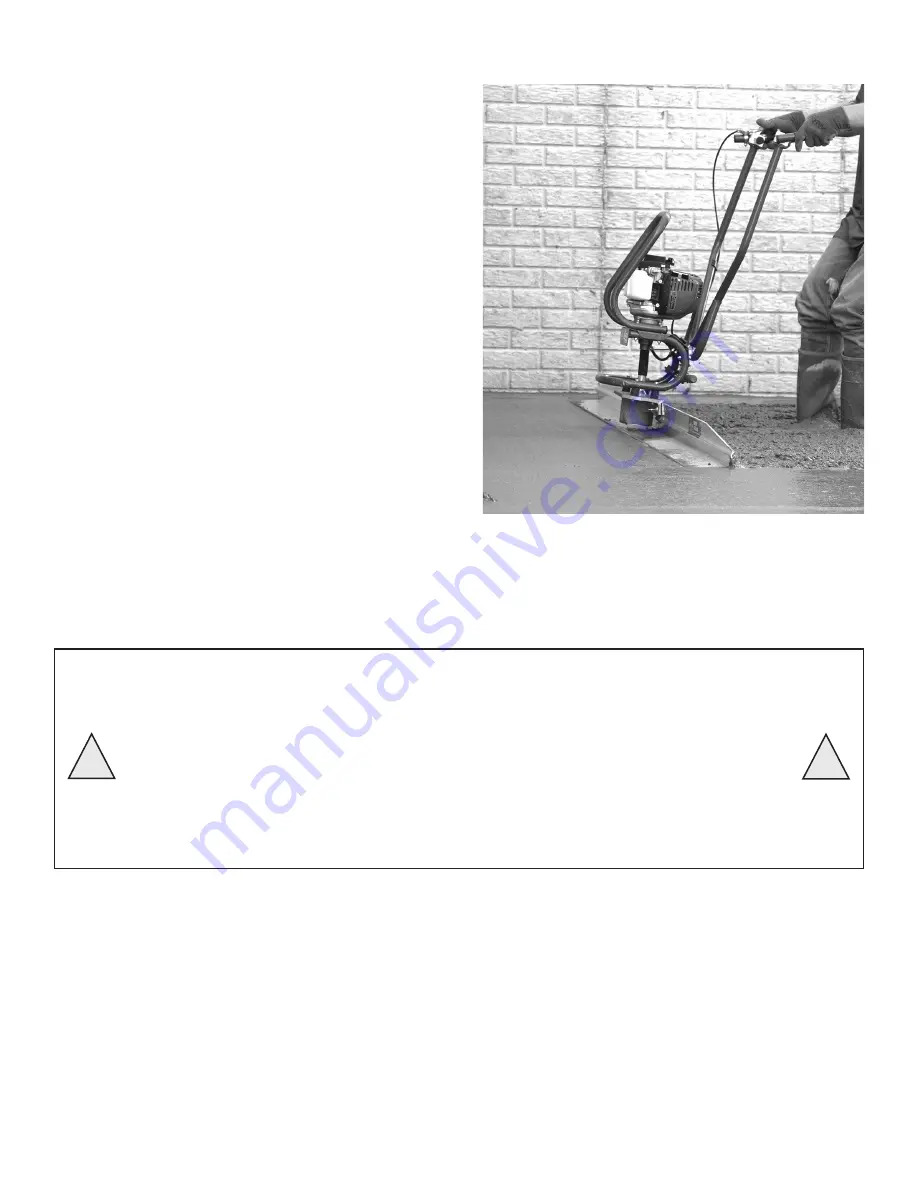
Once the engine is warm and running by itself with the choke 
OPEN you can begin screeding concrete.
 
For specific instructions on Wet Screeding and Form to Form 
screeding please see pages 12 and 13.
 

1.  Begin by placing concrete within your forms slightly higher  
     than the forms themselves.  
2.  Place screed on top of concrete and start engine.  
3.  Increase engine RPM until the clutch engages causing the
     screed to vibrate.
4.  Walking backwards, begin screeding concrete.
5.  Your throttle lever does not require constant contact, but  
     you can adjust RPM and vibration to accommodate wet or  
     dry concrete. Dry or low slump concrete may require  
     more vibration to level and screed.
6.  Continue moving backwards while keeping concrete placed 
     in front of the blade. The roll back feature of the blade will  
     help keep concrete from sliding over the blade.   
     Concrete placed too high may slide over the board! This  
     could make the screed too hard to pull and result in a slab  
     that is out of level. 


OPERATING ON WET CONCRETE

DO NOT OVER VIBRATE CONCRETE

The following are signs of too much vibration:

!

!

• 

Excessive concrete splatter

• 

Blade sinking below wet pads

• 

Ripple or “wake marks” following the blade

• 

Concrete easily sliding underneath form boards causing dips along the form edge 

Always remember, 

the less vibration the better

. Use only enough vibration to be able to  

comfortably pull screed backwards, leaving a smooth, level surface.

Summary of Contents for SHOCKWAVE 2.0 POWER SCREED

Page 1: ...SHOCKWAVE TM 2 0 POWER SCREED Part SW200H EDI 32856 104 S 8th Ave Marshalltown IA Phone 800 888 0127 641 753 0127 Fax 800 477 6341 641 753 6341 www MARSHALLTOWN com WS3664...

Page 2: ...rnings and labels of the engine manufacturer Always read and understand the owners manual of the engine manufacturer Always wear approved hearing eye and breathing protection Always use form oil to co...

Page 3: ...ct has not been operated and maintained in accordance with the instructions furnished in the Operator s Manual or when the product has been altered or modified without approval from MARSHALLTOWN Under...

Page 4: ...SWITCH 11 DRIVE SHAFT 2 ENGINE 12 VIBRATION DAMPENERS 3 RECOIL STARTER 13 BLADE 4 OIL CAP 14 ECCENTRIC WEIGHT COVER 5 GAS CAP 15 FRAME 6 THROTTLE LEVER 16 LIFTING BAR 7 HANDLE BAR MOUNTING BLOCKS 17...

Page 5: ...4 Making sure all mounting block and frame holes are aligned insert hex screws and tighten with 7 16 wrench or socket Step 3 Place handle bars into mounting blocks making sure handle bars are centered...

Page 6: ...tep 3 Fasten the throttle cable as shown Make sure there is a nut on each side of plastic fitting Make sure the cable does not work itself out of the plastic fitting while tightening Step 2 The thrott...

Page 7: ...liers pull all extra slack out of the cable making sure you are not actually opening the throttle at the carburetor Once all slack is removed tighten locking screw NOTE the plastic housing of the thro...

Page 8: ...position before making adjustments ADJUSTABLE HANDLES Your Shockwave 2 0 screed has handles that can be adjusted for a customized fit The height of the handle can be adjusted right below the motor ADJ...

Page 9: ...7 4 3 4 9 M Blade Weight 1 85 lb ft 2 75 kg m Engine Type 4 stroke overhead cam single cylinder Engine Make Honda Engine Model GX35 Engine Horsepower 1 6 hp 1 2 kW 7 000 RPM Engine Displacement 2 18 c...

Page 10: ...405 6 1 8 32406 32406 8 2 4 32407 32407 10 3 0 32408 32408 12 3 7 32409 32409 14 4 3 32410 32410 16 4 9 32411 32411 16 4 9 DET QTY DESCRIPTION 1 1 GX35 HONDA MOTOR 2 8 HANDLEBAR CLAMP 3 1 HANDLEBAR AS...

Page 11: ...1 5 A THIS PRINT DISCLOSES SUBJECT MATTER IN WHICH MARSHALLTOWN COMPANY HAS PROPRIETARY RIGHTS THE RECEIPT OR POSSESSION OF THIS PRINT DOES NOT CONFER TRANSFER OR LICENSE THE USE OF THE DESIGN OR TEC...

Page 12: ...2 18 inches A A A A 12 18 A A A A A A A A C B B B B MAKING WET PADS 1 Using hand float make wet pads around all grade pins A NOTE Make sure all wet pad distances are shorter than the length of blade b...

Page 13: ...ure the longest possible blade life use the lowest possible vibration setting in relationship to the slump of concrete being used Width of Screed Blade Width of Form Form Board ELEVATED TRAILING EDGE...

Page 14: ...arm engine leave choke in OPEN position 2 Press priming bulb repeatedly until fuel can be seen in the clear plastic fuel return tube 3 Press On Off Switch to the On Position 4 Pull the starter grip li...

Page 15: ...RPM and vibration to accommodate wet or dry concrete Dry or low slump concrete may require more vibration to level and screed 6 Continue moving backwards while keeping concrete placed in front of the...

Page 16: ...104 S 8th Ave Marshalltown IA Phone 800 888 0127 641 753 0127 Fax 800 477 6341 64 1 753 6341 www MARSHALLTOWN com WS3664...

Reviews: