


25
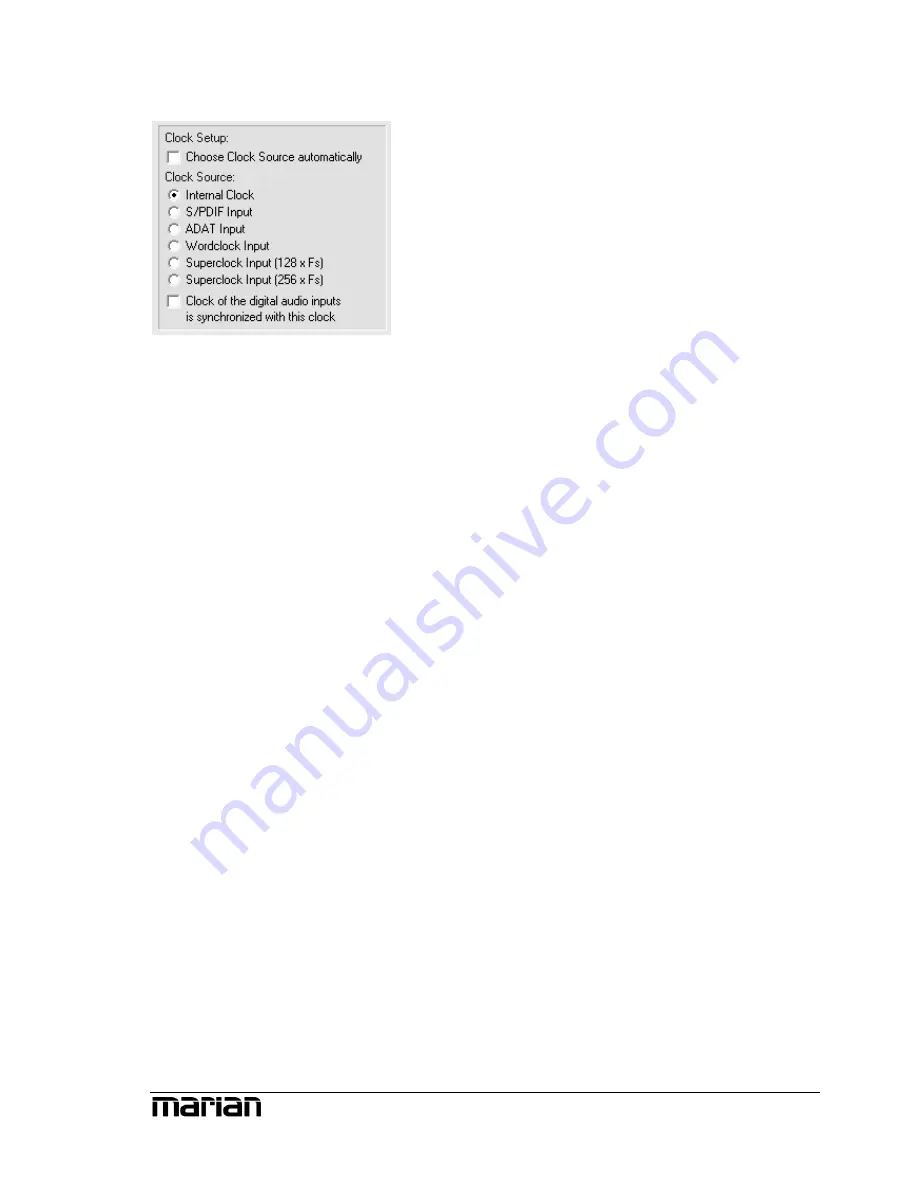
Clock settings
When working with digital audio signals, a clock
is always required. The settings listed here,
define where this clock comes from. If no clock
is available or a wrong clock setting is made,
playback errors or even system malfunction can
be the result. In most cases, you can work fine
with the setting “Choose Clock Source
Automatically”. This makes the UCON choose
the correct clock himself, and switch, if needed
and if no playback is active, between different
clocks. All other settings are being explained in
the following.
Z
For examples for the
practical use and precise
explanations of what a
clock actually is, please
refer to the “hands on”-
part“: “The clock
settings”!
Z
Details in “hands on”
example 1 of “The clock
settings”
The UCON CX as clock master
If “Internal Clock” is chosen, the UCON himself
generates the clock. External devices can receive
this clock signal via the ADAT- or S/PIDF
output of the UCON. This lifts the UCON CX to
clock master status. If external devices are
configured as clock slaves, they will work
synchronously to the UCON.
Summary of Contents for UCON CX
Page 1: ...UCON CX User s Guide...
Page 6: ...4...
Page 12: ...Connectors Here is one example of how the UCON can be set up in a music studio environment 10...
Page 33: ...31...
Page 53: ...51...


