- 6 -
2.
I
NSTALLATION AS
W
IRELESS
R
ANGE
E
XTENDER
The Manhattan Wireless AC750 Dual-‐Band Range Extender can be installed in one of two ways. The first way involves the
aforementioned WPS, while the second (we call it the manual method) uses a more traditional setup process. Both ways
lead to the same result, and it is only a matter of convenience as to why you would use WPS over the manual method,
provided your router supports WPS.
2.1
I
NSTALLATION
U
SING
W PS
If your wireless router is equipped with a WPS button (sometimes referred to as N-‐connect),
then you can connect the range extender to your network literally just by pushing two
buttons. Here is how it works.
Step 1:
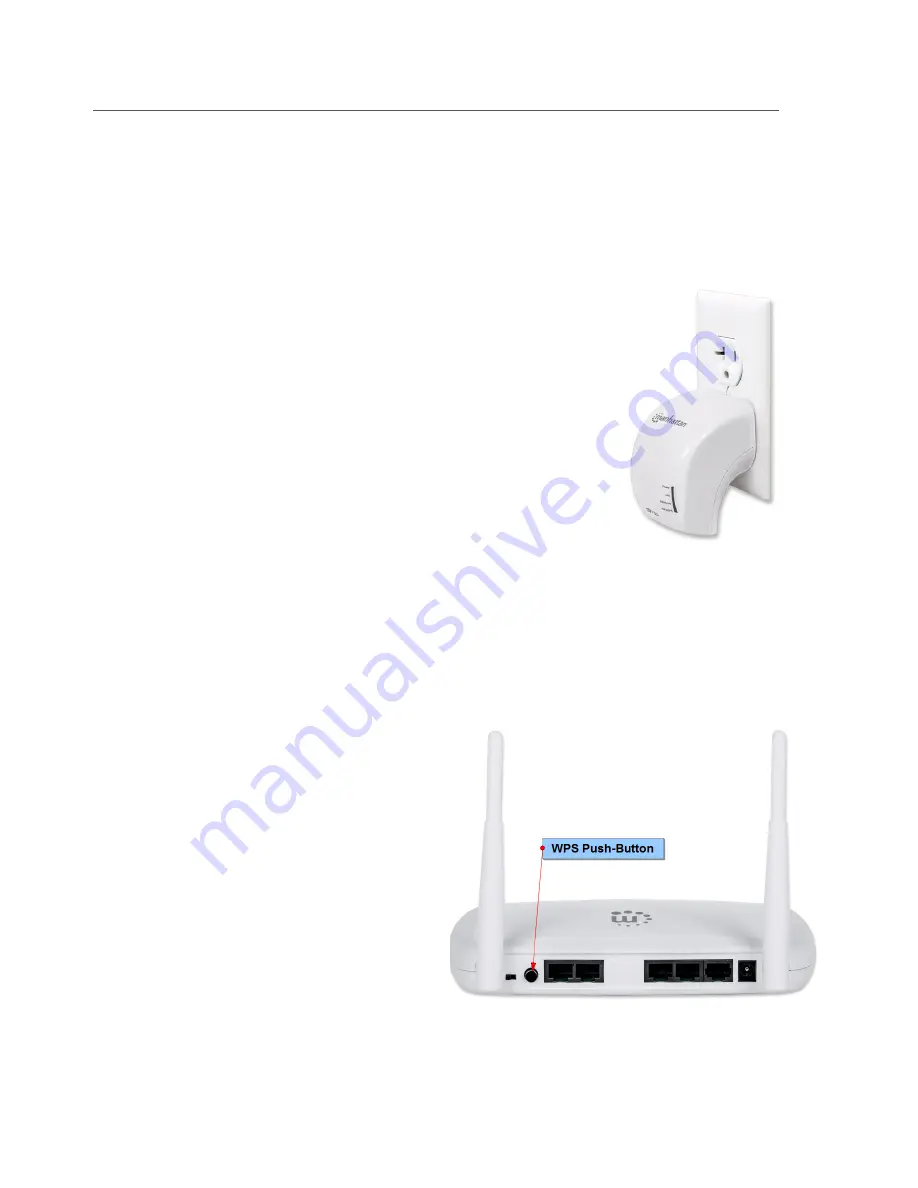
Plug the wireless range extender into the wall outlet. The position of the wall outlet must be
chosen carefully. Make sure that you are close enough to your wireless router so that the
wireless signal is still relatively strong. If you move too far away from the wireless router and
the wireless signal is already quite weak in that location, you will not be able to achieve good
results. Use a wireless device and check the signal strength in the location where you plan to
install the range extender.
Note:
If the signal strength is below 60%, you should move closer to the wireless router.
Step 2: Wait for about 60 seconds to allow the wireless range extender to complete its startup sequence. Verify that the
power LED is illuminated.
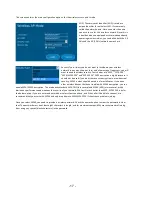
Step 3: On your router, locate and press the WPS button.
Note: The picture illustrates the location of the WPS button
on a Manhattan wireless router. Other routers may not
have the WPS button in the same location. If you cannot
find a WPS button, you should skip this section and
continue with the manual installation.


