inStallation
The four steps below comprise the basic procedure for quick installation. detailed procedures
for specific operating systems are presented in subsequent sections.
NOTE:
do
not
connect
the Multi-Port docking Station to your computer before completely installing the device’s driver
(from the included Cd). Also, do not use any power adapter other than the one included with
this product.
1. Insert the driver Cd and follow the on-screen instructions.
2. Restart the computer.
3. Connect the second monitor to the VGA (dB15) connector of the Multi-Port docking
Station and turn the monitor on.
4. Plug the Multi-Port Docking Station into an available USB 2.0 port. When finished, you
should see the extended display on the second monitor.
Windows XP/2000
Driver Installation
Installing the device driver enables your computer’s operating system to recognize the docking
station and its ports once it’s connected. Check your operating system and refer to the
appropriate installation procedure (here, or below for Windows Vista) to begin installing the
device driver. Make sure the Multi-Port docking Station is unplugged from your PC or notebook
computer before executing the setup program.
1. Insert the included Cd into the Cd-RoM drive. The setup program should be launched
automatically. If the setup program does not begin automatically, go to Start, then Run,
then enter “D:\Disk 1\Setup.exe” (where D: is the path of your CD-ROM drive); click “OK.”
2. When the InstallShield Wizard welcome screen displays, click “Next” to continue.
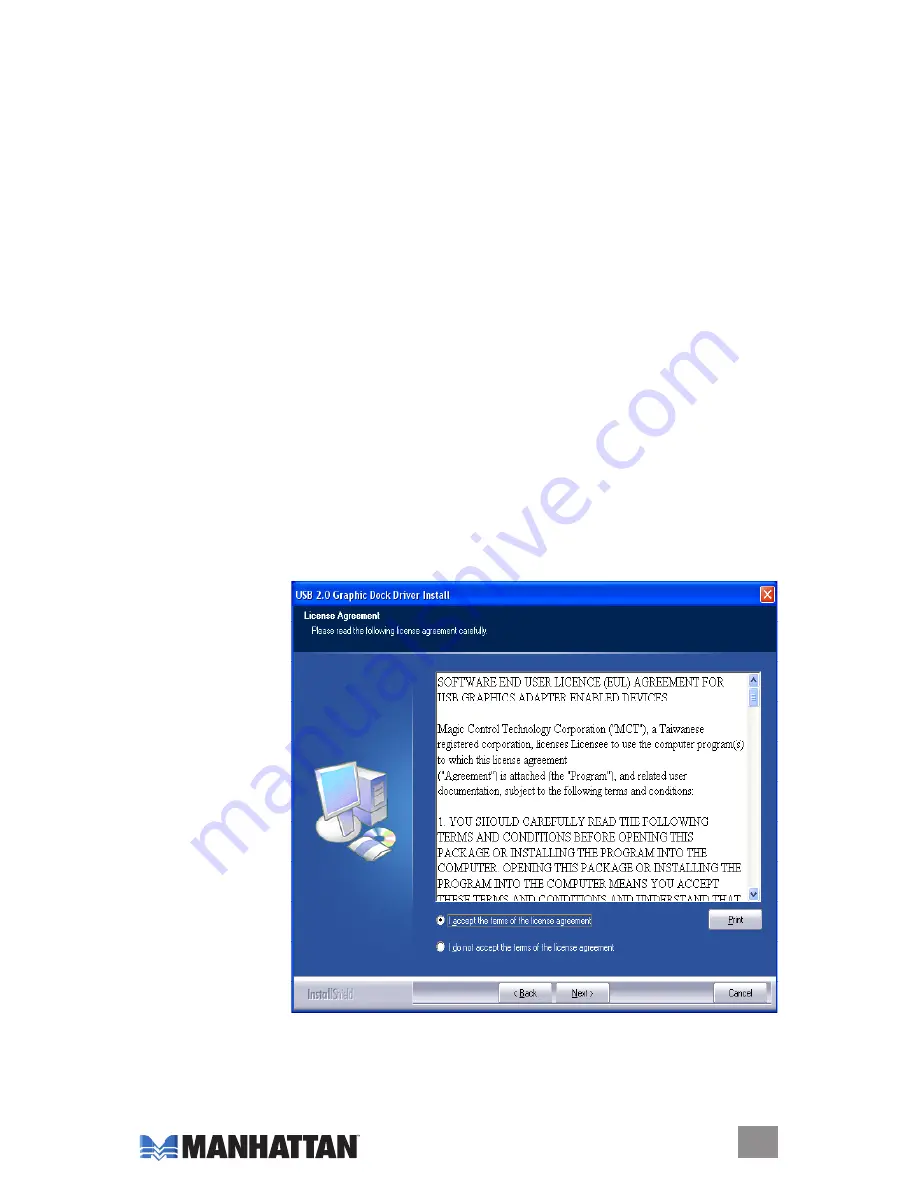
3. When the license
Agreement screen
displays and you
have reviewed its
contents, select “I
accept the terms
of the license
agreement” and
click “Next.”
5
INSTAllATIoN


