2
ENGLISH
Hi-Speed USB 2.0 Automatic Sharing Switch
English
Hardware Installation / Connections
Before installing the switch, make sure all computers and
peripherals to be connected are turned off.
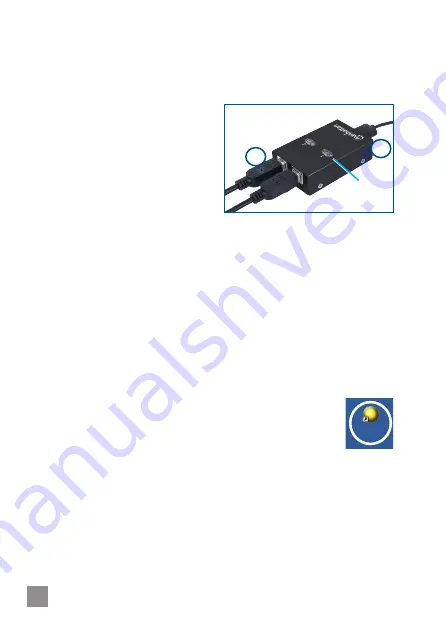
1. Connect the two computers to
Ports 1 & 2 on the switch.
2. Connect the device port on the
switch to the selected USB
device (cable included).
3. Power on the computer(s) and
the connected USB device.
Software Installation
The USB Sharing application on the included CD offers a
convenient on-screen option (PCs only) for switching the
computer source that’s directed to the connected peripheral
device (instead of manually pressing the Select buttons on the
top of the switch itself).
1. Insert the included software CD into your CD-ROM drive and
follow the on-screen instructions.
Note:
If installation doesn’t
begin automatically, open Windows Explorer, navigate to your
CD-ROM drive and double-click the setup.exe file.
2. When the Maintenance Complete screen displays, click
Finish
.
Close any open windows, then reboot your computer.
3. After the reboot, a USB Sharing shortcut will appear
on the desktop, and an indicator icon will appear in
the lower-right corner (as shown in the sample
images in Operation below).
Software Uninstall
You can uninstall the software from “Add or Remove Programs”
in the Control Panel. Click
Add or Remove
: The Choose Setup
Language screen will display. Click
OK
. When the Confirm File
Deletion prompt displays, click
OK
to confirm, then click
Finish
.
USB
Sharing
Computer
port
Device port
Select button /
LED indicator
1
2


