background image

Simple solutions for everyday independence

11

Maintenance and Care

Cleaning

routine cleaning 

• 

Drain the bath water and fully inflate the Bathing Cushion for cleaning whilst it is still in the 

bath. To clean between the seat and base sections, partially deflate the Bathing Cushion.

• 

All components can be cleaned with a proprietary non abrasive mild liquid cleaner or 

disinfectant. Always follow packaging instructions for using mild detergent products.        

NOTE: 

Before using proprietary cleaners, always test on an inconspicuous area.

• 

Use a soft cloth when cleaning.

• 

Do not wash the product in boiling water.

IMPORTANT: Following cleaning and after each use, rinse thoroughly with clean water to remove 

all soap deposits. Wipe dry or leave to air dry. Never store the Bathing Cushion when it is wet or 

damp. It is recommended that the Bathing Cushion is left inflated in-between uses to allow air to 

circulate around it and reduce the risk of mould forming on the surface of the product. Do not 

leave in bright sun light. 

Do not dry using hot air

.

disinfection

• 

The Bathing Cushion should be fully inflated and pre-cleaned by washing with detergent and 

water, thoroughly rinsed and then disinfected using a 1:10 solution of household liquid bleach 

and water (1 part bleach to 10 parts cold water). Leave the solution on the Bathing Cushion for 

approximately 10 minutes before thoroughly rinsing off with clean cold water.


WARNING:

 Never mix bleach with any other cleaning product as doing so can result in the 

formation of harmful acids and poisonous gasses which can cause serious breathing problems. 

Thick bleach should not be used for disinfection purposes (other than in toilet bowls and 

drains) as it contains potentially poisonous additives. Always read the safety information on 

the label before using any bleach product.

Maintenance

• 

Clean the Bathing Cushion after each use. 

NOTE: 

It is 

especially important to thoroughly clean your Bathing 

Cushion after each bath if ‘Dettol’ or similar products have 

been added to the bath water.

• 

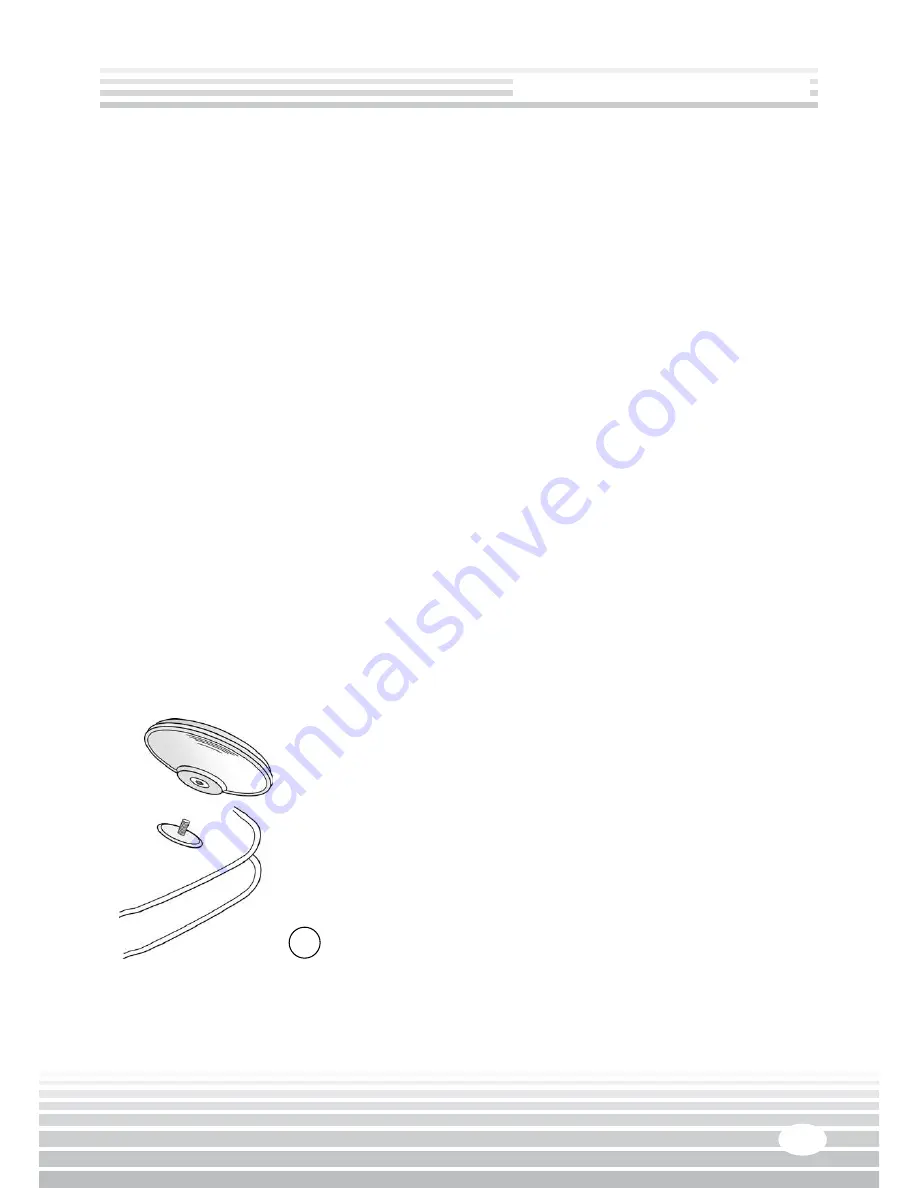
Regularly check that the suction cups are secure and 

undamaged; these are screwed onto threaded studs on the 

underside of the Bathing Cushion and should only be hand 

tight (fig.13).

• 

Check that the air hose and connector are not damaged.

13

Mangar International recommends that your Bathing Cushion is inspected annually by either 

your supplier or other suitably qualified person. If required, Mangar International can provide 

the above inspection within an annual service contract. Please contact our Customer Service 

Department for further details.

Summary of Contents for HBA0120

Page 1: ...User Instructions Bathing Cushion...

Page 2: ...presence of flammable anaesthetic mixtures with air oxygen or nitrous oxide as these mixtures can create a combustible environment leading to the potential for fire or even an explosion in the presen...

Page 3: ...void the risk of electric shock NEVER recharge the battery in the bathroom outdoors or in a damp environment Do not use any other air supply to inflate the Bathing Cushion The suction cups contain Lat...

Page 4: ...ting the Bathing Cushion in the bath 6 Connecting the air hose and hand control 7 Dry trials without water in the bath 7 Using the Bathing Cushion 8 Maintenance and care 10 To remove the Bathing Cushi...

Page 5: ...e Construction The Bathing Cushion is constructed from a very strong polyurethane coated nylon material which has been precision cut into panels and then joined together by high frequency welding This...

Page 6: ...side that you propose getting into and out of the bath The air inlet valve B can be rotated allowing the hose to be led to the appropriate corner Fitting the Bathing Cushion in the bath Fold the backr...

Page 7: ...e the Up button Press firmly down on the Bathing Cushion to secure the suction cups to the floor of the bath Check all four suction cups are securely stuck to the bath Wet them to help them stick if n...

Page 8: ...to lower yourself into the bath KEEP YOUR KNEES BENT AND FEET FLAT ON THE FLOOR OF THE BATH AS YOU ARE LOWERED SO AS TO AVOID SLIDING FORWARDS ON THE SEAT Hold the sides of the bath or grab handles fo...

Page 9: ...assist you in sitting upright Hold the sides of the bath for added support if required Select Up on the hand control when you are ready to get out of the bath You can stop at any time by releasing th...

Page 10: ...h Release the remaining pair of suction cups by lifting their rims as before Remove the Bathing Cushion from the bath and disconnect the air hose NOTE To deflate the Bathing Cushion when not sitting o...

Page 11: ...ted using a 1 10 solution of household liquid bleach and water 1 part bleach to 10 parts cold water Leave the solution on the Bathing Cushion for approximately 10 minutes before thoroughly rinsing off...

Page 12: ...f it s working life remove the batteries for safe disposal in accordance with your local council guidelines and dispose of the Airflo at your local household waste recycling centre civic amenity site...

Page 13: ...n against defects in material and workmanship and comprises piece parts and labour The warranty is not valid in the case of fair wear and tear wilful damage common neglect misuse or unauthorised alter...

Page 14: ...ned within this document without notice Spare Parts Suction Cups Kit of 4 Part Code HB0075 Connector 11mm hose Part Code CA0070 Symbols used in instruction manual and on Bathing Cushion Type BF equipm...

Page 15: ...ORMITY This is to certify that The Bathing Cushion HBA0120 complies with The requirements for Class 1 devices according to Annex VII of the Medical Devices Directive 93 42 EEC as amended by 2007 47 EC...

Reviews: