SkyRaider DS287 User Manual
August 19, 2018
SkyRaider DS287 User Manual
Page 124
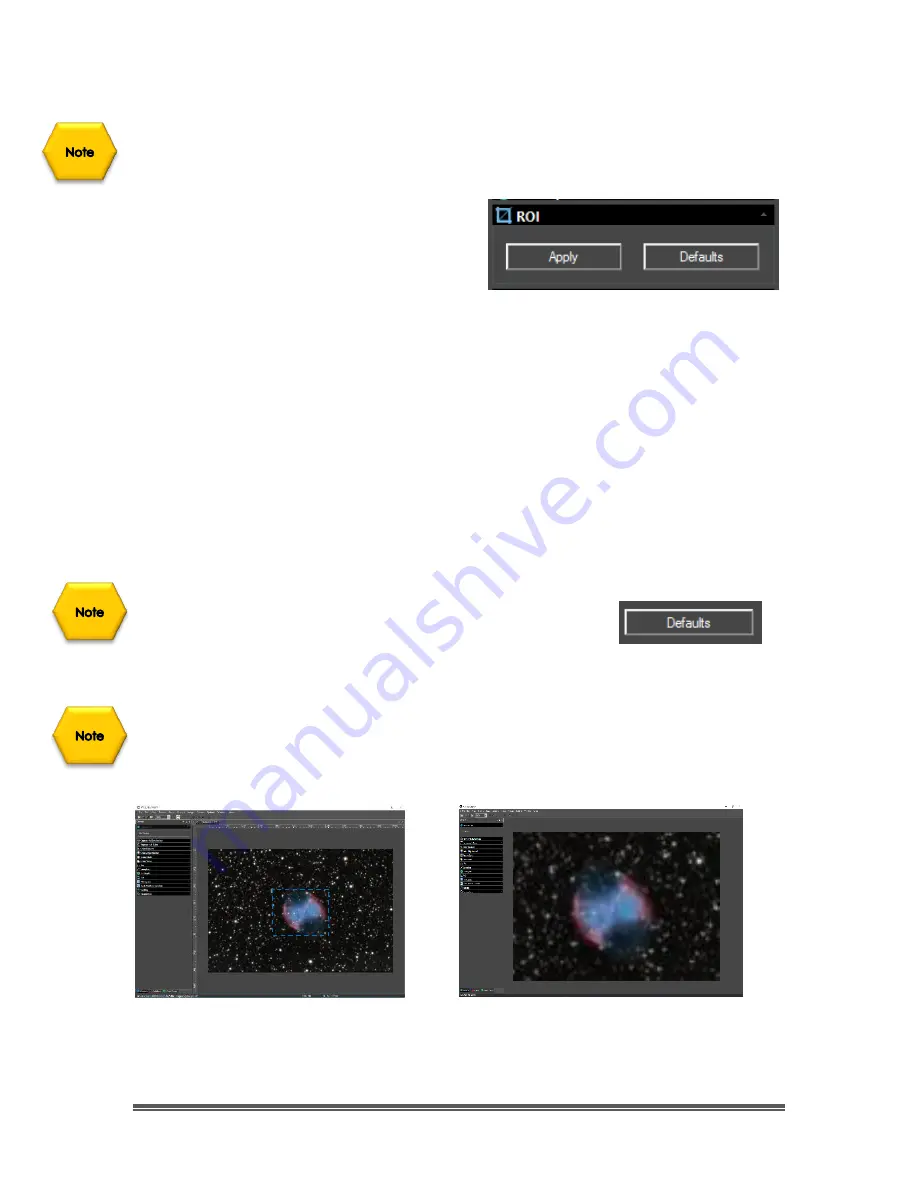
image of the planet as indicated by a blue rectangle). This has 2 benefits:
smaller files sizes, and as an added bonus, will allow for a faster frame rate.
The
ROI
command only works while the SkyRaider DS287 is in Video Mode but,
see below for a work around.
When selected, a
Blue Rectangle
will
appear over your
Video Window
. You can
adjust it using the
Left-Click-Hold and
Drag
technique or
Left-Click-Hold and
Drag
to place it over a specific portion of
your
Video Window
.
Once you have resized and placed the
Blue ROI Rectangle
on your
Video
Window
,
Left-Click
on the
Apply Button
to selection this as the
New Video
Window
. Then the
Next Refresh
will fill in the ROI window.
You can then resize the
New Video Window
by either the
Drop-Down Size
command in the
MallincamSky Tool Bar
or by scrolling the wheel on your mouse
(if your mouse has a scroll wheel).
This command allows you to
Zoom
in on a specific area of your original Video
image.
If you (or the
SkyRaider Camera
) ever get confused with
what settings you have entered into the
ROI
control, you
can reset the
ROI
to its full screen by
Left-Clicking
on the
Default Button
. You may need to set
Fit to Window
in the
Drop-Down Size
command in the
MallincamSky Tool Bar
.
If you are trying to improve the frame rate (frames per second) when viewing
planetary objects. By selecting a
Region of Interest
around the planet will allow
MallincamSky to only capture that
ROI
portion of the whole image. As a result,
the frame rate will dramatically increase.
You can also manually set the size of the
ROI
by
clicking
on either the
horizontal
or
vertical
size indicator in the
ROI Tab
. A Window will open-up that allows you to
manual select the Horizontal or Vertical size as determined by you.


