Make you ideal fun
33
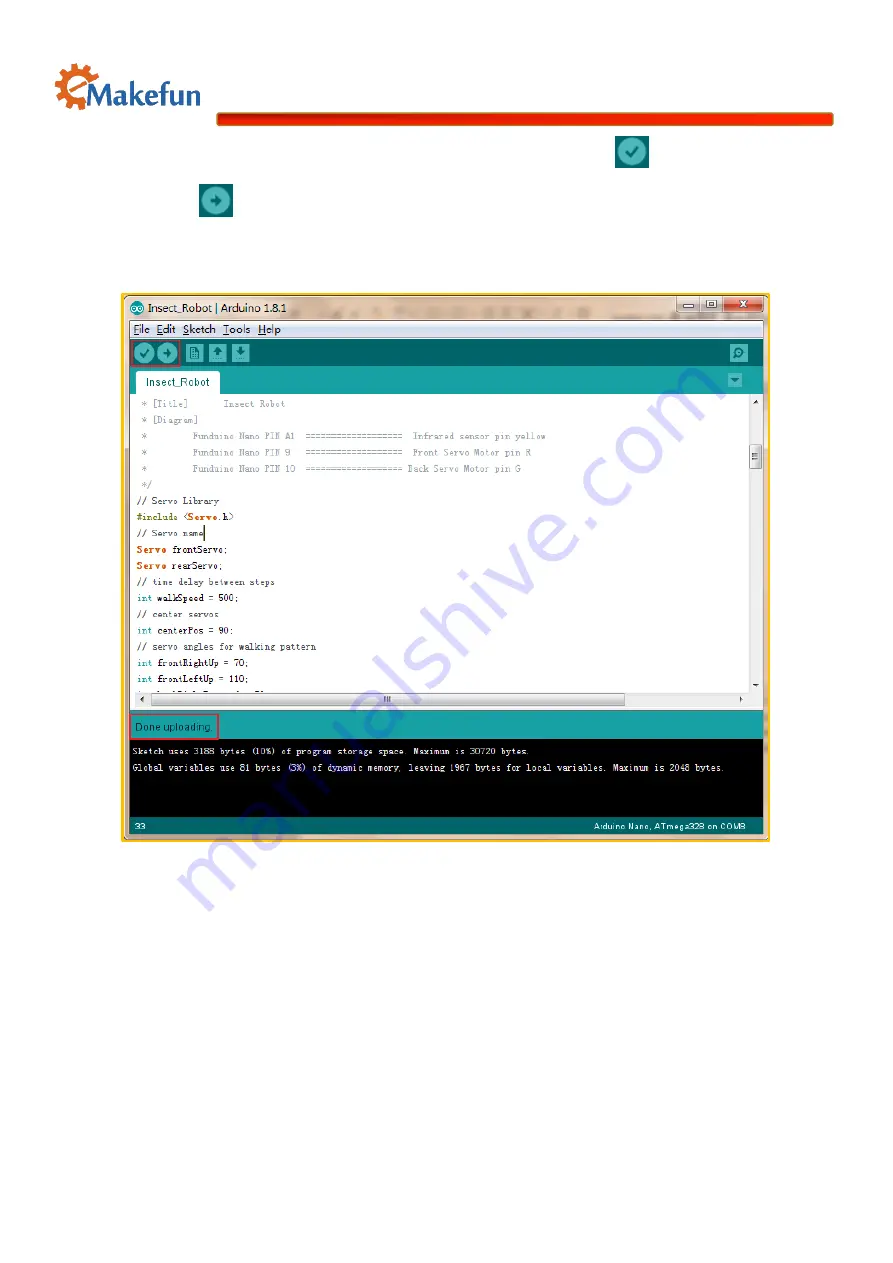
Step4: Open the
Insect_Robot.ino
program file, and then click
to check the program.
Finally, click on
to upload the program into the controller. The white LED on the
controller blinks for about 2 seconds, and the lower end of the window shows Done Uploading,
indicating that the program has been uploaded successfully.
Step5: Now the robot has been already completed, and the program has been burned into
controller. As long as we connect the +3.7V pin of the battery to the ex5V pin on
Funduino Nano, the insect robot is ready to take his first step.
Summary of Contents for Insect-Robot
Page 1: ...Make you ideal fun 1 Insect Robot Instruction Manual...
Page 9: ...Make you ideal fun 9 Figure 11 Bend the cutted paper into the shape as figure 12 Figure 12...
Page 11: ...Make you ideal fun 11 Install the Nano board on the servo as figure 15 but don t fix Figure 15...
Page 27: ...Make you ideal fun 27 Figure 43...
Page 28: ...Make you ideal fun 28 After adjusting the angle you can completely fix the forefoot Figure 44...


