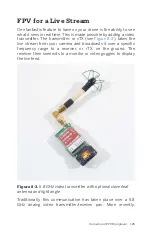
though, some manufacturers have started to use 5.8 or 2.4 GHz
WiFi networks with mobile devices to display this video stream.
The overall architecture is the same for both designs: you still
have a transmitter that sends the signal down to the ground
where it is picked up by receiver and then displayed on some
type of monitor.
What Can We Fit on Our Kit?
Because we are building the autonomous Little Dipper kit, our
threshold for additional gear is very low. If you have the APM,
GPS, and camera onboard, you will really only have the ability to
add one more thing. In short, you have a choice between adding
an FPV transmitter or telemetry radio, but we do not recom-
mend adding both. We have already walked through the process
of adding the telemetry radio earlier in the book, so we are
going to continue down that build path and will not be reviewing
further info on FPV. However, if you are interested in learning
more about how to install a video transmitter or other FPV gear,
feel free to check out our
.
Step-by-Step Build Instructions
For this portion of the build, you will need:
• One inch of foam double-sided tape
• Scissors
• 12 inches of thread or unwaxed dental floss
Step 1: Fasten the Camera Mount
As you remember from
, the Little Dipper frame has a
small vibration isolation plate designed to hold a small Action-
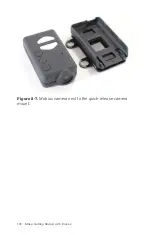
Cam. If you are installing a Mobius camera on your quad, it
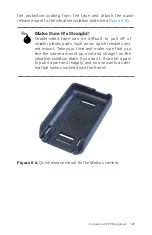
should have come with a quick-release mount (see
).
Our first step will be to fasten the quick-release camera mount
to the camera isolation plate. To do so, simply cut two small
pieces of double-sided foam tape approximately 1/2-inch long
and apply it to the bottom of the quick-release plate. Now peel
126 Make: Getting Started with Drones
Summary of Contents for Belinda Kilby
Page 1: ......
Page 3: ...Make Getting Started with Drones Terry Kilby and Belinda Kilby...
Page 26: ......
Page 90: ......
Page 126: ......
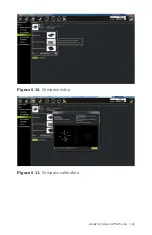
Page 153: ...Figure 9 10 Compass setup Figure 9 11 Compass calibration ArduPilot Mega APM Setup 141...
Page 198: ......

