English 3
SETUP
PLEASE READ THE BELOW SETUP INSTRUCTIONS BEFORE USING THE APPLIANCE
⇒
Place the Water Dis&ller in a ven&lated room on a flat, dry surface, such as your
kitchen worktop.
⇒
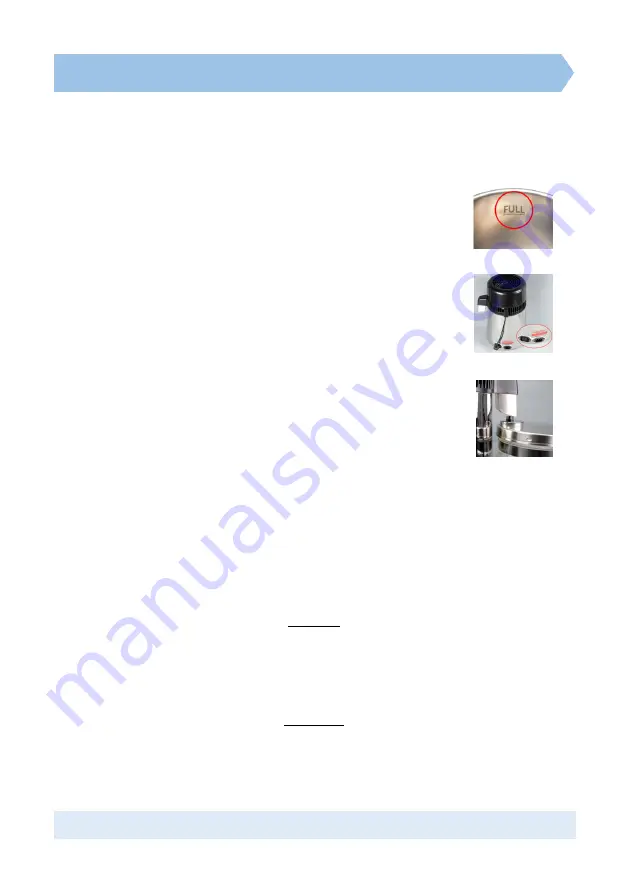
Li? off the Fan Module and fill Boiling Chamber inside of the
body up to the ‘FULL’ line using tap water whilst being very careful
NOT to overfill chamber. (&me needed to dis&l water can be reduced
by using already hot or boiled water).
⇒
Place Fan Module onto Boiling Chamber so it sits evenly around the
edge. Check to make sure the unit is on a stable surface. Then
connect the power cord from the Fan Module into the back of the
boiling chamber.
⇒
Set up Collec&on Jug underneath water filter nozzle and connect
power cord to power outlet.
⇒
Press ‘ON’ Bu/on. The fan will start automa&cally and the boiling
chamber will begin to heat, thus star&ng the dis&lling process. The
‘ON’ bu/on is used to start the machine only. It cannot be used to
stop or turn off the machine prematurely before dis&lla&on is complete. On first use
the machine may start as soon as it is connected to the power outlet without first
pressing ‘ON’. This will happen if the ‘ON’ switch has already been pressed in whilst
removing from the packaging for example.
⇒
Water will begin to drip into the Collec&on Jug a?er approximately 30 minutes. It will
take approximately 3.5 hours to dis&l 4 litres of water. The unit will automa&cally
shut down when the cycle has finished therefore you can leave it running overnight.
Important
Do not use the first Jug of dis%lled water.
It will take one cycle for the unit to ‘self clean’.
Wipe out tank and rinse/discard water in Collec%on Jug.
Dis%ller is now ready to create dis%lled water.
Please note
The unit must be allowed to cool down before star&ng another dis&lling cycle
(Approximately 30 minutes). The ‘ON’ bu/on will be inac&ve during this &me.
This will prevent injuries from scalding water and prolong the life of the Dis&ller.


