


OPERAZIONI INIZIALI
DISIMBALLAGGIO
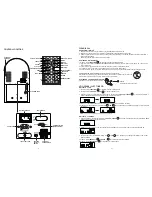
1 Togliere lunità dalla scatola.
Nota: Conservare la scatola ed il suo contenuto
2 Il telecomando è posizionato sulla parte esterna del polistirolo
3 Togliere la protezione di plastica che ricopre la radio ed il telecomando.
4 Slegare il cavo dellantenna situato sul retro della radio.
5 Togliere il polistirolo dal piatto girevole.
6 Togliere la fascetta nera sotto il braccio .
7 Rimuovere il cappuccio bianco di protezione della puntina tirando delicatamente in avanti.
Note:
a) In caso di malfunzionamento dovuto a scariche elettriche, resettare lunità scollegando il cavo di alimentazione dalla presa
di corrente. Lunità riprenderà a funzionare normalmente.
b) In caso di malfunzionamento dovuto a sbalzi di tensione, resettare lunità scollegando il cavo di alimentazione dalla presa
di corrente. Lunità riprenderà a funzionare normalmente.
SET UP
1 Slegare il cavo di alimentazione .
2 Premere il tasto MAIN POWER posizionato sul retro dellunità.
3 Premere il tasto
POWER
/
sul davanti
dellunità. Lunità è in modalità standby.
4 Slegare il filo dellantenna FM e farlo cadere perpendicolarmente verso il basso per unottima ricezione. Muovere con
delicatezza il filo se si hanno problemi di ricezione delle stazioni radio FM. Non collegare lantenna FM ad unantenna esterna.
ACCENDERE LUNITÀ
Collegare il cavo di alimentazione alla presa di corrente a muro. Lunità si posizionerà automaticamente in modalità standby
ed il display visualizzerà:
Per accendere lunità premere il tasto
POWER
/
.
Si accende la retroilluminazione del LCD ed il display visualizzerà:
.
OPERAZIONI DI BASE
Selezionare una funzione
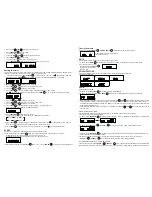
1. Premere il tasto
FUNCTION
/
per selezionare in successione:
2. Con lunità accesa, premere il tasto
POWER
/
per spegnere. Si spegne la
retroilluminazione del LCD ed il display visualizzerà GOOD BYE per 2 secondi:
Si accenderà il led STANDBY.
Nota: In modalità standby, verranno memorizzati il tono, le impostazioni audio, le imp
ostazioni radio ed il livello del volume (fino ad un livello massimo di volume pari a 30) impostati al momento dello spegnimento.
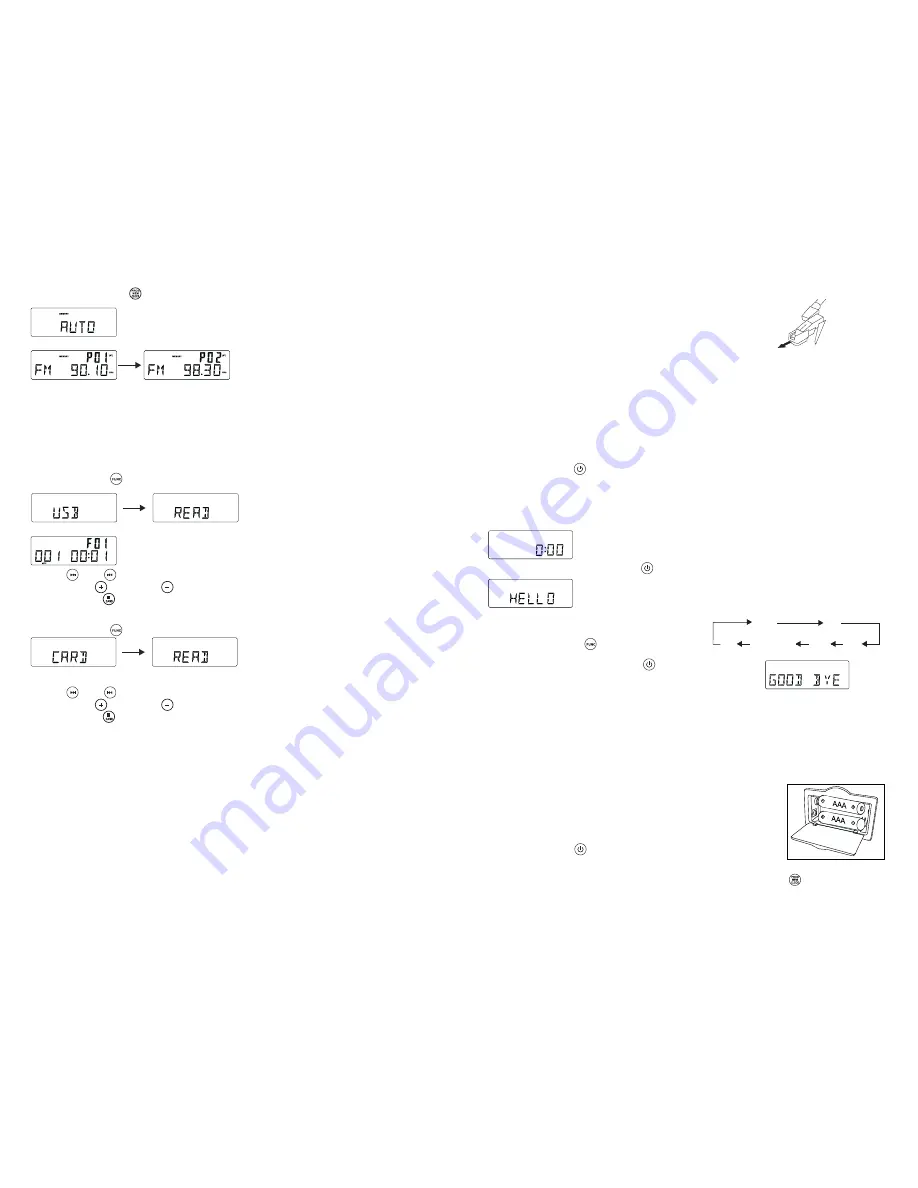
BATTERIA DI BACK UP
La batteria di back up permette di mantenere tutte le impostazioni dellorologio (ora ed allarmi) in caso di mancanza di corrente,
salvandole fino al ripristino della corrente. Per utilizzare la batteria di back up bisogna inserire due pile AAA. In caso contrario
la batteria di back up non entrerà in funzione. Per inserire le batterie operare come descritto di seguito.
1 Togliere il coperchio del vano batteria posizionato sul retro dellunità.
2 Inserire due batterie AAA nuove nella posizione corretta, come indicato allinterno il coperchio del vano batteria.
3 Rimettere il coperchio del vano batteria.
NOTA:
Non utilizzare batterie differenti
Non utilizzare insieme batterie nuove ed usate.
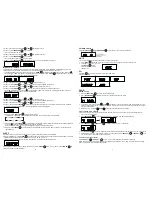
IMPOSTARE LOROLOGIO
Collegato lunità alla corrente, per prima cosa impostare lorologio.
1. Premere il tasto
POWER
/
per mettere lunità in modalità standby.
- Il display visualizza lora
- se lorologio non è impostato lampeggia 0:00
2 In modalità Standby, premere e tenere premuto per più di 1 secondo il tasto
PROGRAM
/
.
- Le ore inizieranno a lampeggiare
AUX
RADIO
CD
USB
CARD
GIRADISCHI
17
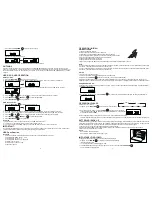
1. Press and hold
PROGRAM
/
button until Auto appears
-
Icon memory will start flashing
-
Available stations are programmed
-
After all stations are stored, the last preset station will then be played
ANTENNA
Antenna: for FM reception, the unit is provided with a FM WIRE ANTENNA, move the wire until the reception is clear
and with no interferences. For AM reception, the unit is provided with a directional build-in ferrite antenna. Rotate the set
to find the position in which the best reception is obtained. Do not connect the EXTERNAL FM ANTENNA to any outside
antenna.
USB & SD-CARD OPERATION
USB operation:
1. Press the
FUNCTION
/
to set the unit to USB mode.
2. Plug-in USB mass storage device. READ is displayed as the system scans the contents of USB device.
3. Track no. 1 of root folder (Folder 1) will be playback automatically after finish reading USB device contents.
4. Press
FF
/
or
FB
/
once or repeatedly until the desired track number appears in display.
5. Press
PRESET
+
/
or
PRESET
/
to select desired album.
6. Press
STOP/BAND
/
to stop playback.
SD-Card operation:
1. Press the
FUNCTION
/
to set the unit to CARD mode.
2. Insert SD-Card into the card slot. READ is displayed as the system scans the contents of SD card.
3. Track no. 1 of root folder (Folder 1) will be playback automatically after finish reading SD card contents.
4. Press
FF
/
or
FB
/
once or repeatedly until the desired track number appears in display.
5. Press
PRESET
+
/
or
PRESET
/
to select desired album.
6. Press
STOP/BAND
/
to stop playback.
Remarks:
1) USB connector does not support connection with USB extension cable .
2) This unit is not designed for communication with computer directly.
3) It is not guarantee that all USB memory devices and SD cards will work on this audio system
IMPORTANT:
Do not disconnect the USB device during USB mode, as this may damage the external device or its files. Please power
off first or press another Mode before safely disconnecting the USB device.
USB Specification:
Interface
-
USB 2.0 Full speed, HOST (USB HUB is not supported) Corresponding Flash memory
-
Compatible with MPEG Audio 1, 2, 2.5
-
Compatible with Layer 1, 2, 3
-
Compatible with Bit rate: 128 320 Kbps
-
Subfolder nest : 8 levels
-
Number of track / titles max 999
-
Support ID3 tag V2.0
8


