Page 4 of 16
⑧
OK
1. Press to start/stop recording;
2. Press to take pictures;
3. Press to confirm the setting you modified.
⑨
GPS Port
To insert the GPS dongle
⑩
Charging Indicator
When the battery is charging, this indicator will
blink red
light.
⑪
Recording Indicator
When the camcorder is recording, this indicator will
blink blue
light.
⑫
GPS Indicator
GPS dongle required.
⑬
Camera Lens
The camera lens is fixed and provide a viewing
angle of approx. 150
°
⑭
Front LED
For light compensation in dark/dim environment
⑮
USB Port
For data transmission
⑯
HDMI Port
For HDMI connection to TV etc.
⑰
Reset Button
Press to reset the camcorder in abnormal
situations.
⑱
Micro SD Card Slot
Please insert the SD card with the gold plate facing
the back of the camera; Press to eject the SD card
⑲
DC IN Port
For power supply
Note:
* Power Button: Press it once to turn on the camera, long press (2-3s) to turn off the camera.
Press it once when recording to turn the camera into screen saver mode.
* To go to Menu, make sure the camera is not recording. If the camera is recording, press OK
button to stop the recording first, then press Menu button to go to Menu.
* Same rules apply (stop recording first) if you want to change the camera from recording
mode to Picture Mode or Playback Mode.
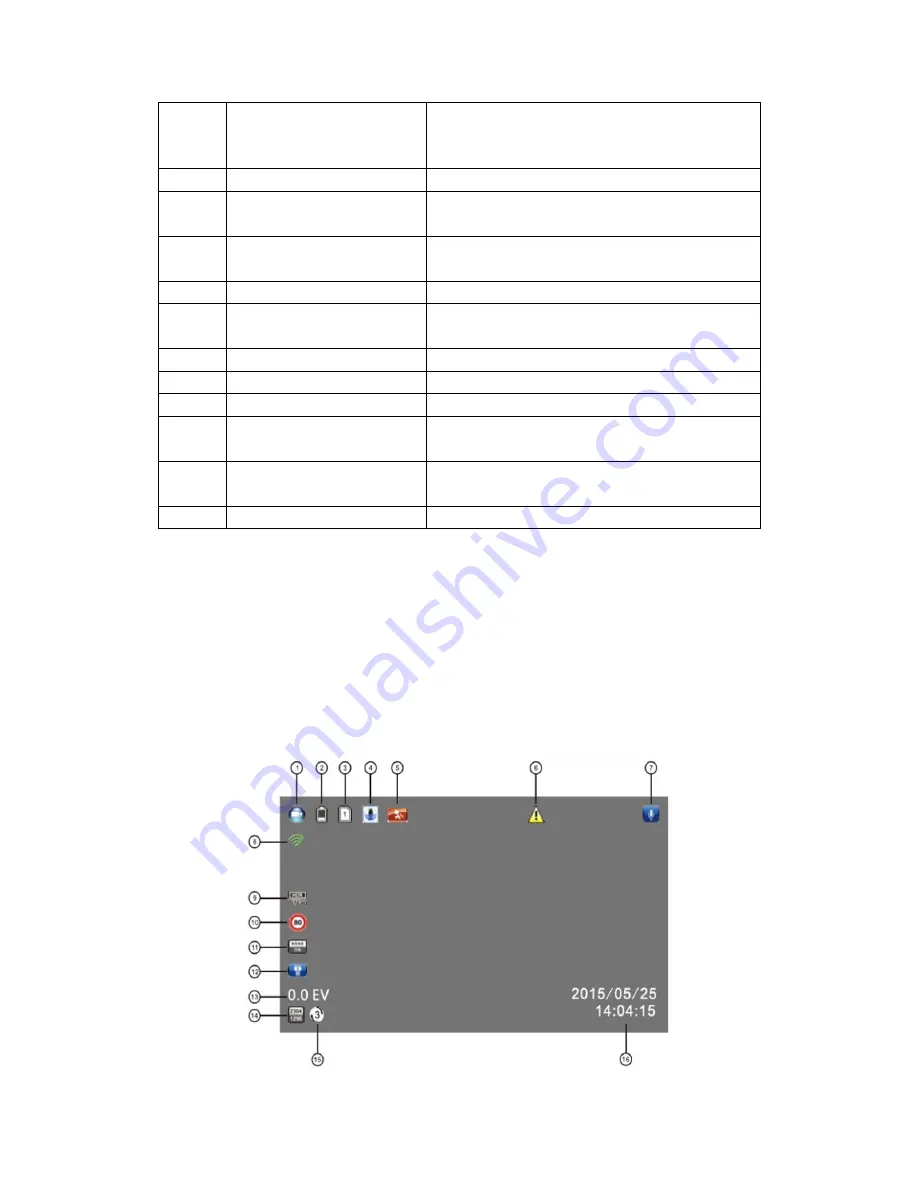
1.4 Screen Interface Illustration


