42
EN
42
EN
SETTINGS FOR AN EXTERNAL DEVICE
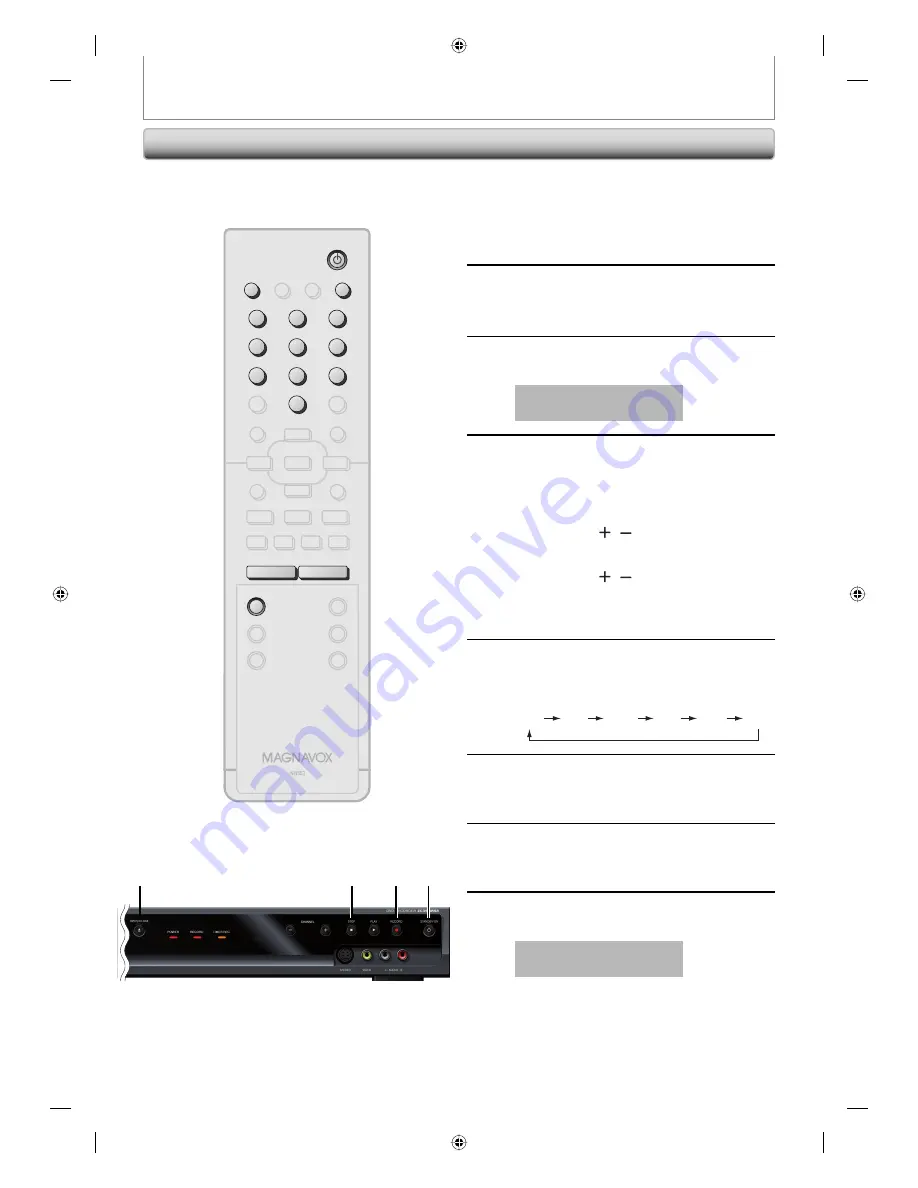
Recording from an External Device
1
Turn on the TV and press
[STANDBY-ON
y
y
], and be sure to
select the input of the TV to which
the unit is connected.
2
Press [OPEN/CLOSE
A
] to open the
disc tray. Place the disc to record
properly.
3
Press [OPEN/CLOSE
A
] to close the
disc tray.
It takes a while to load
the disc.
4
Select the input of the unit which the
external device is connected. (E2 or
E1)
• To use the input jacks on the rear of this unit;
Select “E1 (Rear)” position by using
[SOURCE]
or
[CHANNEL / ]
.
• To use the input jacks on the front of this unit;
Select “E2 (Front)” position by using
[SOURCE]
or
[CHANNEL / ]
.
• As for E2 and E1, you can also select external
input position by using
[the Number buttons]
.
e.g.) For E1, press
[0]
,
[0]
,
[1]
.
5
Press [REC MODE] to select a
recording mode.
Refer to “Recording Mode” on page 31.
HQ
(1Hr)
SP
(2Hr)
SPP
(2.5Hr)
LP
(3Hr)
EP
(4Hr)
SLP
(6Hr)
6
Press [RECORD
I
] on the unit to start
recording.
7
Start playback on the external device
to record from.
8
Press [STOP
C
] on the unit to stop
recording.
This operation may take a
while to be completed.
Before recording from an external device, refer to the
instructions for the connection on page 41.
STANDBY-ON
DTV/TV
ABC
DEF
.@/:
JKL
MNO
GHI
TUV
WXYZ
SPACE
CLEAR
SETUP
DISC MENU
RETURN
TITLE
CHANNEL
TIMER
REC MODE
AUDIO
REC
RAPID PLAY
CM SKIP
PQRS
SOURCE
1
2
3
4
5
6
7
8
.
0
OK
+
--
o
p
B
B
i
j
i
C
F
g
h
s
9
DISPLAY OPEN/CLOSE
I
A
STANDBY-ON
SOURCE
OPEN/CLOSE
A
ABC
DEF
.@/:
JKL
MNO
GHI
TUV
WXYZ
SPACE
PQRS
1
2
3
4
5
6
7
8
0
9
CHANNEL
+
--
REC MODE
8
3
2
1
6
E7H51UD.indd 42
E7H51UD.indd 42
2007/02/19 18:23:38
2007/02/19 18:23:38


