For any service needs, call 1-855-368-8606
OWNER'S MANUAL
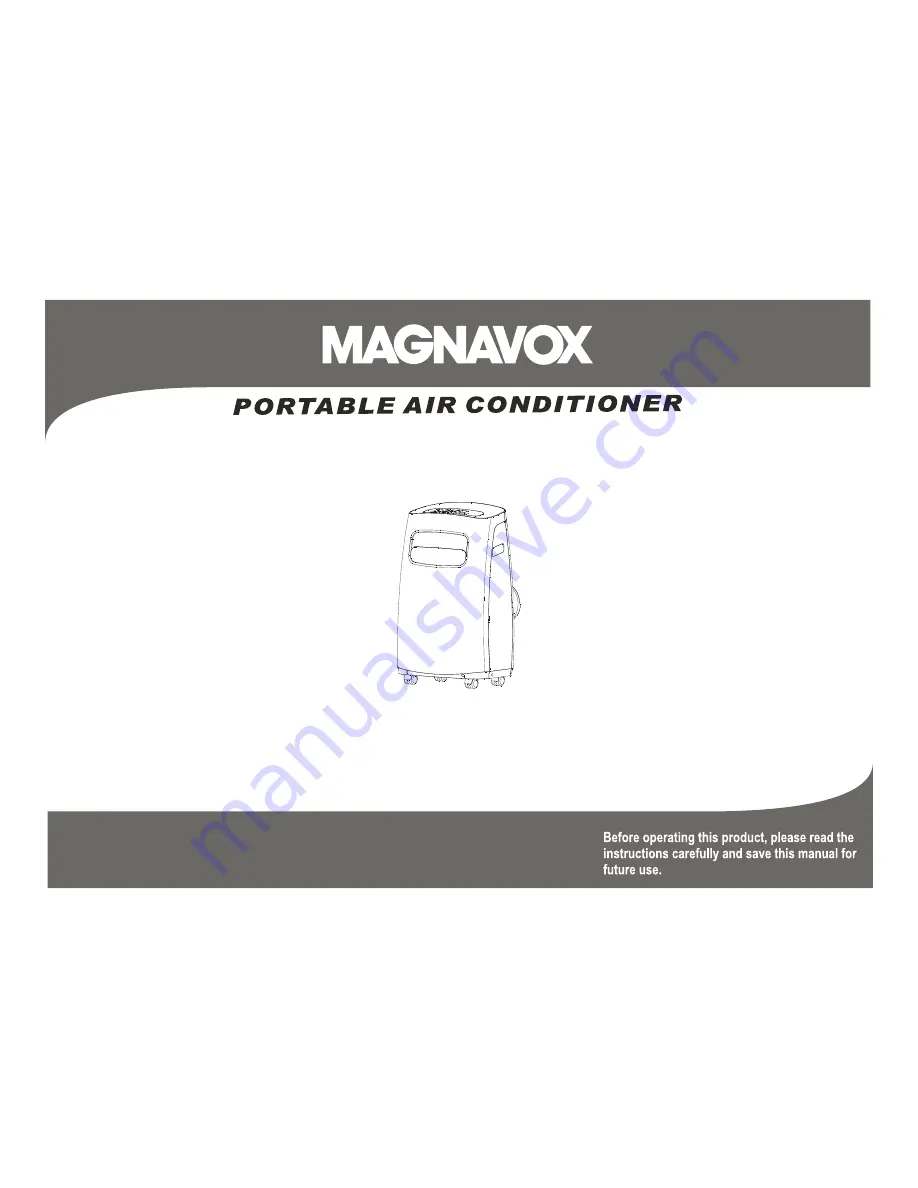
MODEL: P-08NPE
P-12NPE
P-14NPE
Page 1: ...For any service needs call 1 855 368 8606 OWNER SMANUAL MODEL P 08NPE P 12NPE P 14NPE...
Page 2: ...Contents 1 Preparation 2 Precautions Cautions Installation Operation 9 Maintenance Faults Diagnosis Design and Unit Temperature Range Safety 3 4 5 12 13 14...
Page 3: ...orizontal louver blade Caster power plug socket power cord buckle bottom tray drain outlet power cord outlet drain outlet only for pump heating mode upper air filter behind the grille upper air intake...
Page 4: ...o mitigate safety hazards DO NOT modify the length of the power cord or use an extension cord to power the unit DO NOT share a single outlet with other electrical appliances Improper power supply can...
Page 5: ...ith throw rugs runners or similar coverings Do not route cord under furniture or appliances Arrange cord away from traffic area and where it will not be tripped over Do not operate unit with a damaged...
Page 6: ...d 5 Your installation location should meet the following requirements Make sure that you install your unit on an even surface to minimize noise and vibration The unit must be installed near a grounded...
Page 7: ...let and slide down the Exhaust hose assembly along the arrow direction for installation Hook Hole Seat Lower groove adaptor Make sure the adaptor is inserted into the lower groove of the air outlet Un...
Page 8: ...between the glass and the window frame to prevent air and insects from getting into the room If desired install the security bracket with 2 screws as shown Insert the window slider assembly into the w...
Page 9: ...e hose Make sure that there is no obstacle around the air outlet of the exhaust hose in the range of 19 69inch in order for the exhaust system works properly All the illustrations in this manual are f...
Page 10: ...t illuminates under the timer on off settings Mode button Selects the appropriate operating mode Each time you press the button a mode is selected in a sequence that goes from AUTO COOL DRY and FAN Th...
Page 11: ...lay it will stay like this until the unit is drained if this happens you should drain the water from the lower drain located at the bottom of the unit The top drain is used only if you choose DRY mode...
Page 12: ...feature The louver will swing up and down automatically Please do not adjust the louver manually Water drainage During dehumidifying modes remove the upper drain plug from the back of the unit instal...
Page 13: ...mold In households with animals you will have to periodically wipe down the grill to prevent blocked air ow due to animal hair Remove the air filter Upper filter take out lower filter B take out lowe...
Page 14: ...nnected or is blocked The Water Collection Tray is full Turn off the unit drain the water from the Water Collection Tray and restart the unit There are heat sources inside the room Turn off the unit a...
Page 15: ...order to ensure the optimal performance of our products the design speci cations of the unit and remote control are subject to change without prior notice Unit Temperature Range 14 Cool 17 35 C 62 95...
Page 16: ......