

21
Settings 9
User
Settings
allow you to customize your
RoadMate receiver to your personal needs.
Note:
Tapping the Back arrow from a
Settings
screen saves any changes you’ve made.
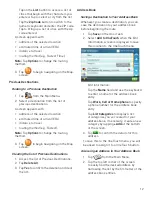
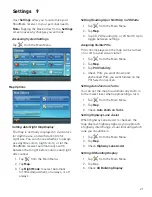
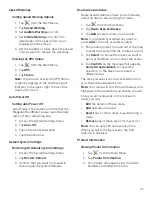
Accessing System Settings
Tap
from the Main Menu.
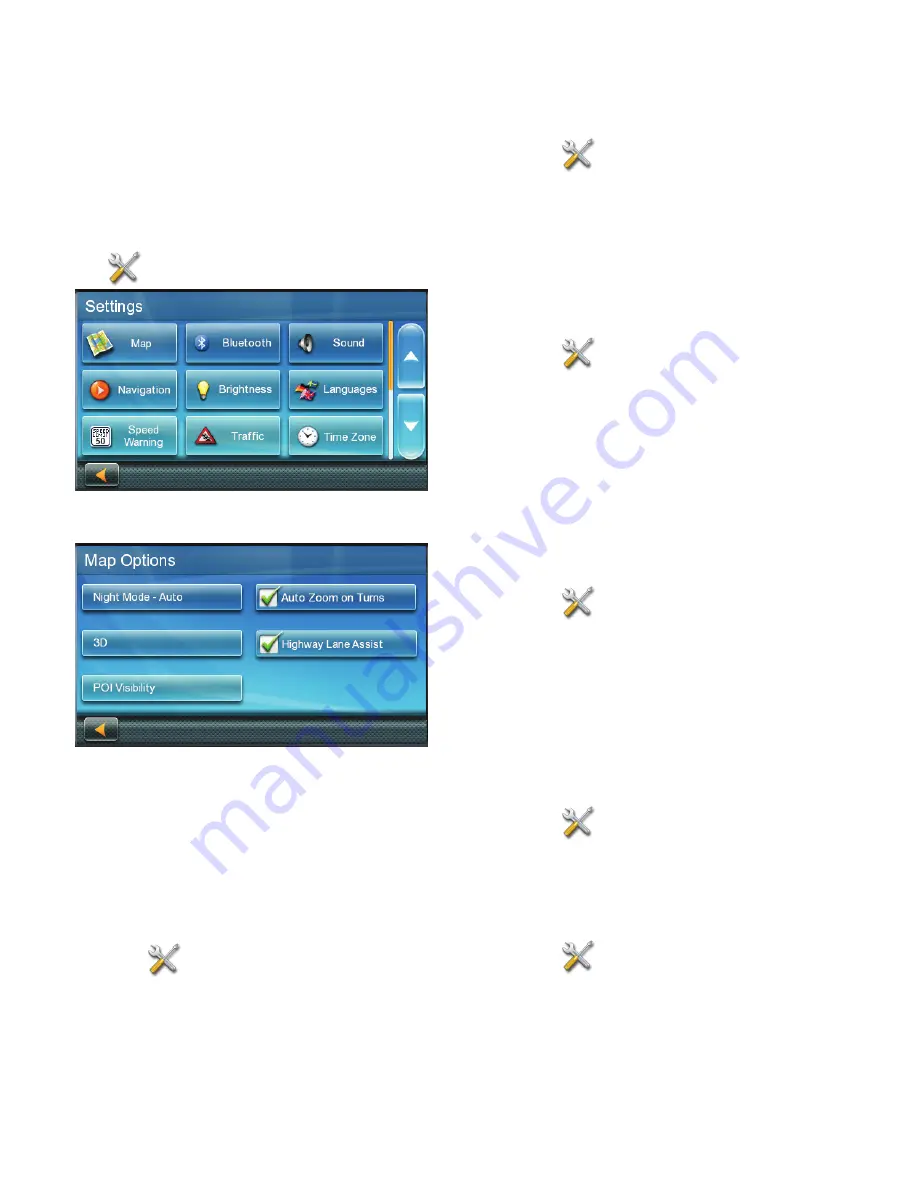
Map Options
Setting Auto Night Map Display
The map is normally displayed in vivid colors
for daytime use, and with dark tints for
night use. You can choose whether to always
use daytime colors, night colors, or let the
RoadMate receiver automatically switch
between them right before sunrise and right
after sunset.
1. Tap
from the Main Menu.
2. Tap
Map
.
3. Tap
Night Mode
to select Automatic
for timed adjustment, on always, or off
always.
Setting Heading Up or North Up in 2D Mode
1. Tap
from the Main Menu.
2. Tap
Map
.
3. Tap 3D, 2D Heading Up, or 2D North Up to
toggle between settings.
Assigning Visible POIs
POI icons displayed on the map can be turned
on or off to avoid visual clutter.
1. Tap
from the Main Menu.
2. Tap
Map
.
3. Tap
POI Visibility
.
4. Check POIs you want shown and
unchecked POIs you want hidden on the
POI Selection screen.
Setting Auto Zoom on Turns
You can set the map to automatically zoom in
to the lowest level when approaching a turn.
1. Tap
from the Main Menu.
2. Tap
Map
.
3. Check
Auto Zoom on Turns
.
Setting Highway Lane Assist
When Highway Lane Assist is checked, the
map displays highway signs as you approach
a highway interchange, visual indicating which
lane you should be in.
1. Tap
from the Main Menu.
2. Tap
Map
.
3. Check
Highway Lane Assist
.
Setting 3D Building Display
1. Tap
from the Main Menu.
2. Tap Map.
3. Check
3D Building Display
.


