


13
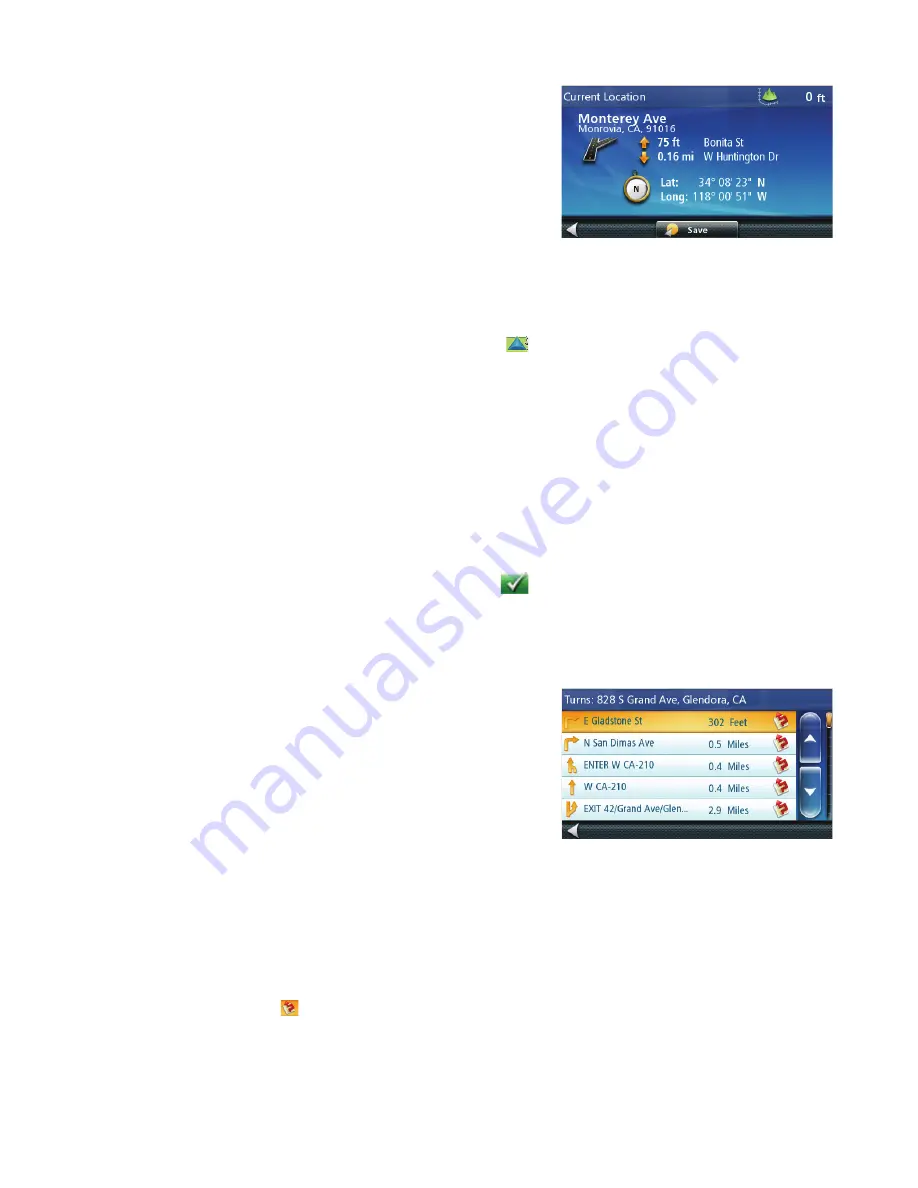
Current Location Screen
This screen can be accessed from the
Trip
Options
screen or from
the
Map
screen.
The Current Location screen displays the approximate address of
your current position, the next and previous intersections, your
latitude, longitude, heading and elevation.
Accessing the Current Location Screen
There are two ways to open the Current Location screen. From the
Map screen:
1. From the
Main Menu
, tap Trip Options (available only when on a route).
2. Tap Current Location.
or
1. From the Map screen tap on the current position icon
.
Saving Your Current Location to Your Address Book
1. Access the
Current Location
screen as described above.
2. Tap
Save
.
3. (optional) If you want to save this location to the OneTouch menu, select
Add to OneTouch
.
4. Tap
Yes
.
5. Edit information:
•Tap the Name field and use the keypad to enter a name for the Address Book entry. (See above for details.)
•(optional) Tap <Enter Phone Number> to specify a phone number for the address book entry.
6. When the details for this address are acceptable, tap
. (Note: entering a Name is compulsory before
saving the Address Book entry.)
7. If you have selected to save this point to the OneTouch menu, you need to select a button for the entry.
Maneuver List (Itinerary)
This screen is accessed from the Map screen and is available only
when routing.
Each line in the Maneuver List provides details about the
maneuvers in the order that they are to be made, with the next
maneuver at the top.
The Maneuver List can be modified if you want to exclude one of
the maneuvers should you want to avoid travelling on one of the
streets listed. Instructions to exclude one of the maneuvers is
described in this chapter.
Accessing the Maneuver List
1. When actively following a route, tap the maneuver icon in the top left corner of the
Map
screen.
Excluding a Maneuver
This is used to modify the route to possibly avoid routing on a particular street.
1. Access the
Maneuver List
.
2. Tap the Avoid icon
for the maneuver you want to avoid.
3. Tap
Yes
to confirm.
4. The Magellan RoadMate receiver recalculates the route and the
Map
screen returns.