56
English
Logging New GPS/GIS Data
1. Creating a Job and Selecting a Feature Library
-
Press the LOG button.
-
Tap
Create New Job
.
-
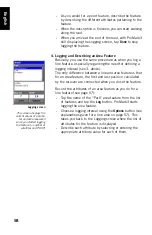
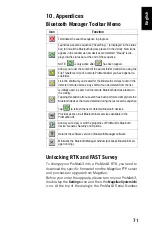
Enter the job name and press ENTER
-
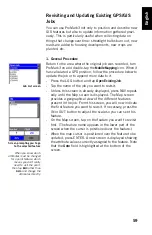
Tap the “TUTORIAL.MMF” feature library (or as
required).
-
Tap the “Real-Time” job mode (or as required).
2. Logging and Describing a Point Feature
-
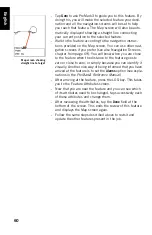
Highlight the “Str Light” feature (you are supposed to
be near one of these features) and tap the on-screen
Log
button. This starts feature logging. A sound is
heard every time ProMark3 logs data.
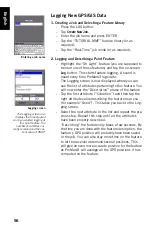
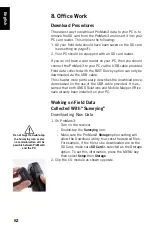
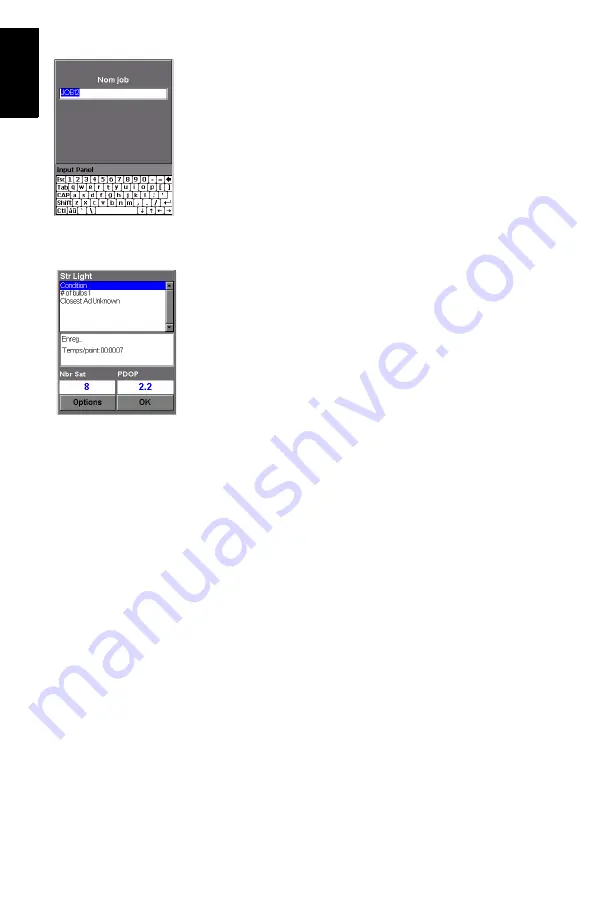
The Logging screen is now displayed where you can
see the list of attributes pertaining to this feature. You
will now enter the “Description” phase of the feature
-
Tap the first attribute (“Condition”) and then tap the
right attribute value describing the feature near you
(for example “Good”). This takes you back to the Log-
ging screen.
-
Select the next attribute in the list and repeat the pre-
vious step. Repeat this step until all the attributes
have been properly described.
“Describing” the feature only takes a few seconds. By
the time you are done with the feature description, the
feature’s GPS position will probably have been saved
in the job. You can also stay more time on the feature
to let the receiver determine several positions. This
will give an even more accurate position for the feature
as ProMark3 will average all the GPS positions it has
computed on the feature.
Entering a job name
Logging screen
The Logging screen also
displays the time elapsed
since you started logging at
this point feature, the
number of satellites cur-
rently received and the cur-
rent value of PDOP.


